Apex III External Charger Quick Start Guide
COAM30006 Rev. 1.02 11/22/00
2
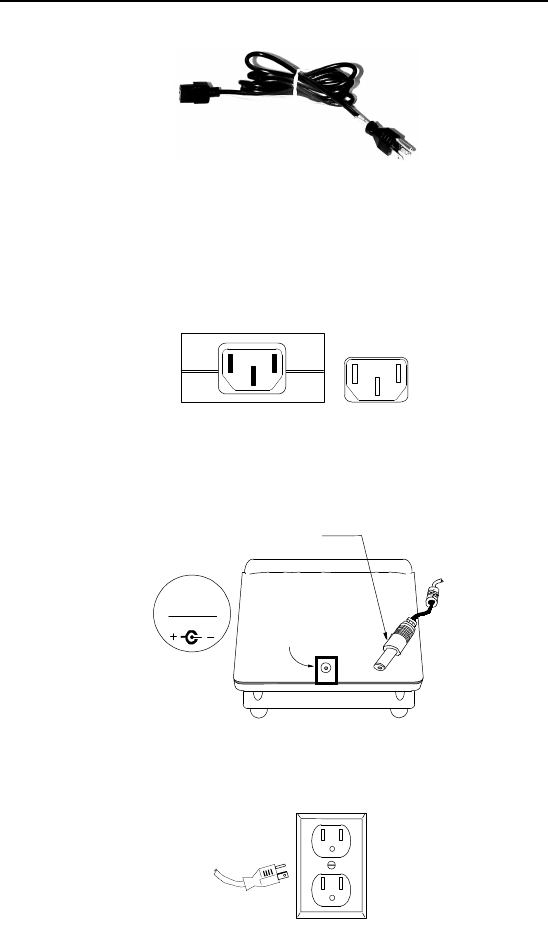
Figure 3: AC Line Cord (120 VAC Cord Shown)
3. Record the Unit Specific Information (External Charger and Power Supply Model and
Serial numbers) in a location you will remember for future reference before
permanently installing your Apex III External Charger.
4. Plug the female end of your AC Line cord into the Power supply connector (refer to
Figure 4).
AC Line Plug
[Power Supply Side]
Power Supply
Figure 4: Power Supply AC Power Connection
5. Plug the round male Power Supply DC voltage connector (cable permanently attached
to Power Supply) into the DC voltage connector on the back of the Apex III External
Charger (refer to Figure 5).
External Charger Back
DC Power Connector
Power Supply DC
Voltage Connector
Voltage
Key
9VDC 3.5A
Figure 5: Apex III External Charger (Rear View)
6. Plug the AC Line cord into an AC power receptacle (refer to Figure 6).
AC Power
Cord
AC Receptacle
Figure 6: AC Power Connection
7. Insert one or two Apex III Battery Pack(s) into the charging slot(s) on the top of the
Apex III External Charger (refer to Figure 7 and accompanying Note).


