58
1
2
3
4
5
6
7
8
9
10
Cover
Before Use
Common Camera
Operations
Advanced Guide
Camera Basics
Auto Mode /
Hybrid Auto Mode
Other Shooting
Modes
Tv, Av, M, C1,
and C2 Mode
Playback Mode
Wi-Fi Functions
Setting Menu
Accessories
Appendix
Index
Basic Guide
P Mode
Still Images
Shooting with a Toy Camera Effect
(Toy Camera Effect)
This effect makes images resemble shots from a toy camera by vignetting
(darker, blurred image corners) and changing the overall color.
1 Choose [ ].
Follow steps 1 – 2 in “Image Effects
(Creative Filters)” (=
54) and choose
[
].
2 Choose a color tone.
Turn the <z> dial to choose a color
tone.
A preview is shown of how your shot will
look with the effect applied.
3 Shoot.
Standard Shots resemble toy camera images.
Warm Images have a warmer tone than with [Standard].
Cool Images have a cooler tone than with [Standard].
•Trytakingsometestshotsrst,tomakesureyouobtainthedesired
results.
Still Images
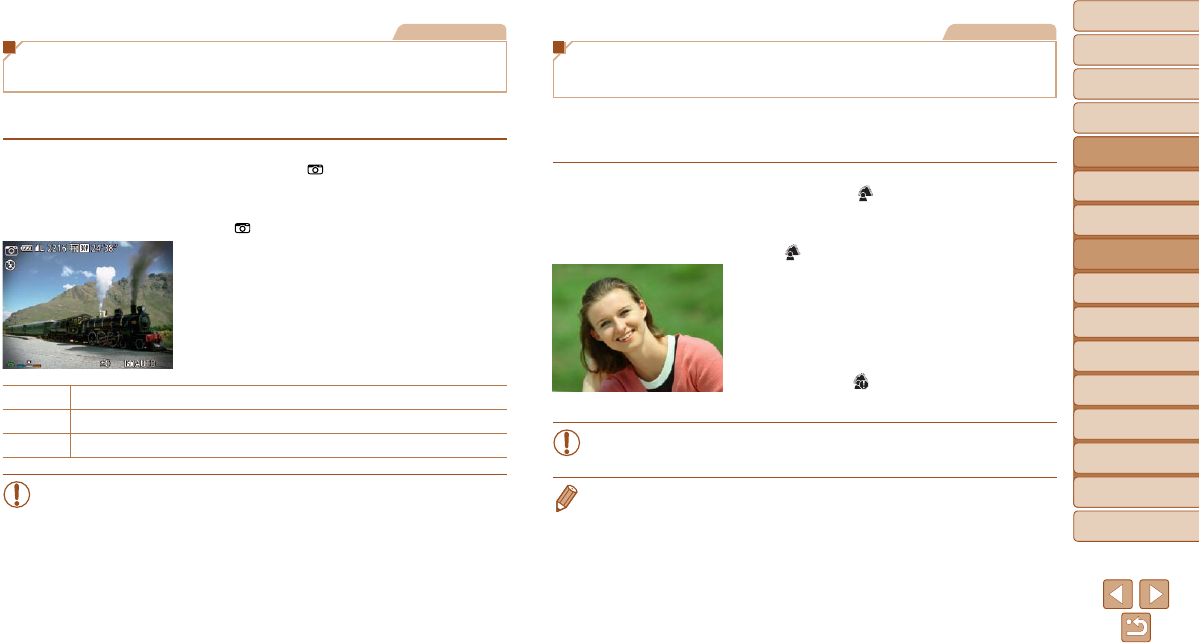
Making Subjects Stand Out
(Background Defocus)
Two consecutive images are captured each time you shoot and processed
into a single image, so that the subject stands out against a blurred
background.
1 Choose [ ].
Follow steps 1 – 2 in “Image Effects
(Creative Filters)” (=
54) and choose
[
].
2 Shoot.
Hold the camera steady as you shoot.
When you press the shutter button all the
way down, the camera will shoot twice
and process the images.
A blinking [ ] icon indicates that the
images could not be processed.
•Excessive camera shake or certain shooting conditions may prevent
you from obtaining the desired results.
• For the best results with this effect, try shooting close to the subject, and
ensure ample distance between the subject and background.
• There will be a delay before you can shoot again, as the camera processes
the images.
• To adjust the effect level, turn the <z> dial.


