95
Before Use
Basic Guide
Advanced Guide
1
Camera Basics
2
Auto Mode
3
Other Shooting Modes
5
Playback Mode
6
Setting Menu
7
Accessories
8
Appendix
Index
4
P Mode
Movie Printing Options
Single Prints the current scene as a still image.
Sequence
Prints a series of scenes, a certain interval apart, on a
single sheet of paper. You can also print the folder number,
le number, and elapsed time for the frame by setting
[Caption] to [On].
● To cancel printing, press the [ ] button, choose [OK], and then
press the [
] button again.
● [ID Photo] and [Sequence] cannot be chosen on Canon-brand
PictBridge-compatible printers from CP720/CP730 and earlier
models.
Adding Images to the Print List (DPOF)
Still Images
Movies
Batch printing (
=
97) and ordering prints from a photo development
service can be set up on the camera. Choose up to 998 images on a
memory card and congure relevant settings, such as the number of
copies, as follows. The printing information you prepare this way will
conform to DPOF (Digital Print Order Format) standards.
Conguring Print Settings
Still Images
Movies
Specify the printing format, whether to add the date or le number, and
other settings as follows. These settings apply to all images in the print
list.
● Press the [
] button, and then
choose [Print Settings] on the [ ] tab.
Choose and congure items as desired
(
=
25).
3
Choose the printing area.
● Follow step 2 in “Cropping Images before
Printing” (
=
93) to choose the printing
area.
4
Print the image.
Printing Movie Scenes
Still Images
Movies
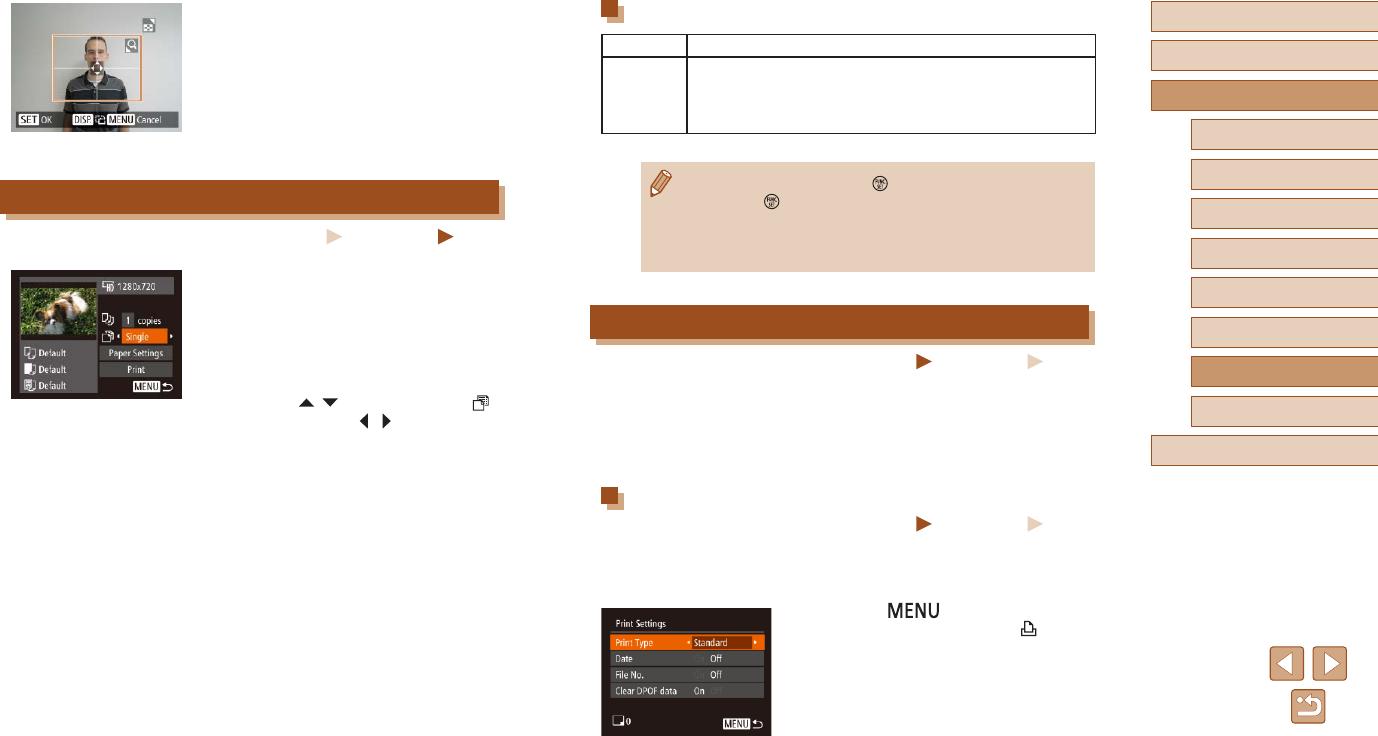
1
Access the printing screen.
● Follow steps 1 – 6 in “Easy Print”
(
=
92) to choose a movie. This screen
is displayed.
2
Choose a printing method.
● Press the [ ][ ] buttons to choose [ ],
and then press the [ ][ ] buttons to
choose the printing method.
3
Print the image.


