APPENDIX
245
3.
Press the camera’s power button to turn it on,
and then press its [MENU] button.
4.
Select the “Set Up” tab, select “USB”, and
then press [̈].
5.
Use [̆] and [̄] to select “Mass Storage (USB
DIRECT-PRINT)”, and then press [SET].
6.
Turn off the camera.
7.
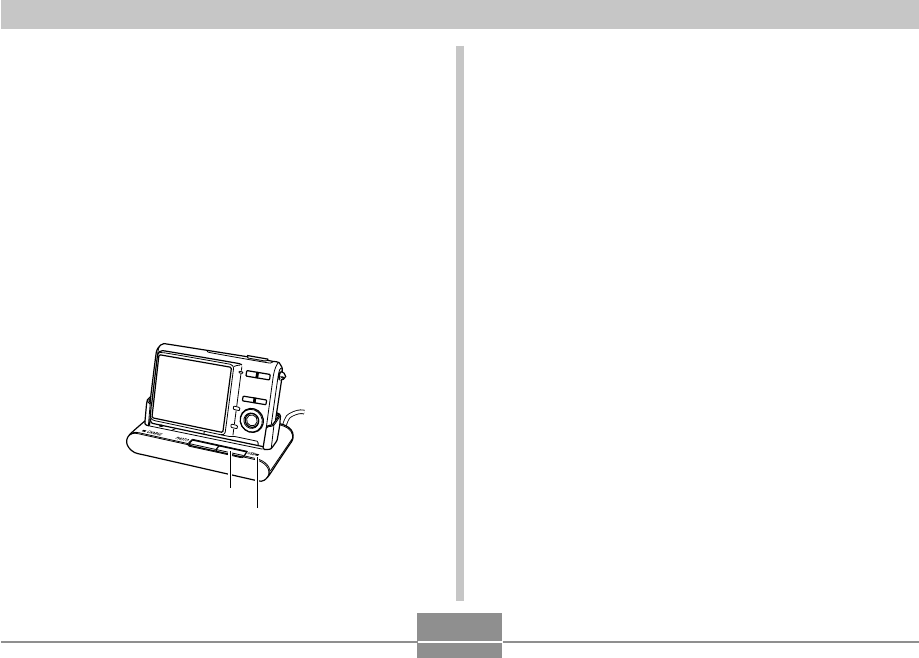
Place the camera onto the USB cradle.
• Do not place the camera onto the USB cradle while it
is turned on.
[USB] button
[USB] lamp
8.
Press the USB cradle’s [USB] button.
• Pressing the [USB] button enters the USB mode,
which causes the USB cradle’s [USB] lamp to light
green.
• Your Macintosh will see the camera’s file memory as
a drive.
• The appearance of the drive icon depends on the
Mac OS version you are using.
• Your Macintosh will see the camera’s file memory as
a drive whenever you establish a USB connection
between the camera and your Macintosh.
9.
Perform the procedure in the camera user’s
guide to view the images on your computer.
10.
To terminate the USB connection, drag the
drive icon that represents the camera to
Trash.
11.
Press the USB cradle’s [USB] button. After
making sure the [USB] lamp is not lit, remove
the camera from the USB cradle.


