95
PLAYBACK
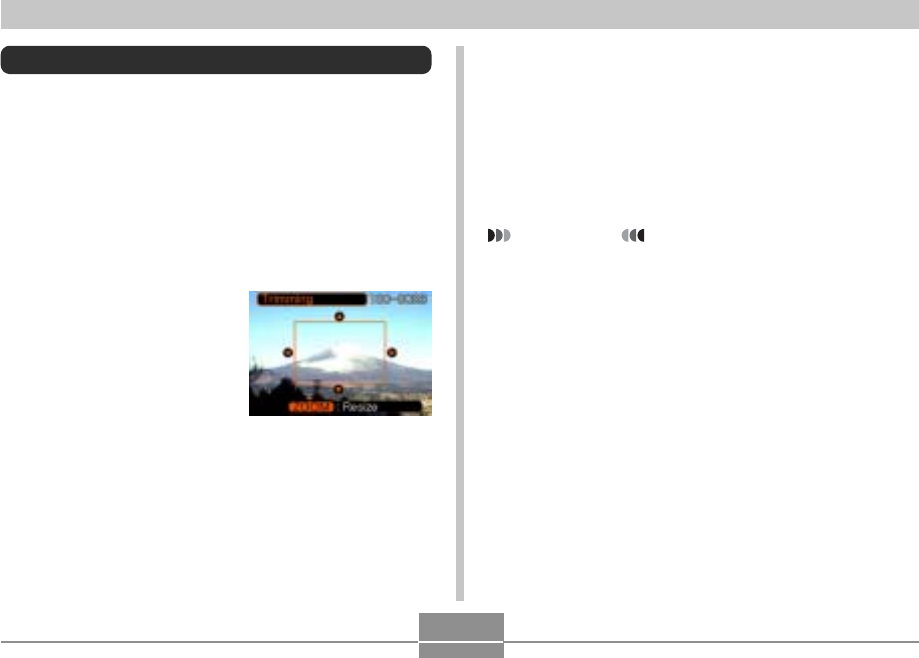
Cropping an Image
Use the following procedure when you want to crop a
portion of an enlarged image and use the remaining part of
the image as an e-mail attachment, Web page image, etc.
1.
In the PLAY mode, use [̇] and [̈] to scroll
through images and display the one you want
to crop.
2.
Press [MENU].
3.
Select the “PLAY”
tab, select
“Trimming”, and then
press [̈].
• This causes a cropping
boundary to appear.
4.
Use the zoom controller to make the cropping
boundary larger or smaller.
• The size of the cropping boundary depends on the
size of the image on the display.
5.
Use [̆], [̄], [̇], and [̈] to move the
cropping boundary up, down, left, or right
until the area of the image you want to extract
is within the boundary.
6.
Press [SET] to extract the part of the image
enclosed in the cropping boundary.
• If you want to cancel the procedure at any point,
press [MENU].
IMPORTANT!
• Cropping an image creates a new file that contains
the cropped image. The file with the original image
also remains in memory.
• A Movie mode image cannot be cropped.
• An image recorded using another camera model
cannot be cropped.
• If the message “This function is not supported for this
file.” appears, it means that the current image cannot
be cropped.
• The cropping operation cannot be performed if there
is not enough memory to store the cropped image.
• When you display a trimmed image on the camera’s
monitor screen, the date and time that the image was
trimmed appears on the screen. Note, however, that
the EXIF data* accompanying the trimmed image is
the data for the original (pre-trim) image.
* EXIF data is information about recording conditions
that is stored along with the image data. See page
154 for more information.


