Setup
-8- Legend™ 412 Series User Manual Rev. 5
3. Setup
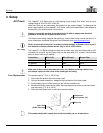
The Legend™ 412 Series has an auto-ranging power supply that works
voltage range of 100~240 VAC, 50/60 Hz.
Make sure that you are connecting this product to the proper voltage. To determine the
power requirements for the Legend™ 412 Series, refer to the specification label affixed to
the product or the specifications in this manual.
Always connect this product to a protected circuit with an appropriate electrical
ground to avoid the risk of electrocution or fire.
The listed current rating indicates the maximum current draw during normal operation. For
more information, download Sizing the Circuit Breakers from www.chauvetpro.com.
Never connect this product to a rheostat (variable resistor) or dimmer circuit, even if
the rheostat or dimmer channel serves only as a 0 to 100% switch.
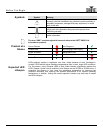
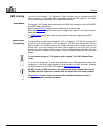
The Legend™ 412 Series should be used with a power input cord terminated with an IEC
connector on one end and an Edison plug on the other end (U.S. market). U
below to wire a new plug if needed.
Connection Wire (U.S.) Wire (Europe) Screw Color
AC Live Black Brown Yellow or Brass
AC Neutral White Blue Silver
AC Ground Green/Yellow Green/Yellow Green
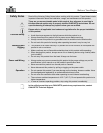
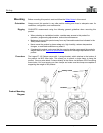
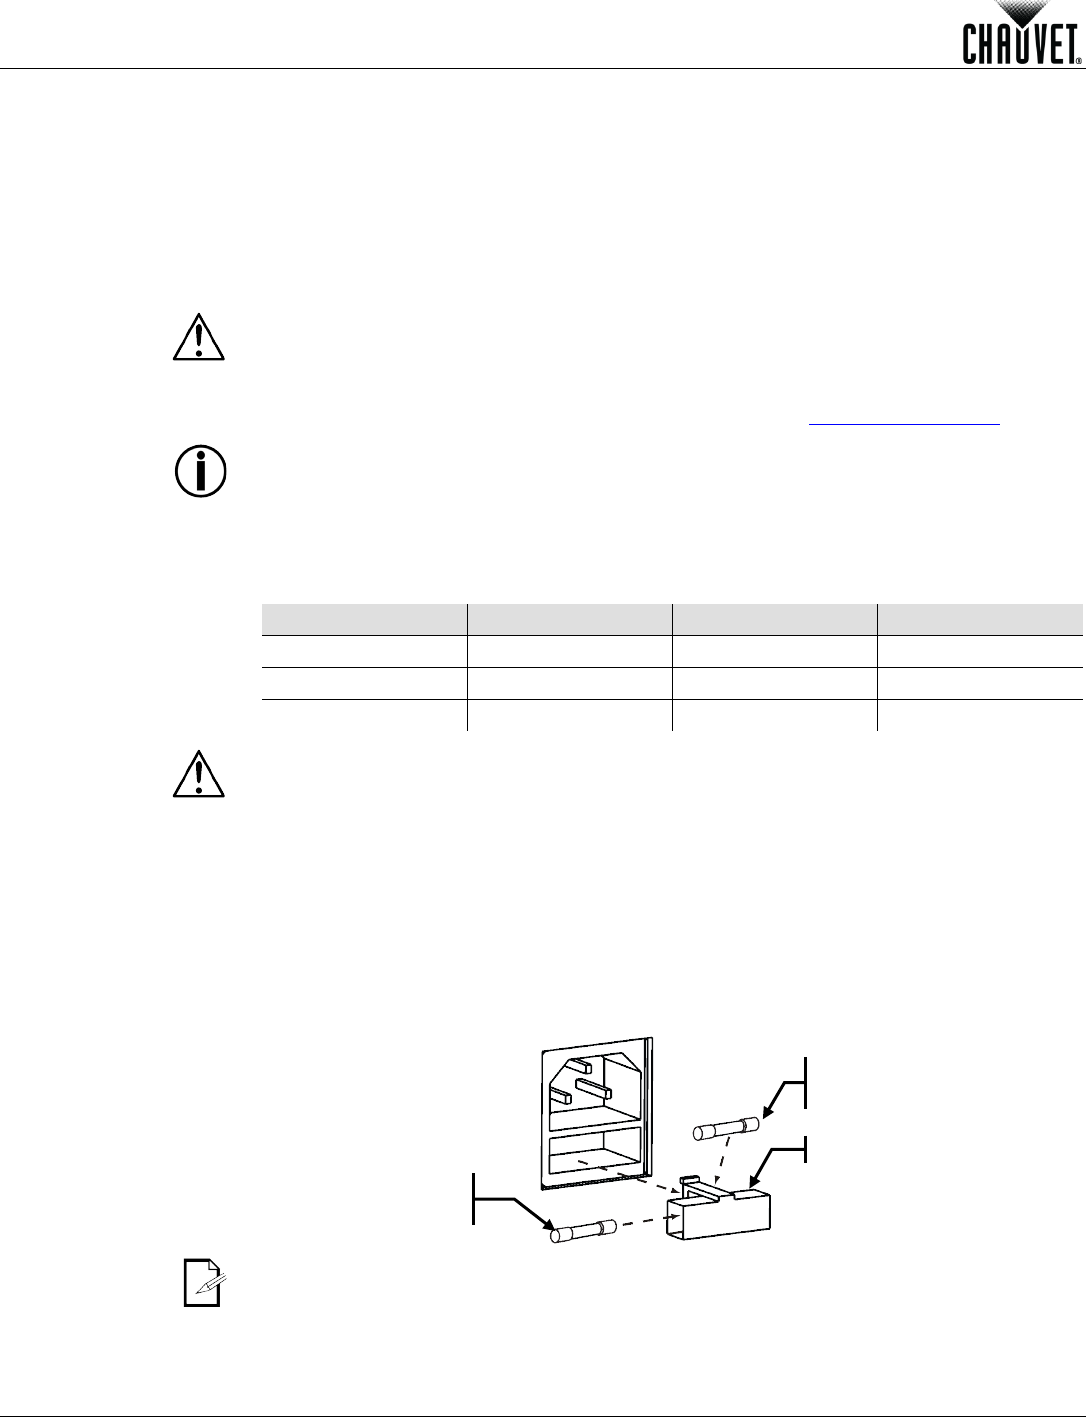
Make sure to disconnect the product’s power cord before replacing a blown fuse,
and always replace it with a fuse of the same type and rating.
This product uses a T 3.15 A, 250 V fuse.
1. Disconnect the product from the power outlet.
2. Using a flat head screwdriver, wedge the tip into the slot of the fuse holder.
3. Pry the safety cap out of the housing to pull out the installed fuse.
4. Remove the blown fuse from the safety cap and replace with a fuse of the exact same
type and rating (T 3.15 A, 250 V).
5. Insert the fuse holder back in place and reconnect power.
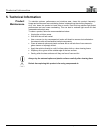
This product ships with a spare fuse inside the safety cap, as shown above.
Installed fuse
(held by plastic clip)
Spare fusel
(inside safety cap)