Assembly
To assemble your machine:
1.
Figure
5
Figure 5. Attaching work table.
2.
notice
The table lock lever
can be repositioned by
pulling out on the
handle and rotating the
lever. This allows the
lever to tighten when
clearance is limited.
A large gap between the belt and table pres-
ents a pinch point that could cause your
fingers to be pulled into the machine. Make
sure the gap between the sanding belt and
the table is less than
1
⁄16" to reduce the risk
of personal injury.
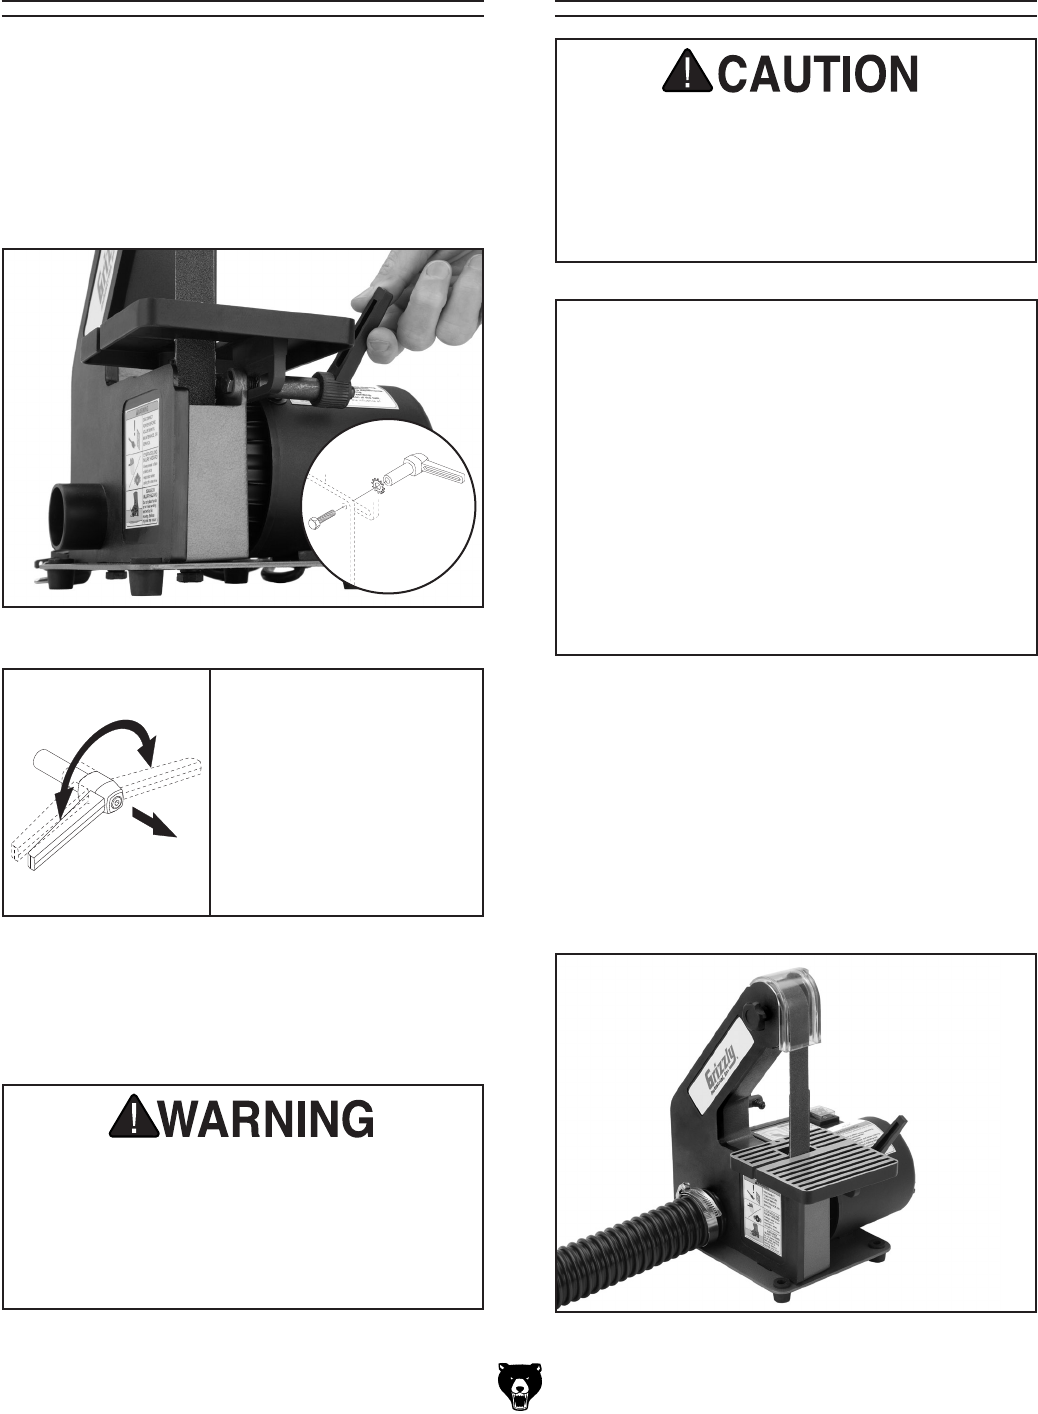
Dust Collection
To connect a dust collection hose:
1.
Figure 6
2.
Note: A tight fit is necessary for proper
performance.
Figure 6. Dust hose attached.
Required CFM at 2" Dust Port: 100 CFM
Do not confuse this CFM recommendation with
the rating of the dust collector. To determine the
CFM at the dust port, you must consider these
variables: (1) CFM rating of the dust collector,
(2) hose type and length between the dust col-
lector and the machine, (3) number of branches
or wyes, and (4) amount of other open lines
throughout the system. Explaining how to calcu-
late these variables is beyond the scope of this
manual. Consult an expert or purchase a good
dust collection "how-to" book.
This sander creates wood dust while operat-
ing. We recommend using the Model H3140
with an adequate dust collection system.
Failure to use a dust collection system can
result in short and long-term respiratory ill-
ness.


