SwitchLinc V2 Relay (#2476S)
Quick-Start Guide
SWITCHLINC RELAY
NNeeeedd HHeellpp?? FFoorr aassssiissttaannccee ccaallll yyoouurr ffrriieennddllyy
ssuuppppoorrtt ppeerrssoonn @@ 886666--224433--88001188
Quick-Start Guide
SWITCHLINC
Setting Up Your SwitchLinc Relay to Control an INSTEON Device Remotely
SStteepp 33..
Test that SwitchLinc Relay is working properly by turning the load on and off.
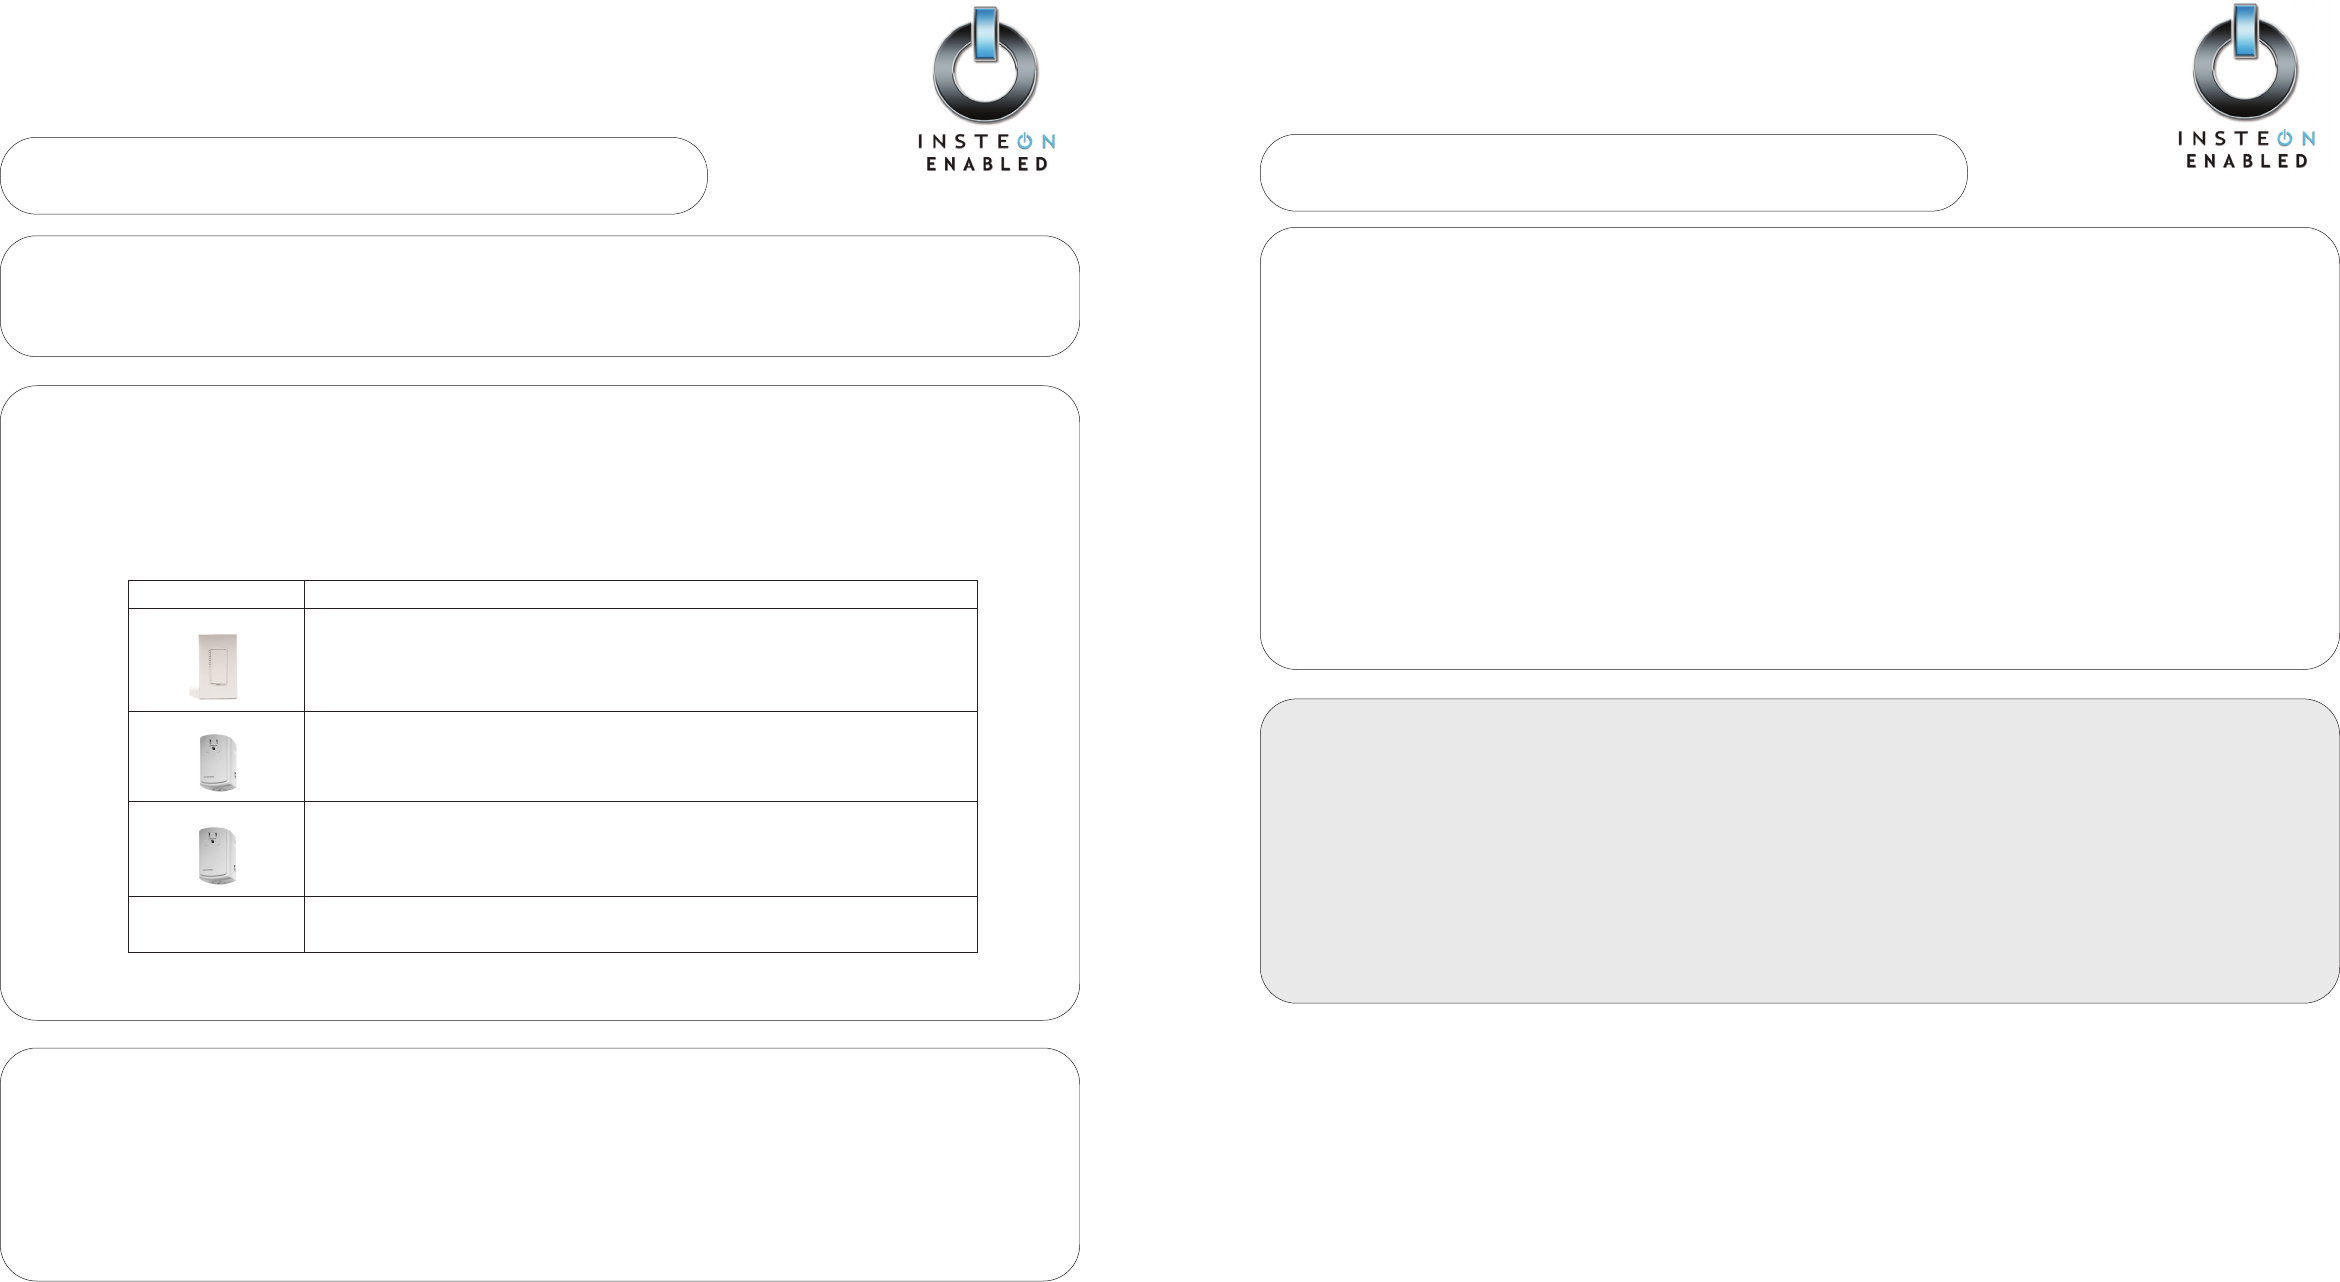
DDeevviiccee SSeettuupp IInnssttrruuccttiioonnss
SwitchLinc Dimmer
••PPrreessss aanndd hhoolldd
the SwitchLinc Dimmer’s Paddle Top for 10 seconds until the light it
controls flashes
— then release.
The SwitchLinc Relay will exit Linking Mode, and its LED will stop blinking.
Lamp Dimmer
••PPrreessss aanndd hhoolldd
the Lamp Dimmer’s SET button for 3 seconds until the lamp it con-
trols flashes — then release.
The SwitchLinc Relay will exit Linking Mode, and its LED will stop blinking.
Appliance Module
••PPrreessss aanndd hhoolldd
the Appliance Module’s SET button for 3 seconds until its Status LED
blinks — then release.
The SwitchLinc Relay will exit Linking Mode, and its LED will stop blinking.
Other INSTEON-
Enabled Devices
See device’s Quick-Start Guide or User’s Guide
SStteepp 11..
PPrreessss aanndd hhoolldd
the SwitchLinc Relay’s Paddle Top for 10 seconds until its LED starts blinking -- then release.
Your SwitchLinc Relay is now in Linking Mode. You have 4 minutes to complete Step 2.
SStteepp 22..
Select the device you would like to control and follow the setup instructions from the table below:
•
TTaapp
the Paddle Top to turn your load on.
•
TTaapp
the Paddle Bottom to turn your load off.
Using Your SwitchLinc Relay
SStteepp 11..
On your INSTEON controller
pprreessss aanndd hhoolldd
the ON button of your choice for 10 seconds until the LED begins
blinking slowly -- then release.
Your INSTEON Controller is now in Linking Mode. You have 4 minutes to complete step 2.
SStteepp 22..
PPrreessss aanndd hhoolldd
the SwitchLinc’s Paddle Top for 10 seconds until the LED flashes -- then release.
Your INSTEON Controller’s LED will stop blinking to indicate successful linking.
SStteepp 33..
On your INSTEON Controller press the ON and OFF buttons several times to make sure everything is working properly.
Setting Up an INSTEON Controller to Control a SwitchLinc Remotely
SwitchLinc V2 Relay (#2476S)
Quick-Start Guide
SWITCHLINC RELAY
NNeeeedd HHeellpp?? FFoorr aassssiissttaannccee ccaallll yyoouurr ffrriieennddllyy
ssuuppppoorrtt ppeerrssoonn @@ 886666--224433--88001188
TToo uunnlliinnkk aa ddeevviiccee ffrroomm yyoouurr SSwwiittcchhLLiinncc RReellaayy
1. Press and hold the
PPaaddddllee TToopp
for 10 seconds -- then release.
2. Press and hold the
PPaaddddllee TToopp aaggaaiinn
for 10 seconds -- then release.
3. On the INSTEON device you wish to unlink, press and hold the
OONN BBuuttttoonn
for 10 seconds or the
SSEETT BBuutttto
onn
for 3 seconds.
TToo ffaaccttoorryy rreesseett yyoouurr SSwwiittcchhLLiinncc RReellaayy
1. Press and hold the
PPaaddddllee TToopp
for 10 seconds -- then release.
2. Tap the
SSEETT BBuuttttoonn aallll tthhee wwaayy iinn
-- then release.
3. Push the
SSEETT BBuuttttoonn aallll
tthhee wwaayy iinn
and hold for 10 seconds -- then release.
NNootteess
• Pressing the SET Button after going into Linking Mode will change Linking Mode to Scene Setup (Multi-Link) Mode
• Any paddle press will exit Linking Mode early.
For detailed instructions on how to operate all the features of your SwitchLinc Relay,
please refer to the User's Guide at http://www.smarthome.com/2476s.html
Using Your SwitchLinc Relay’s Advanced Features
Optional for X10 Users
To give your SwitchLinc Relay an X10 Primary Address
1. Press and hold the
PPaaddddllee TToopp
for 10 seconds -- then release.
2.
SSeenndd tthhee ddeessiirreedd XX1100 PPrriimmaarryy AAddddrreessss TTHHRREEEE ttiimmeess..
To remove an X10 Primary Address from Your SwitchLinc Relay
1. Press and hold the
PPaaddddllee TToopp
for 10 seconds -- then release.
2. Press and hold the
PPaaddddllee TToopp aaggaaiinn
for 10 seconds -- then release.
3.
SSeenndd aannyy XX1100 aaddddrreessss TTHHRREEEE ttiimmeess..