8
2 Taking pictures and videos
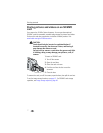
The camera is ready to take pictures or videos when you turn it on—even if
you are in Review, Share, or Setup.
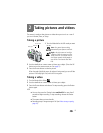
Taking a picture
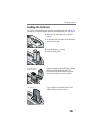
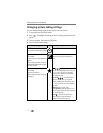
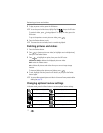
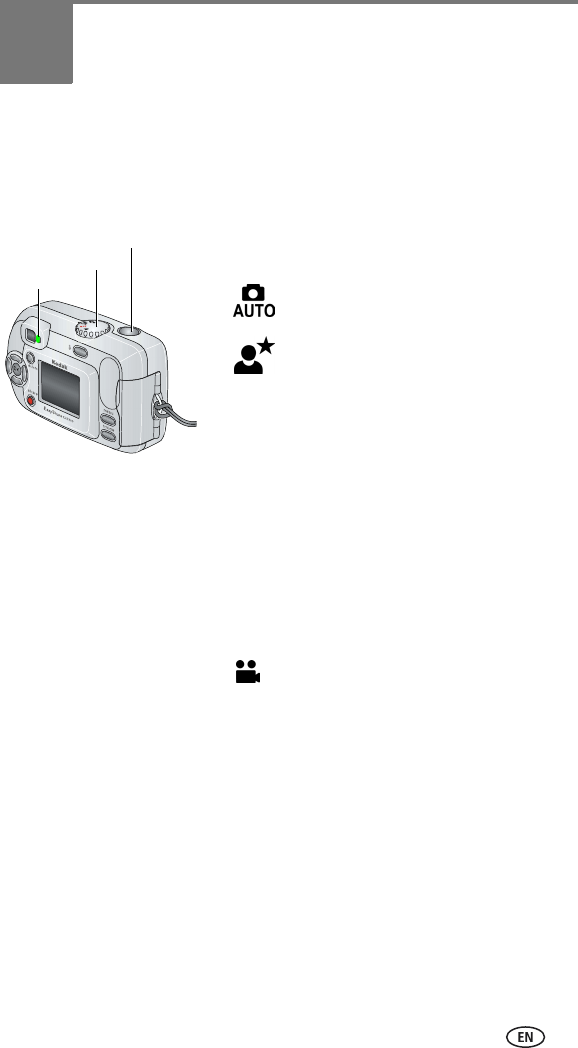
1 Turn the Mode dial to the Still mode you want
to use:
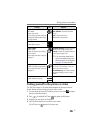
2 Use the viewfinder or camera screen to frame your subject. (Press the OK
button to turn the camera screen on. See page 9.)
3 Press the Shutter button to take the picture.
When the ready light blinks green, the picture is being saved; you can still take
pictures. If the ready light is red, wait until it turns green.
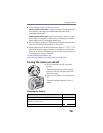
Taking a video
1 Turn the Mode dial to Video .
2 Use the viewfinder or camera screen to frame your subject.
3 Press the Shutter button and release. To stop recording, press the Shutter
button again.
NOTE:
■ You can also press the Shutter button and hold it for more than 2
seconds to begin recording. To stop recording, release the Shutter
button.
■ The camera does not record audio.
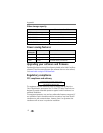
■ Recording stops if image storage is full (see Video storage capacity,
page 41).
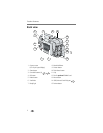
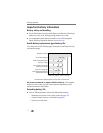
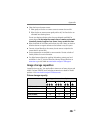
Ready light
Shutter button
Mode dial
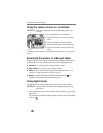
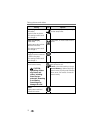
Auto—for general picture-taking.
Automatically sets exposure and flash.
Night—for night scenes or low-light
conditions. Place the camera on a flat,
steady surface or use a tripod. Due to
slow shutter speeds, advise people to
stay still for a few seconds after flash
fires.