82 SETUP MENU
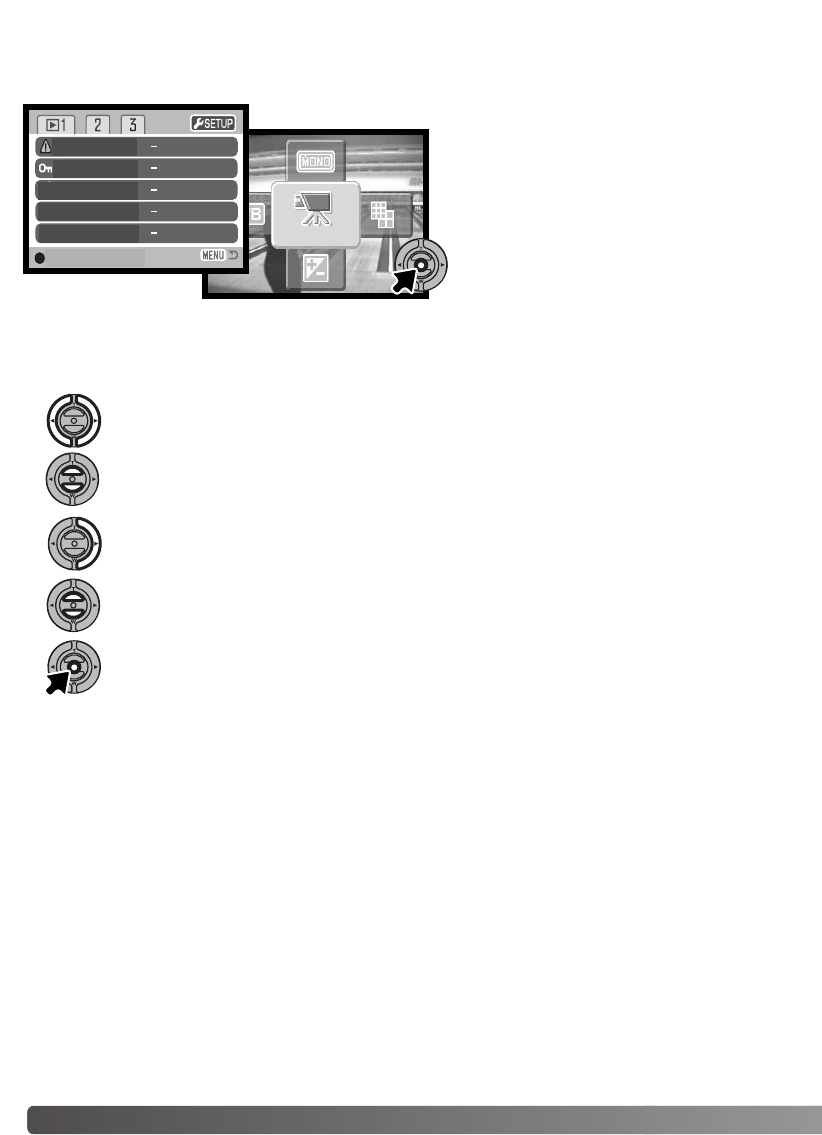
Navigating the menu is simple.The left/right and up/down keys of the controller control the cursor
and change settings on the menu. Pressing the center button of the controller selects menu options
and sets adjustments.
When the desired menu section is displayed, use the up/down key to scroll through the
menu options. Highlight the option whose setting needs to be changed.
With the menu option to be changed highlighted, press the right key; the settings will be
displayed with the current setting indicated by an arrow.To return to the menu options,
press the left key.
Press the center button of the controller to select the highlighted setting.
Use the zoom lever to highlight the new setting. If “Enter” is displayed, press the center
button of the controller to continue.
The section 1 tab at the top of the menu will be highlighted. Use the left/right keys to high-
light the appropriate menu tab; the menus will change as the tabs are highlighted.
Once a setting has been selected, the cursor will return to the menu options and the new setting will
be displayed.You can continue to make further changes.To return to the recording mode, press the
menu button.
SETUP MENU
Setup menu can be activated from all of the
modes; recording mode, movie mode and
playback mode. In recording mode and play-
back mode, go to the menu and select the
setup icon located on the top-right corner
and the setup menu will appear. In movie
mode, selecting the setup icon on the main
menu will display the setup menu.
Delete
Lock
Copy Favorite
Rotate
Image Pasting
enter
NAVIGATING THE SETUP MENU
SETUP
