7. Install the new power supply and insert the four screws that hold the power
supply in place.
8. Replace the PCI riser. See “Removing and replacing a PCI adapter” on page
93.
9. Reconnect all power supply cables to the system board and the drives. See
“Identifying parts on the system board” on page 92. Make sure the cables are
correctly routed and are retained by the cable clips.
10. Go to “Completing the FRU replacement.” on page 104.
Removing and replacing the system board
1. Open the cover. See “Opening the cover” on page 90.
2. Remove the PCI riser. See “Removing and replacing a PCI adapter” on page
93.
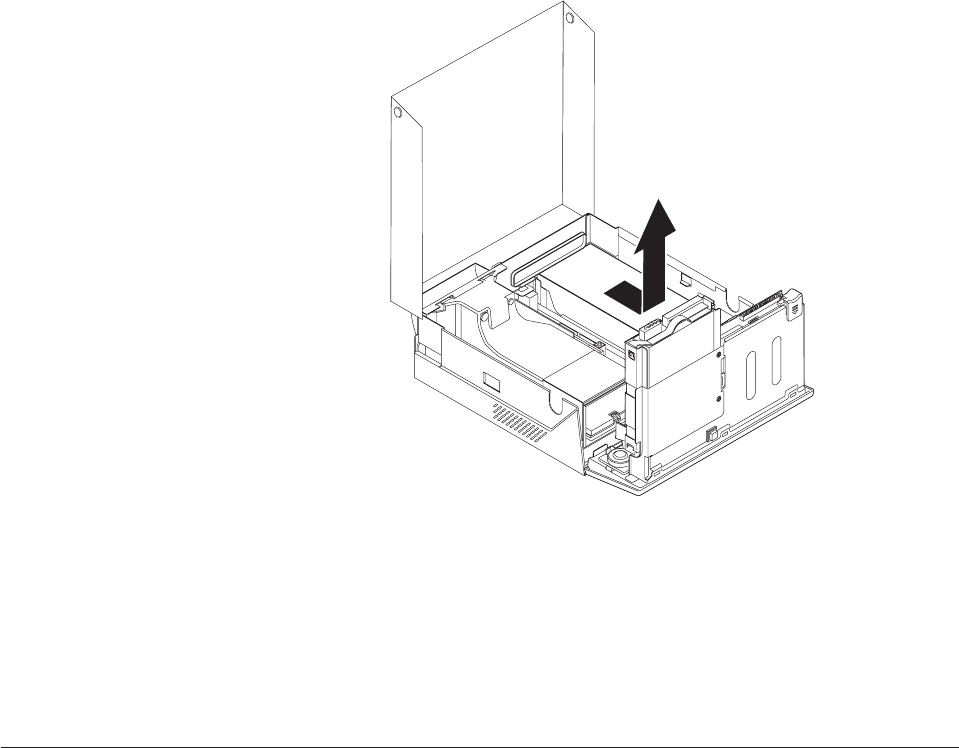
3. Disconnect rear fan cable and remove the rear fan bracket assembly by lifting
it off the system board.
4. Carefully take note of the location of all cable connections on the system
board and disconnect all cables.
5. Take note of the location of the memory modules and remove them from the
failing system board. See “Identifying parts on the system board” on page 92.
6. Loosen the two captured screws that secure the heat sink clamps 2. Pivot
the clamps to the side to allow the heat sink 1 to be removed.
Chapter 8. Replacing FRUs 97


