29
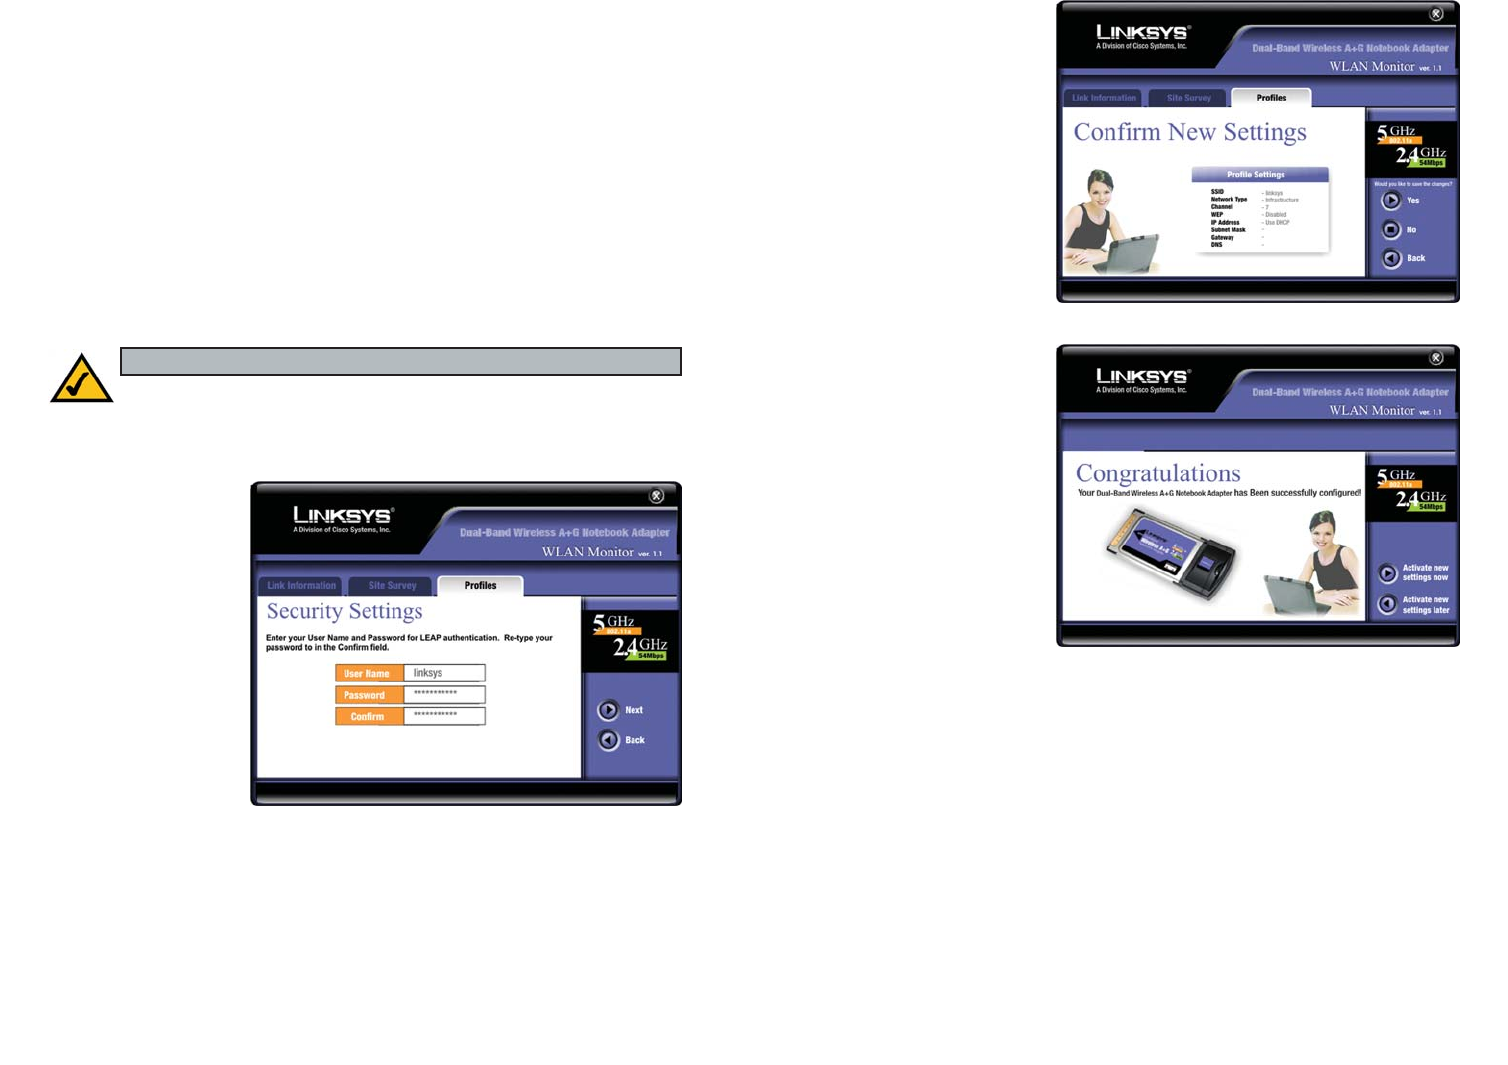
8. The Confirm New
Settings screen will
appear. To save the new
settings, click the Save
button. To cancel the
settings and return to
the Profiles screen
without saving your
changes, click the
Cancel button. To edit
the new settings, click
the Back button.
9. The Congratulations
screen will appear next.
Click Activate new
settings now to imple-
ment the new settings
immediately and return
to the Link Information
screen. Click Activate
new settings later to
keep the current set-
tings active and return
to the Profiles screen.
You have successfully created a connection profile. Click the X (Close)
button in the upper right corner to exit the WLAN Monitor.
Figure 6-23
Figure 6-22
When manually, the encryption key must consist of the letters “A” through
“F” and the numbers “0” through “9” and should be 10 characters in length
for 64-bit encryption, 26 characters in length for 128-bit encryption, or 32
characters in length for 152-bit encryption.) All points in your wireless net-
work must use the same WEP key to utilize WEP encryption.
If you wish to have the encryption key generated through a Passphrase, it
can be a maximum of 16 alphanumeric characters. Type this in the
Passphrase field and a key will be automatically generated. This passphrase
may not work with non-Linksys products due to possible incompatibility
with other vendors’ passphrase generators.
Click the Next button to continue or Back to chose a different security
method.
LEAP Authentication
From the LEAP
screen, shown in
Figure 6-21, com-
plete the User
Name and Password
fields, making sure
to confirm the pass-
work in the Confirm
field. If you do not
know this informa-
tion, contact your
network administra-
tor.
Click the Next button to complete the connection or Back to chose a dif-
ferent security method. Click the X (Close) button in the upper right corner
to exit the WLAN Monitor.
28
Note: 152-bit encryption is available only for 802.11a networking.
Figure 6-21