5
Important information
Make connections before using this unit.
To create a home theater that can play back higher quality video and audio by fully utilizing the
capabilities of this unit and your video devices, connect this unit to each of your video devices with
HDMI cables.
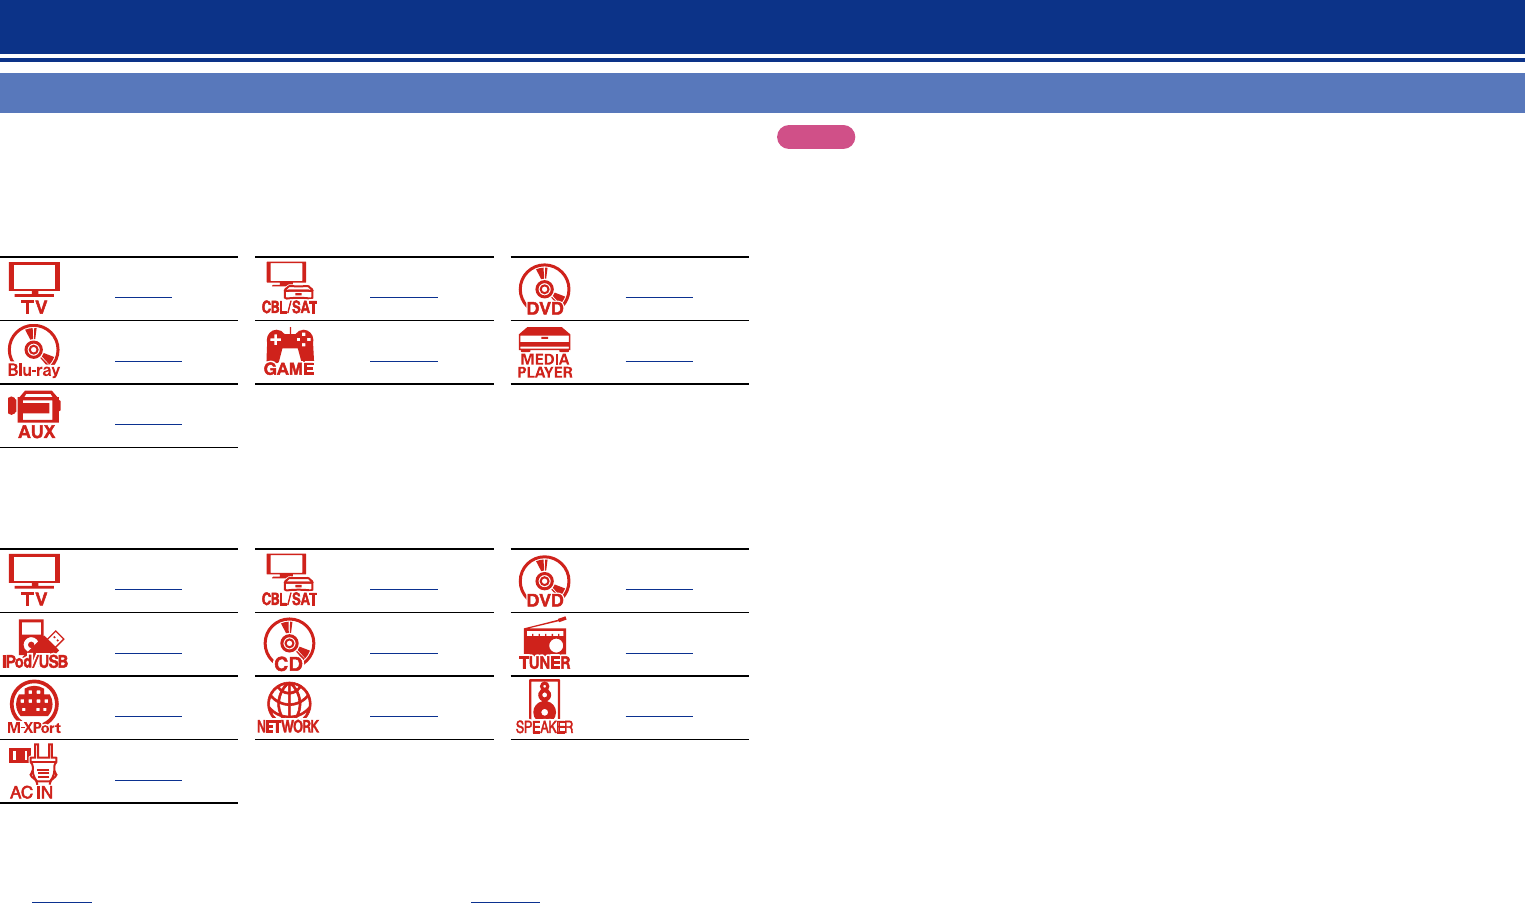
n HDMI devices
vpage9 vpage10 vpage10
vpage10 vpage10 vpage10
vpage10
If your video device does not support HDMI connections, use the following connection.
n Other devices
vpage13 vpage14 vpage15
vpage16 vpage17 vpage18
vpage19 vpage20 vpage81
vpage21
This unit can change the source that is assigned to the DIGITAL AUDIO IN, ANALOG AUDIO IN,
COMPONENT VIDEO IN and VIDEO IN connectors.
For details on assigning a source to connectors, see “Changing the source assigned to connectors”
(vpage12). For the setting method, see “Input Assign” (vpage120).
Connections
NOTE
•When video signals are being upscaled to 4K output resolution, the menu screen is only displayed
on a 4K display that is connected to this unit via HDMI.
•Do not plug in the power cord until all connections have been completed. However, when the
“Setup Assistant” is running, follow the instructions in the “Setup Assistant” (C page 7) screen
for making connections. (During “Setup Assistant” operation, the input/output connectors do not
conduct current.)
•When running the “Setup Assistant” (C page 7), turn o the power supply of connected devices.
•When making connections, also refer to the operating instructions of the other devices being connected.
•Be sure to connect the left and right channels properly (left with left, right with right).
•Do not bundle power cords together with connection cables. Doing so can result in noise.


