Audio Controls With Navigation
21 22
POWER ON
Push the Power/Volume dial to
turn on.
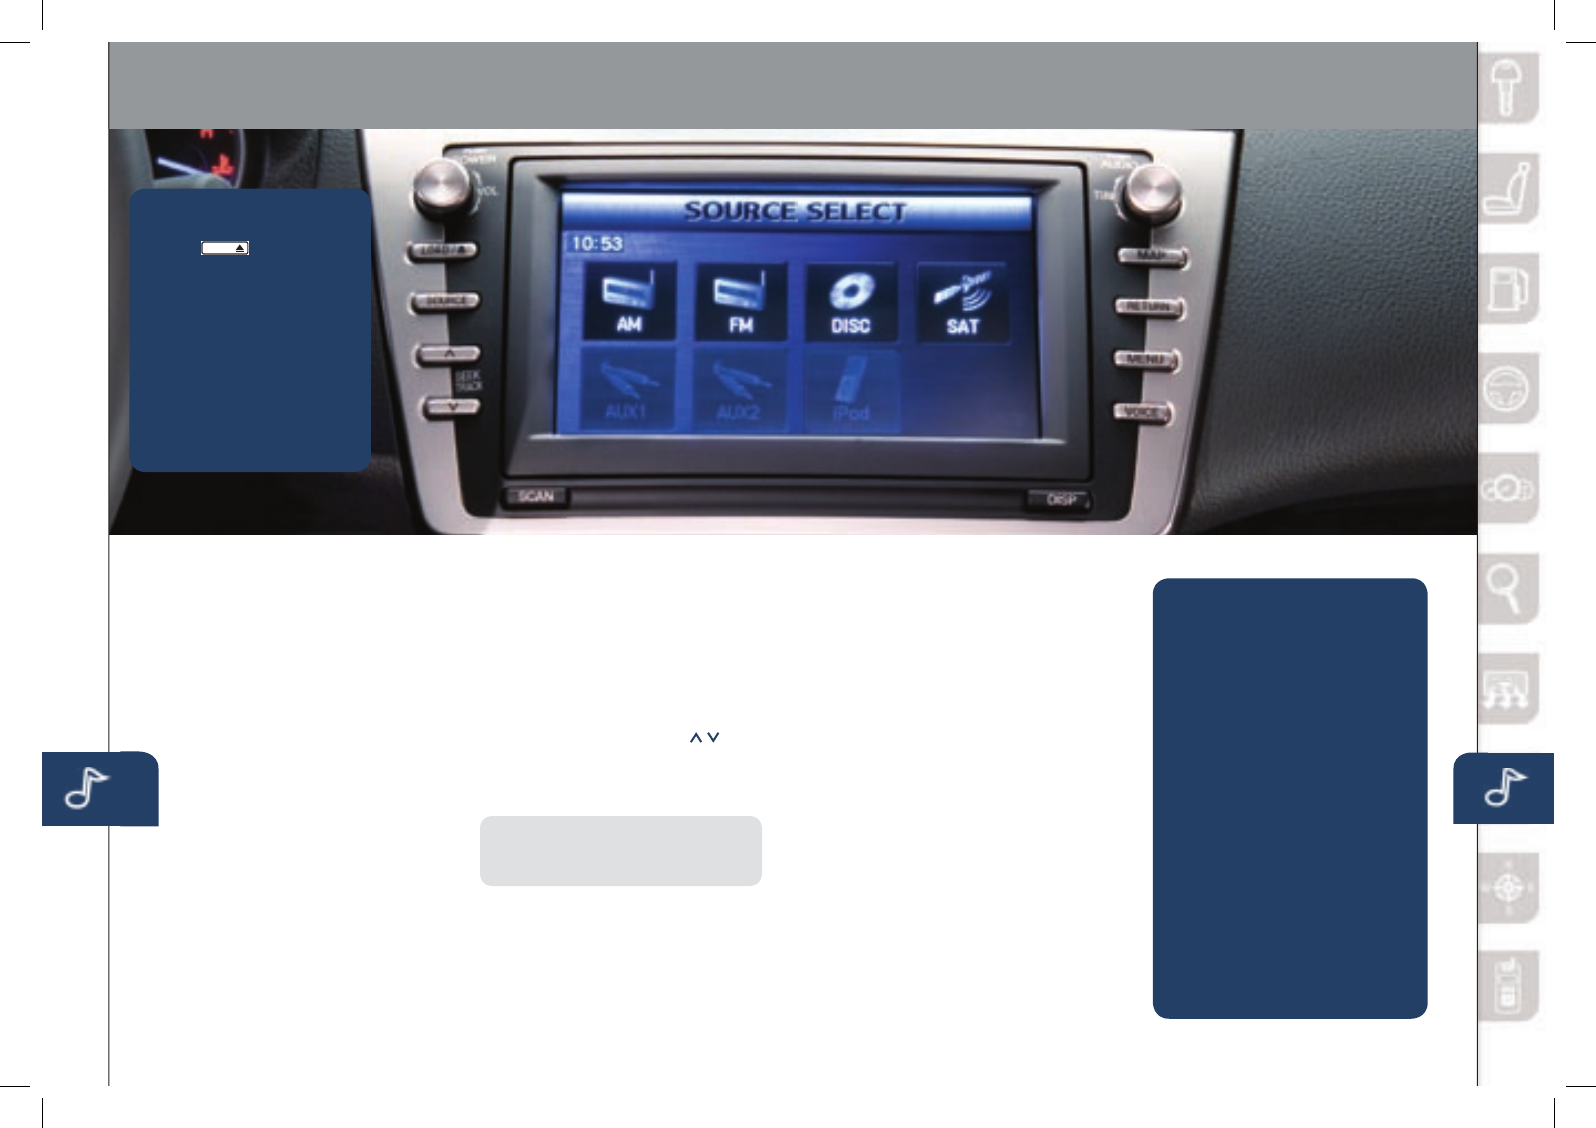
MEDIA SELECTION
Push the SOURCE button to select
theappropriateon-screenbutton:
Radio: Select FM or AM button
for FM1, FM2, or AM band. The
selected band will be indicated in the
Information Display.
DISC: Select for CD player.
SAT: Select for SIRIUS
®
Satellite
radio. See the Owner’s Manual for
more details.
AUX: Select to switch to AUX
jack input.
iPod: Select to play iPod.
BT-Audio: Select for
Bluetooth
®
Audio.
TUNING
The radio has the following
tuning controls:
• Manual: Turn the TUNE/AUDIO
dial to manually change
the frequency.
• Seek: Push and hold the
SEEK/TRACK buttons
to
automatically seek a higher
or lower frequency or track,
depending on media selected.
NOTE:
If you continue to push and
hold the button, the frequency will
continue changing without stopping.
• Scan: Push the SCAN button
to automatically sample strong
stations for seconds each. Push
again to cancel.
1. P u s h
2. Push the LOADon-screen
button lightly.
3. Wait for the screen
to lower.
4 . After “IN” is displayed on
the Information Display,
insert the CD.
The CD will begin playing
after the screen closes.
TO LOAD/PLAY A CD
• Auto Memory Tuning:
SelectandholdtheAUTO-M
on-screenbuttonuntilbeepis
heard to store an additional 8
stations on each FM and AM
band without disturbing the
previously stored stations. This
is useful when driving in an area
where the local stations are not
known. Refer to the Owner’s
Manual for complete details.
• Preset Channel: Can be used
tostore8AM,16FMand24
SIRIUS
®
Satellite stations.
1 To set a channel, first select
AM, FM1, FM2, SAT1, SAT2
or SAT3.
2 Tune to the desired station.
3 Push the TUNE AUDIO dial.
4
Select and hold any channel
preseton-screenbuttonfor
about two seconds until a beep
is heard.
• Repeat to store other stations.
1. Push the MENU button.
2. Select the Set Clock tab.
3.Choosea24-hourdisplayor
a12-hourdisplay.
4. Use the + hour and - hour
tabs to enter the correct hour.
5. Use the + min (minutes)
and - min to set the
correct minutes.
6. Exit by pushing the OK tab.
NOTE:
Minutes and seconds are
adjusted by the GPS; however, it is
necessary to adjust hours under the
following conditions:
• Drivingacrossdifferent
time zones
• Daylightsavingtimestart
and end
SETTING YOUR CLOCK