97
Resolution
[Screenshot 2]
The REC Camera pop-up menu will be displayed.
x Select the desired camera channel for manual record-
ing/event recording using the arrows button (CDA
B) and rotate the jog dial. It is possible to select a cam-
era channel by pressing a camera channel selection
button (1 - 16 for the WJ-HD316A, 1 - 9 for the WJ-
HD309A) on the front panel of the unit.
c Press the SETUP/ESC button.
→ The settings will be applied and the "REC camera"
pop-up menu will be closed.
8 Resolution
Select a recording resolution from the following.
FRAME 3D ON: High resolution (720 x 480), with camera
shake compensation
FRAME 3D OFF: High resolution (720 x 480)
FIELD: Standard resolution (720 x 240)
SIF: Low resolution (360 x 240)
Recording will not be performed for around 4 seconds
when the SETUP MENU (Quick) was closed after changing
the settings.
Note: It is possible to minimize blurring to record fast mov-
ing objects by selecting "FRAME 3D ON".
8 Manual REC
Perform the recording rate (REC Rate) and the image quali-
ty (Quality) for manual recording.
The following are available for the recording rate.
OFF/2 ips/3 ips/5 ips/6 ips/7.5 ips/10 ips/15 ips/30 ips/
60 ips/120 ips
Note: The available recording rate differs depending on the
selected solution.
■ [REC & Event]
Perform the settings for the basic recording and the set-
tings for event actions of each event type (motion detection,
video loss, command alarm and terminal alarm.)
8 REC Type
Select "QUICK" or "ADVANCED" for validation of the record-
ing settings.
QUICK: The recording settings set on the SETUP MENU
(Quick) will be validated when recording.
ADVANCED: The recording settings set on the SETUP
MENU (Advanced) will be validated when recording.
Note: When "QUICK" is selected for "REC Type" of "REC &
Event", the SETUP MENU (Quick) will be displayed by
pressing the SETUP/ESC button for 2 seconds or more.
When "ADVANCED" is selected for "REC Type" of "REC
& Event", the SETUP MENU (Advanced) will be dis-
played by pressing the SETUP/ESC button for 2 sec-
onds or more.
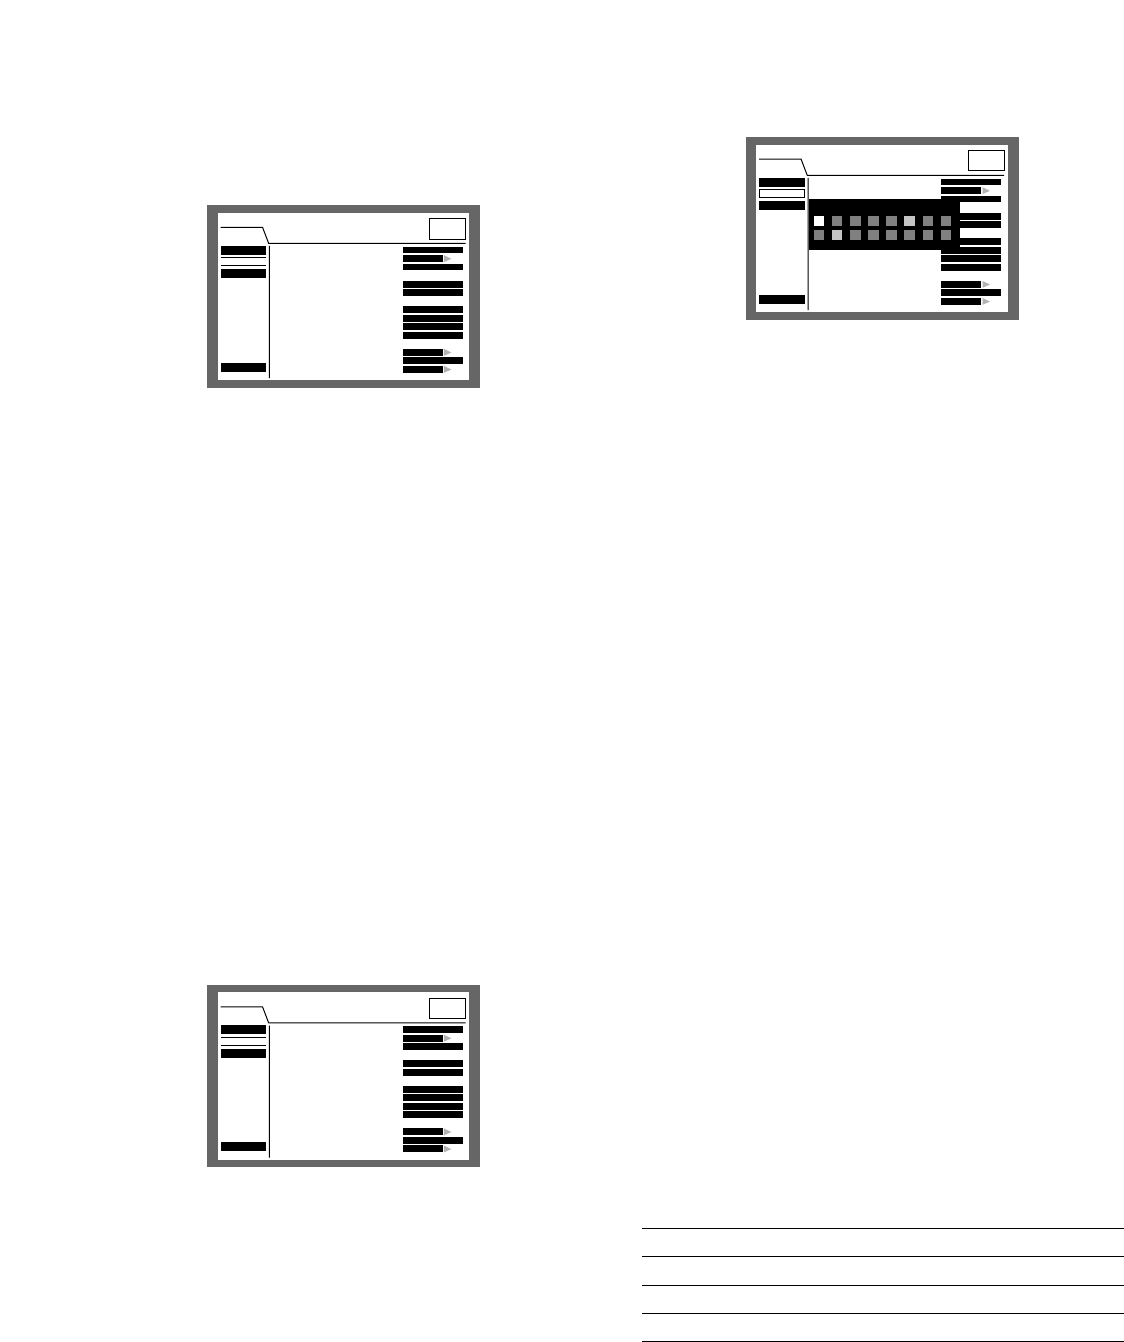
8 REC Camera
Select a camera channel for manual recording/event
recording.
[Screenshot 1]
Start operation from the "REC & Event" menu.
z Move the cursor to "REC Camera" using the arrows but-
ton (CD) and press the SET button.
SETUP MENU
LIVE
Quick
Display
REC & Event
Network
Advanced Menu
■
REC Type
■
REC Camera
■
Resolution
■
Manual REC
REC Rate
Quality
■
Event REC
REC Rate
Quality
Time
Operation Mode
■
Event Setup
■
Power ON Manual REC
■
VMD Setup
QUICK
SETUP
FIELD
30ips / 16CH
FQB
30ips / 16CH
FQB
30s
ALARM
SETUP
OFF
SETUP
REC Camera
1 2345678
910111213141516
FRAME 3D ON/FRAME 3D OFF
FIELD
SIF
Maximum recording rate
30 ips
60 ips
120 ips
Note: The camera channel number selected for "REC
Camera" will be displayed next to the selected record-
ing rate.


