90
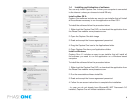
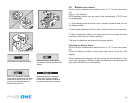
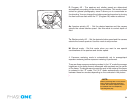
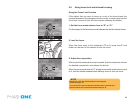
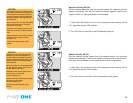
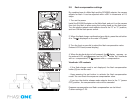
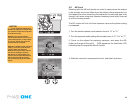
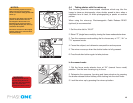
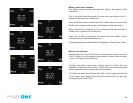
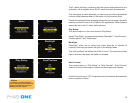
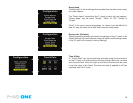
8.5 4 simple steps to calibrate on fixed lenses (MAC)
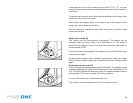
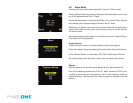
1. Hold the calibration plate in front of the xed lens (as close as
possible), and capture. In order to ensure correct exposure you may
have to up a few f-stops or in a very dark setup, put on more light
directly onto the plate.
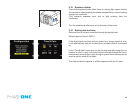
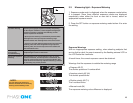
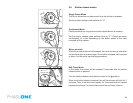
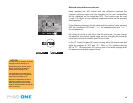
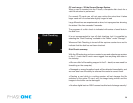
2. In the Capture One software you select the ‘calibration’ image and
click on the “Save LCC” button (the LCC tool is located under the grey
balance tab).
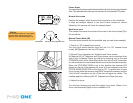
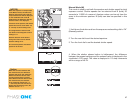
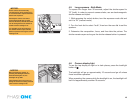
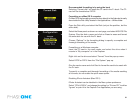
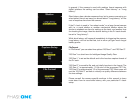
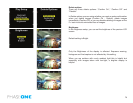
3. Give the calibration le a name that corresponds to the lens in use or
the set-up (e.g. 45mmDaylight)
4. Select the calibration le: “45mm Daylight” from the “Lens CC” drop-
down list and click “Set as default for new Captures”.
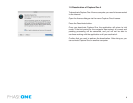
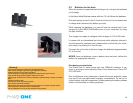
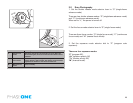
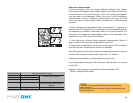
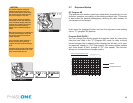
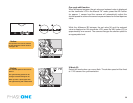
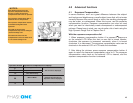
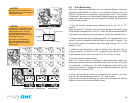
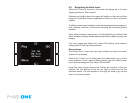
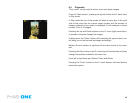
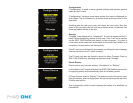
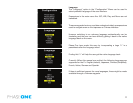
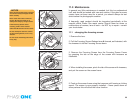
8.6 Large format and stitched images (MAC)
Large format and stitched images (Mac)
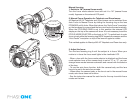
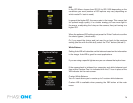
When using LCC in combination with large format capture and image
stitching you must capture one calibration le per image and make sure
that you match the calibration le to the right image prior to stitching.
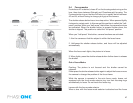
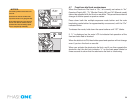
1. Start by capturing the two calibration les and the two image les.
2. Save the right-side calibration le by clicking the “Save LCC”
3. Name the calibration le i.e.CarsRight.
4. Save the left-side calibration le the same way.
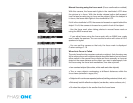
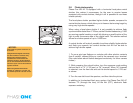
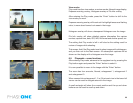
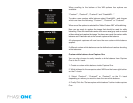
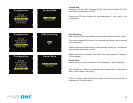
5. Select the right-side image and apply the right-side calibration le.
Select the left-side image and apply the left-side calibration le.
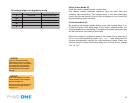
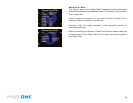
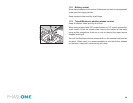
6. A simple way to gray calibrate is to select all images in the thumbnail
window. Click on the left-side center of the right side calibration le and
apply that gray balance to all images by clicking the “Apply to all selected”
(remember to only select apply gray balance in the dialog).
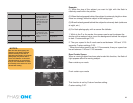
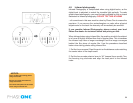
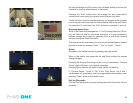
PLEASE NOTE: As soon as grey
calibration is done and the calibration
files are saved and appear in the Lens CC
drop-down box the calibration files can
be deleted from the thumbnail window.