8
4 Get started
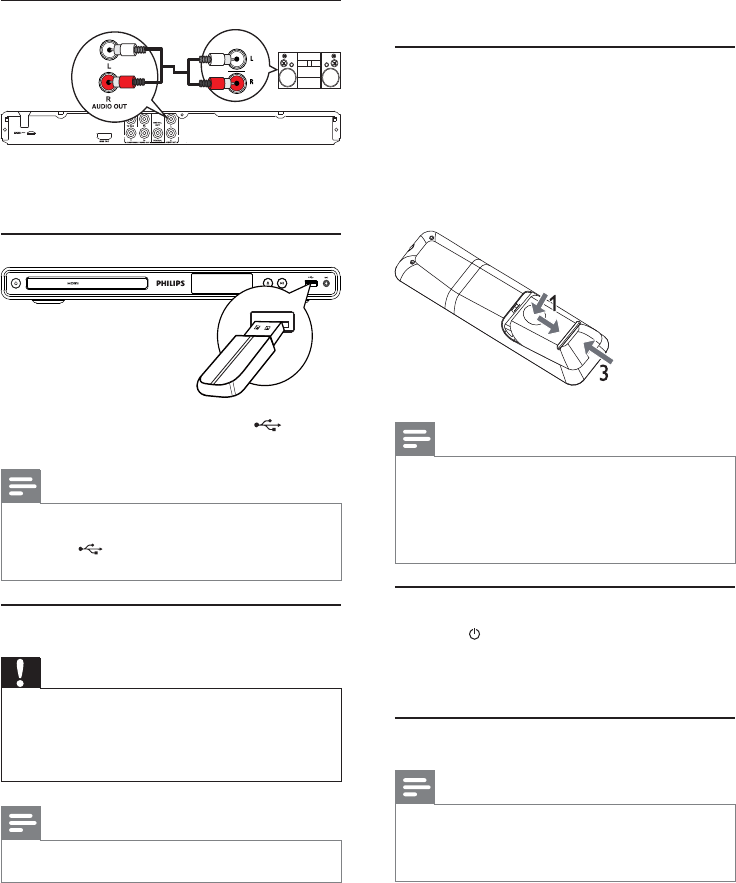
Prepare the remote control
1 Press and push the battery compartment to
slide it open (see “1” in the illustration).
2 Insert two AAA batteries with correct
polarity (+/-) as indicated.
3 Push and slide back the battery compartment
(see “3” in the illustration).
Note
If you are not going to use the remote control for a long •
time, remove the batteries.
Do not mix batteries (old and new or carbon and
•
alkaline, etc.).
Batteries contain chemical substances, so they should be
•
disposed of properly.
Find the TV input channel
1 Press to turn on this product.
2 Turn on the TV and switch to the video input
channel (refer to the TV user manual on how
to select the A/V input channel).
Select menu display language
Note
If this product is connected to a HDMI CEC compliant •
TV, skip this setting. It switches automatically to the
same OSD menu language as per your TV setting (if the
language set on TV is supported by this product).
Connect analogue stereo system
AUDIO IN
1 Connect the audio cables (supplied) to:
the • AUDIO OUT L/R jacks on this product.
the audio input jacks on the device.•
Connect USB flash drive
1 Connect a USB flash drive to the jack on
this product.
Note
This product can only play/view MP3, WMA, DivX •
(Ultra) or JPEG files that are stored on a USB flash drive.
Press the
• button to access the content and play
the files.
Connect power
Caution
Risk of product damage! Ensure that the power supply •
voltage corresponds to the voltage printed on the back
of the unit.
Before connecting the AC power cord, ensure you have
•
completed all other connections.
Note
The type plate is located on the back of the product. •
1 Connect the AC power cable to:
the wall socket.•
This product is ready to be set up for use. »
DVD PLAYER DVP3560K
EN


