<
1 Press Menu.
– The menu bar appears on the screen.
The first item is highlighted and its sub menu is shown.
Depending on the selected source (Computer, Component,Video or S-Video) some
options of the submenu may be greyed out.This indicates that these functions:
– are not available in a certain mode,
– have no function for the selected source.
For example:
– Horizontal size under menu ‘Display’ when Auto image is switched to ON.
– Hue under menu ‘Picture’ when signaltype is not NTSC.
2 Use Cursor Control left and/or right to move the cursor to any other item in the menu bar.
3 Select the sub menu item to be adjusted using Cursor Control up and/or down.When
more items are available than can be shown in one screen, this will be indicated by ‘more’ at
the bottom of the list. Move the cursor down to go to the next list of items.With ‘previous’
you can go back to the first list.
4 Adjust the selected item in the action window at the bottom of the screen, using Cursor
Control left and/or right.
5 Select the next item to be adjusted in the sub menu and adjust as described above.
6 Press Menu to close the On Screen Menu Display.
General explanation
Philips Home Cinema Projector English User guide Garbo 20
5. Operation
Picture
Brightness
Contrast
Hue
Saturation
Sharpness
Mirror
(more)
Display Audio Settings
Picture
(previous)
Picture format
Colour tracking
Colour temperature
Red
Green
Blue
min
Move pointer left or right to adjust the Red level.
Display Audio Settings
max
Picture
Brightness
Contrast
Hue
Saturation
Sharpness
Mirror
(more)
min
Move pointer left or right to adjust the contrast level.
Display Audio Settings
max
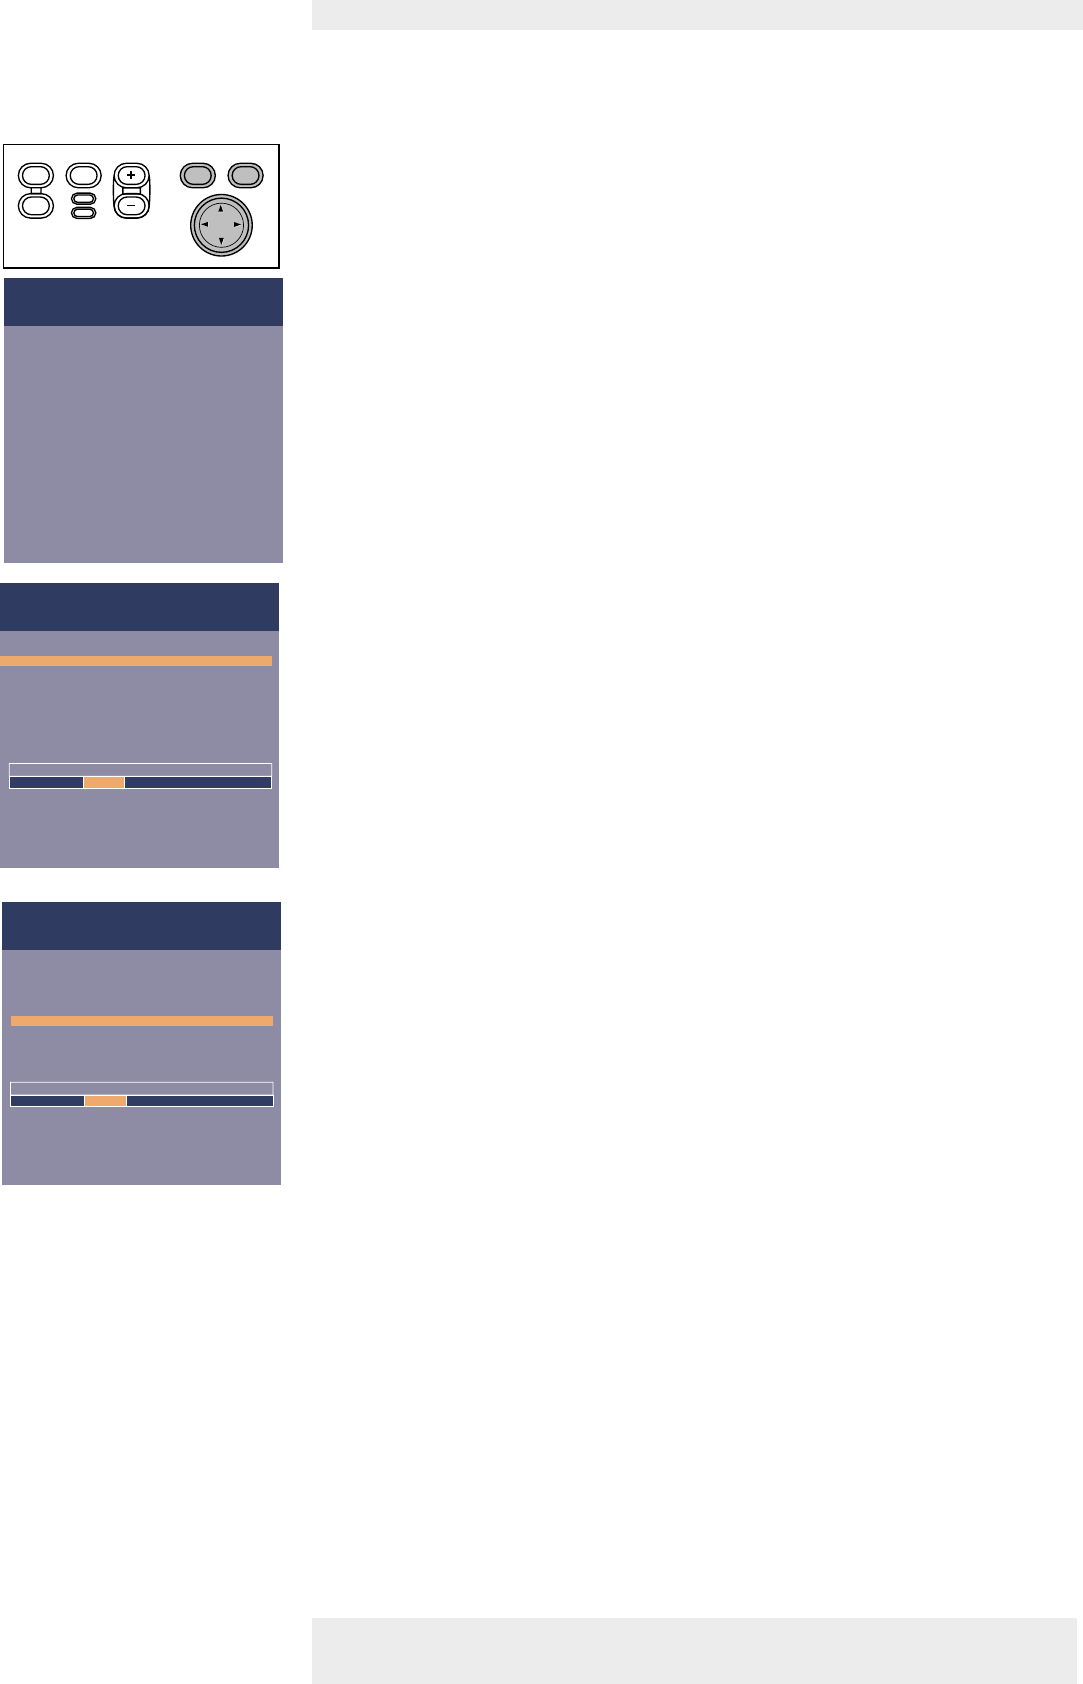
Menu OK
AV
Mute
Source
Stand
by
Lamp
Te mp
Menu OK
AV
Mute
Source
Stand
by
Lamp
Te mp
On Screen Display Menu


