Using the Auto Cook Feature
The Auto Cook feature has ten pre-programmed cooking times. You
do not need to set either the cooking times or the power level.
You can adjust the size of the serving by pressing the Dish button.
☛ Use only recipients that are microwave-safe.
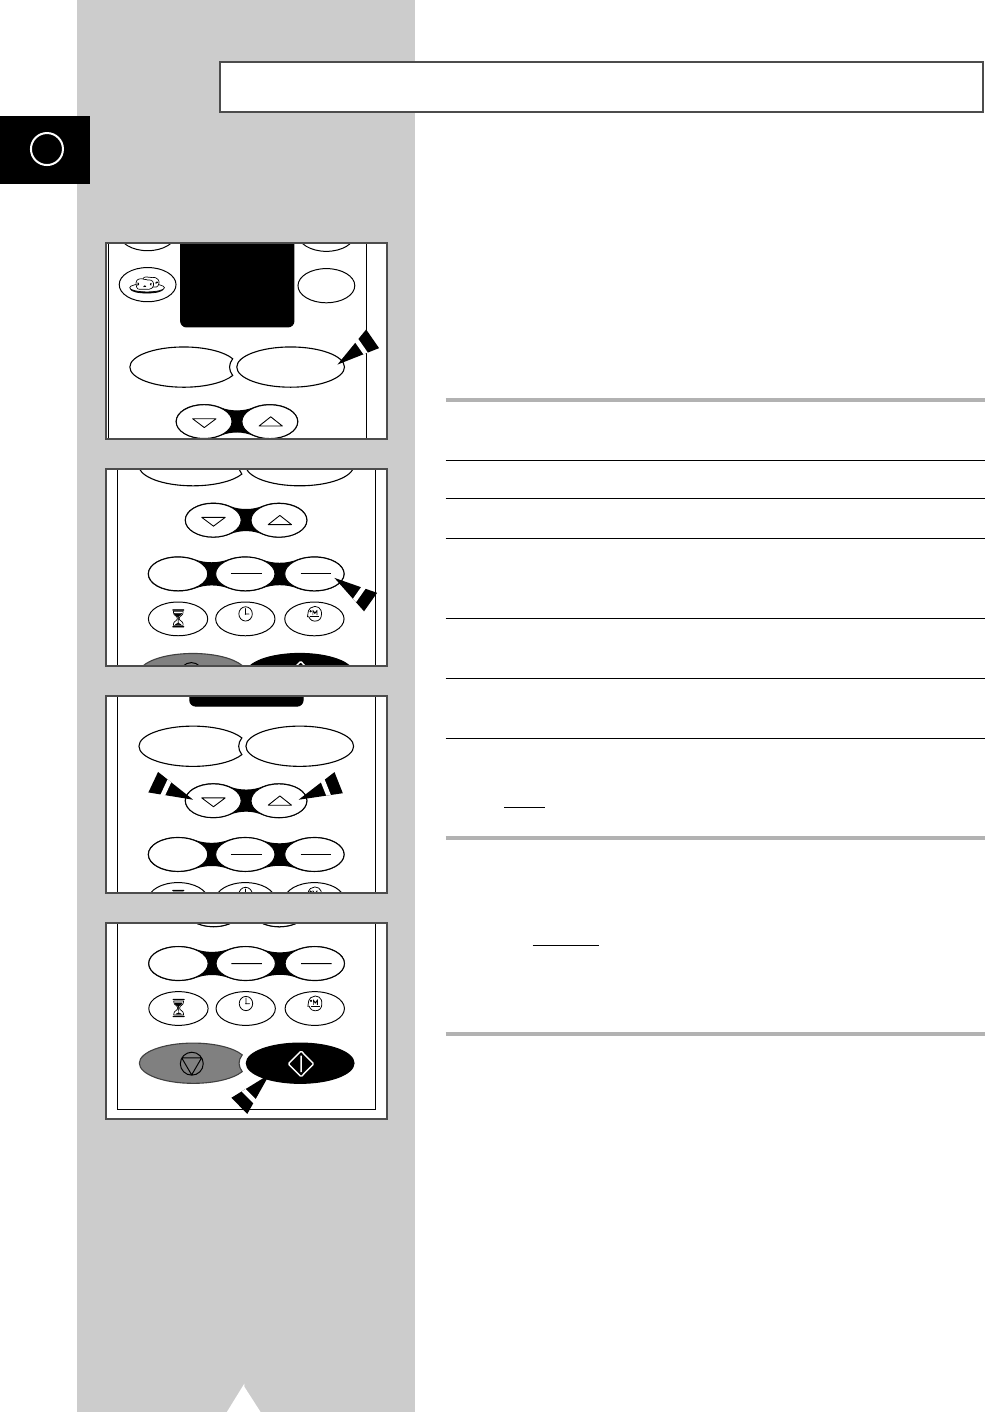
1 Open the oven door by pushing the large button in the bottom right-hand
corner of the control panel.
2 Place the food in the centre of the glass plate.
3 Close the door.
4 Select the type of food that you are cooking by pressing the AUTO COOK
button one or more times. Refer to the table on the following page for a
description of the various pre-programmed settings.
5 Select the size of the serving by pressing the Dish button one or more
times.
6 Increase or decrease the cooking time, if necessary, by pressing the
MORE (▲) or LESS (▼) buttons respectively.
7 Press START.
Result: The food is cooked according to the pre-programmed setting
selected.
➢ The first number in the code corresponds to the type of
dish and the second to the serving size.
Example
:To cook 400 - 450 g of tinned food (code 2 - 2),
press:
◆ AUTO COOK twice
◆ Dish twice
16
4. SOUP / SAUCE
5. BOILED POTATOES
6. FRESH VEGETABLES
7. FISH
8. ROAST BEEF
9. ROAST PORK
10.ROAST CHICKEN
AUTO DEFROST
AUTO REHEAT / COOK
Minus/min -
Plus/min +
POWER LEVEL
BAKED POTATOES
10.ROAST CHICKEN
10min
1min
1kg
10s
0.1kg
AUTO DEFROST
AUTO REHEAT / COOK
h
min Dish
Minus/min -
Plus/min +
10min
1min
1kg
10s
0.1kg
h
min Dish
Minus/min -
Plus/min +
CLOCK
MEMORY
10min
1min
1kg
10s
0.1kg
h
min Dish
CLOCK
MEMORY
GB
2 CE101K/102KT/103KB 2003.3.7 4:3 PM Page 16


