39
Automatic Volume Adjustment
Different sound sources sometimes do not have the
same volume level, such as a programme and its
commercial breaks. The Automatic Volume Control
(Auto Volume) reduces this problem by equalizing
levels.
Watching TV
Press
c
/
d
to select “Option”.
Press MENU and the MENU screen displays.
1
2
Press
c
/
d
to select “On”, and then press
ENTER.
Press
a
/
b
to select “Auto Volume”, and then
press ENTER.
3
4
Clear Voice
This function emphasises speech against background
noise for greater intelligibility. It is not recommended for
music sources.
Press
c
/
d
to select “Option”.
Press MENU and the MENU screen displays.
1
2
Press
c
/
d
to select “On”, and then press
ENTER.
Press
a
/
b
to select “Clear Voice”, and then
press ENTER.
3
4
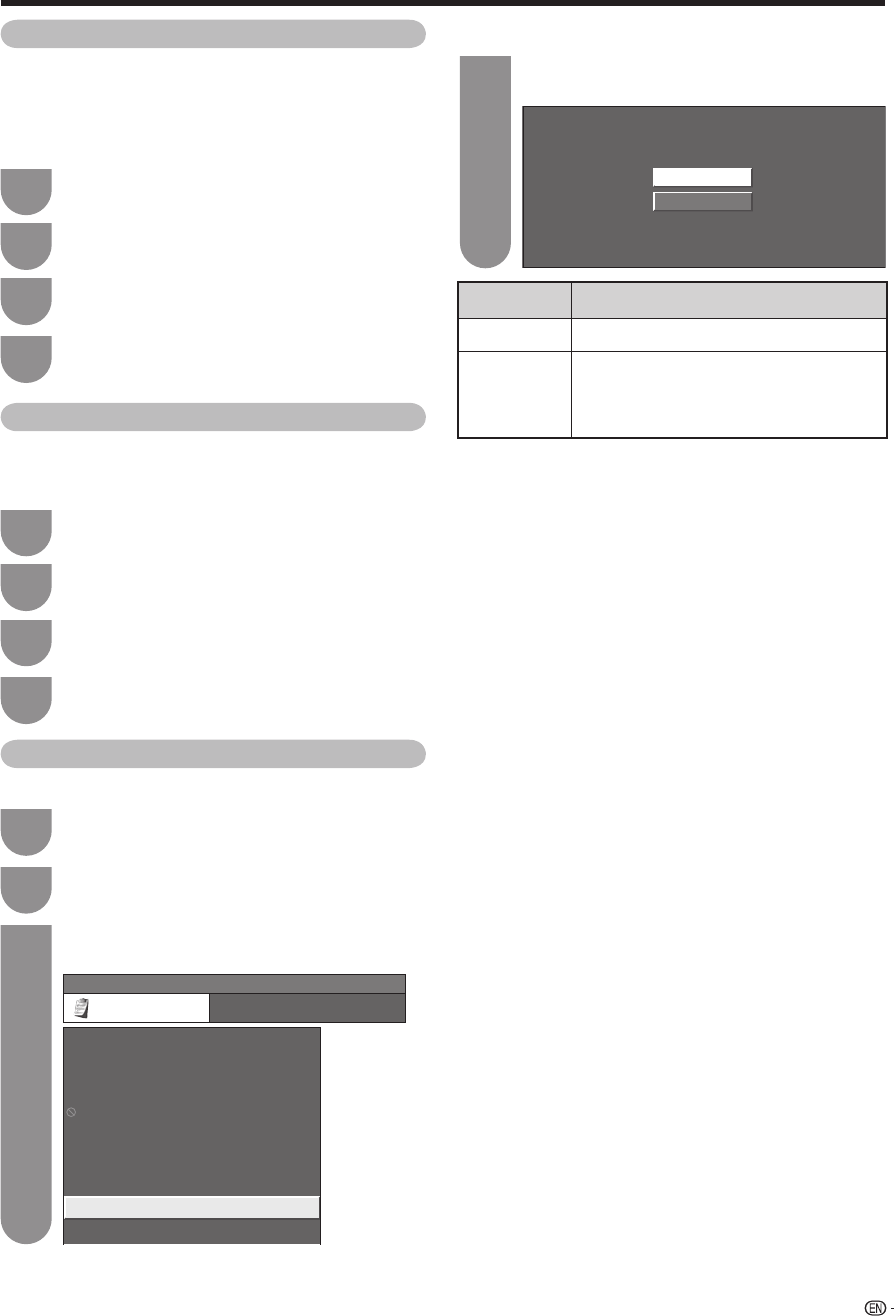
Digital Audio Output
This function allows you to select your favourite audio output system.
Press
c
/
d
to select “Option”, and then press
ENTER.
Press MENU and the MENU screen displays.
1
2
Press
a
/
b
to select your desired output
system, and then press ENTER.
Press
a
/
b
to select “Digital Audio Output”,
and then press ENTER.
3
4
MENU
[
Option
...
DigitaI Audio Output
]
Option
AQUOS LINK Setup
DNR
Input Select
HDMI Audio Select
Output Volume Select
Auto Volume
Clear Voice
Digital Audio Output
Audio Only
[Off]
[Auto]
[Digital]
[Fixed]
[On]
[Off]
[Off]
[PCM]
Selected item Description
PCM
The optical output format is normally in PCM.
Dolby Digital Dolby Digital audio will be output when
there is a Dolby Digital audio signal. The
output will be in PCM when there is no
Dolby Digital audio signal.
PCM
Dolby Digital
65RX1X_en_g.indd 3965RX1X_en_g.indd 39 2008/06/20 14:01:332008/06/20 14:01:33


