77
CHANGING THE EXPOSURE AND
ORIGINAL IMAGE TYPE
Exposure and original image type settings can be selected as appropriate for the original.
The procedure for darkening the exposure and setting the original image type to "Text/Prtd. Photo" is explained
below.
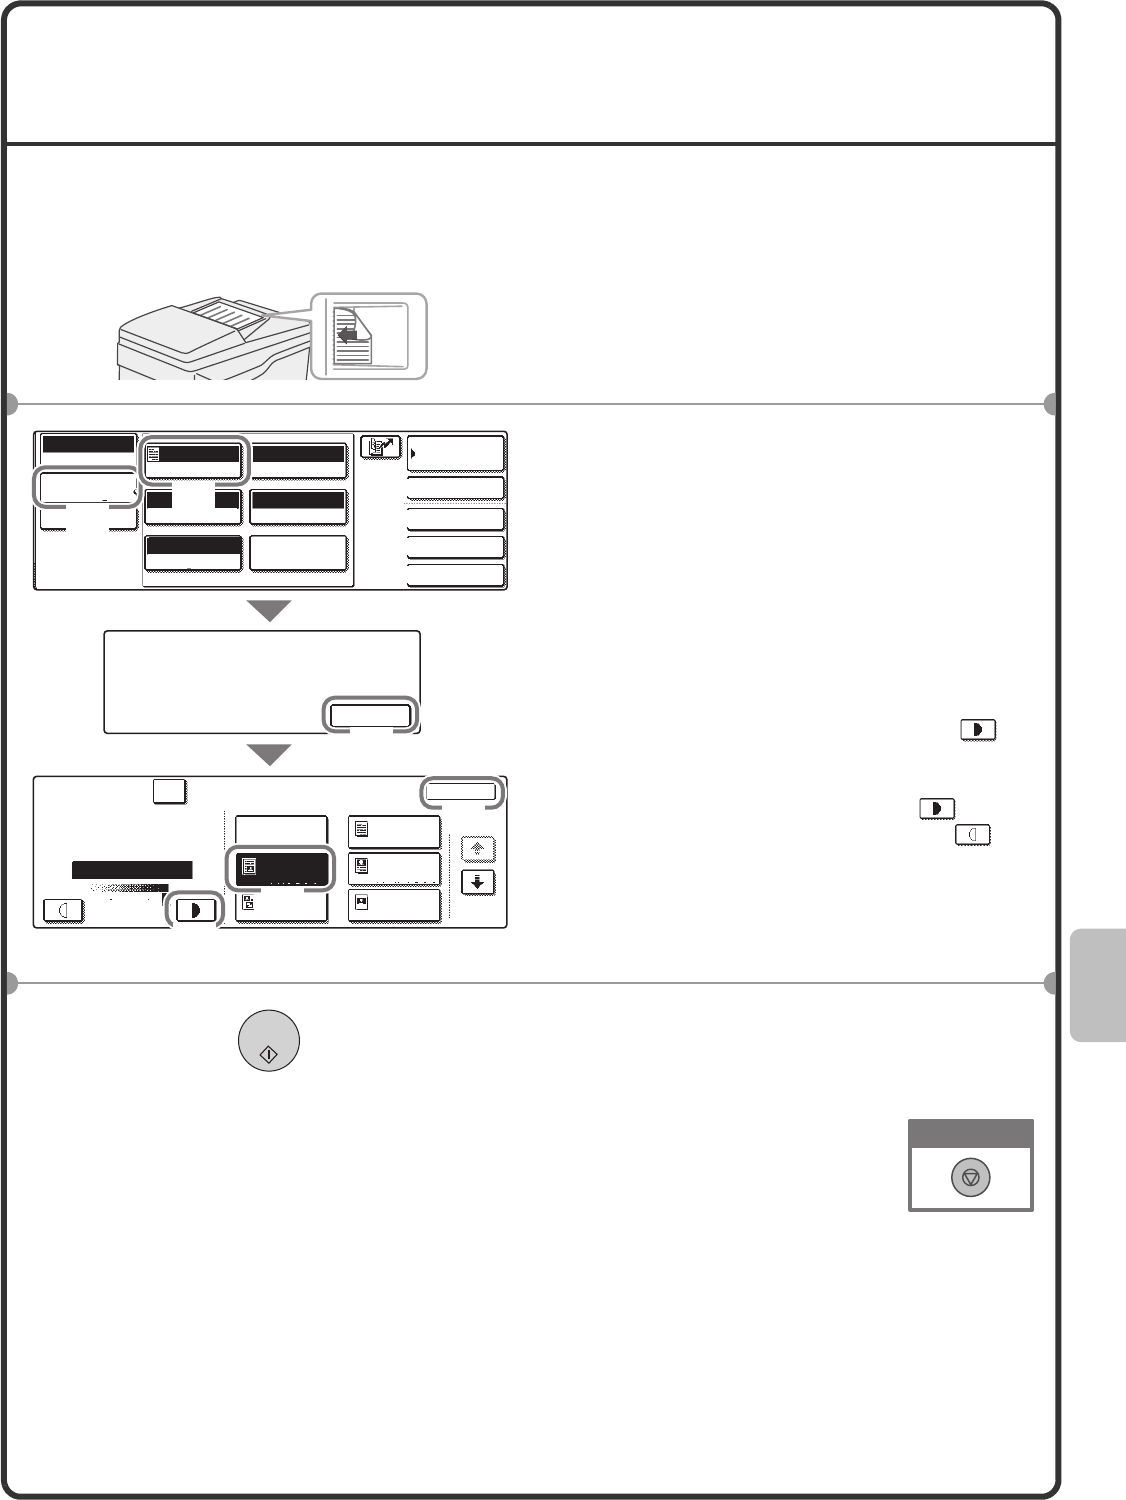
1 Place the originals.
When using the document glass, place the
original with the side to be scanned face down.
2 Select settings in the touch panel.
(1) Touch the [Job Detail Settings] key.
(2) Touch the [Exposure] key.
(3) Read the displayed message and
touch the [OK] key.
(4) Touch the [Text/Prtd. Photo] key.
(5) Darken light colours with the
key.
5 levels are available for the exposure.
Darken light originals with the key,
and lighten dark originals with the
key.
(6) Touch the [OK] key.
3 Select the destination and then press
the [COLOUR START] key or the
[BLACK & WHITE START] key.
The side to be scanned must be face up!
OK
When Fax/I-Fax address is included,
exposure setting shared is selected,
and Original Image Type is disabled.
Quick File
File
Special Modes
Address Entry
Address Book
Scan
Mode Switch
Job Detail
Settings
Send Settings
Mono2/Auto
TIFF/JPEG
Exposure
Colour Mode
File Format
200X200dpi
Auto
Resolution
Original
Special Modes
Auto
A4
Scan
Exposure
OK
Manual
Printed
Photo
Text/
Prtd.Photo
Text/Photo
Photo
Auto Text
1 2
Text
Moiré Reduction
1 3
5
(1)
(2)
(3)
(5)
(4)
(6)
mx2301_ex_qck.book 77 ページ 2009年8月7日 金曜日 午後4時6分


