3. Press the shutter button.
The product starts the self-timer shooting after three seconds.
Hint
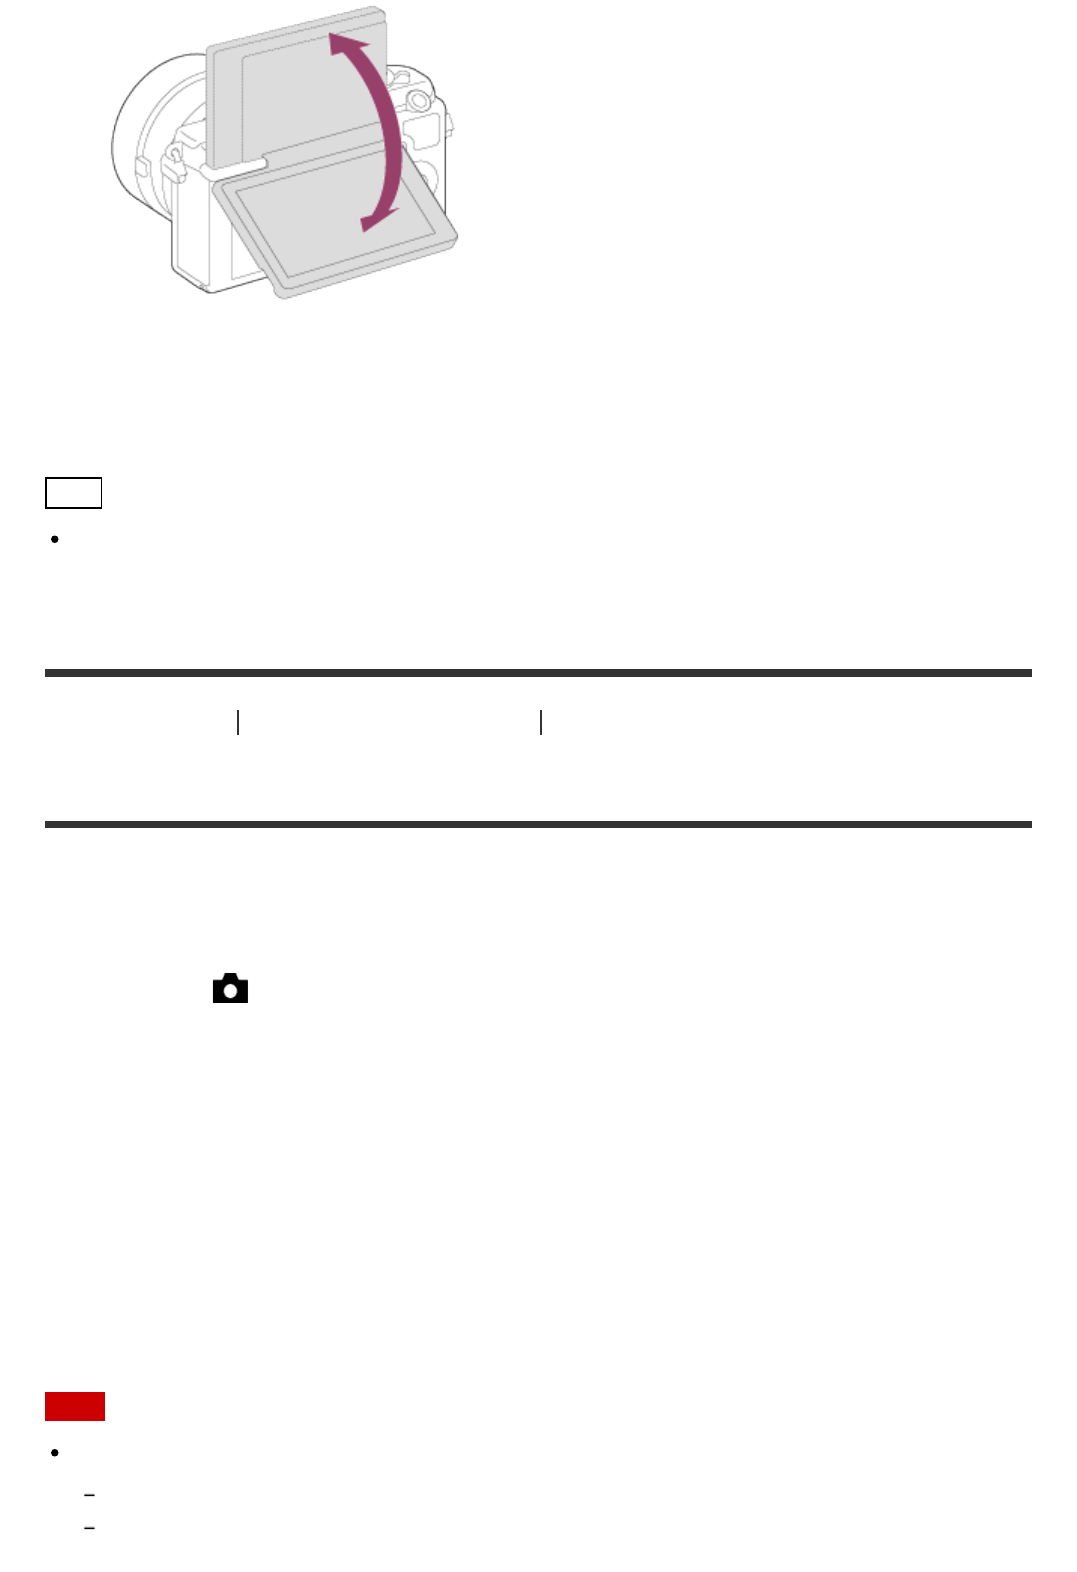
If you want to use another Drive Mode than the 3-second self-timer mode, first set [Self-
portrait/ -timer] to [Off], then tilt the monitor upward approx. 180 degrees.
[92] How to Use
Using shooting functions Selecting the ISO sensitivity
ISO
Sensitivity to light is expressed by the ISO number (recommended exposure index). The
larger the number, the higher the sensitivity.
1. MENU → (Camera Settings) → [ISO] → desired setting.
Menu item details
ISO AUTO (default setting):
Sets the ISO sensitivity automatically.
100 / 125 / 160 / 200 / 250 / 320 / 400 / 500 / 640 / 800 / 1000 / 1250 / 1600 /
2000 / 2500 / 3200 / 4000 / 5000 / 6400 / 8000 / 10000 / 12800 / 16000 /
20000 / 25600:
You can reduce image blurring in dark locations or with moving subjects by increasing the
ISO sensitivity (select a larger number).
Note
[ISO AUTO] is selected when using the following functions:
[Intelligent Auto]
[Superior Auto]


