Receiver Operations
13
GB
Naming preset stations
You can store names (index names), up to 8 characters
long, for your preset stations. Once you name a preset
station, the name appears in the display instead of the
frequency when you tune to that preset station. The
characters you can use include letters, numbers and
symbols.
1 Tune to the preset station you want to name.
2 Press NAME.
The cursor blinks in the display.
3 Use + or – to select the character you desire.
4 Press MENU </> to move the cursor into position
for the next character.
5 Repeat steps 3 and 4 to enter up to 8 characters.
6 Press ENTER to store the names.
If you make a mistake
Press MENU </> repeatedly so that the character you want
to change blinks in the display, then use + or – to select the
desired character.
To display index names
Press DISPLAY repeatedly to display index names and
program source (or frequency if you select TUNER).
Notes
• You can also enter a name of up to 8 characters for
program sources. Select the program source you want and
repeat steps 2 to 6 (except 5.1 CH/DVD).
• To clear program source name, press NAME and then
press the same program source button. Press ENTER to
delete the name (except TUNER).
Recording
This receiver makes it easy to record to and from the
components connected to the receiver. You don’t have
to connect playback and recording components
directly: once you select a program source on the
receiver, you can record and edit as you normally
would using the controls on each component.
Before you begin, make sure you’ve connected all
components properly.
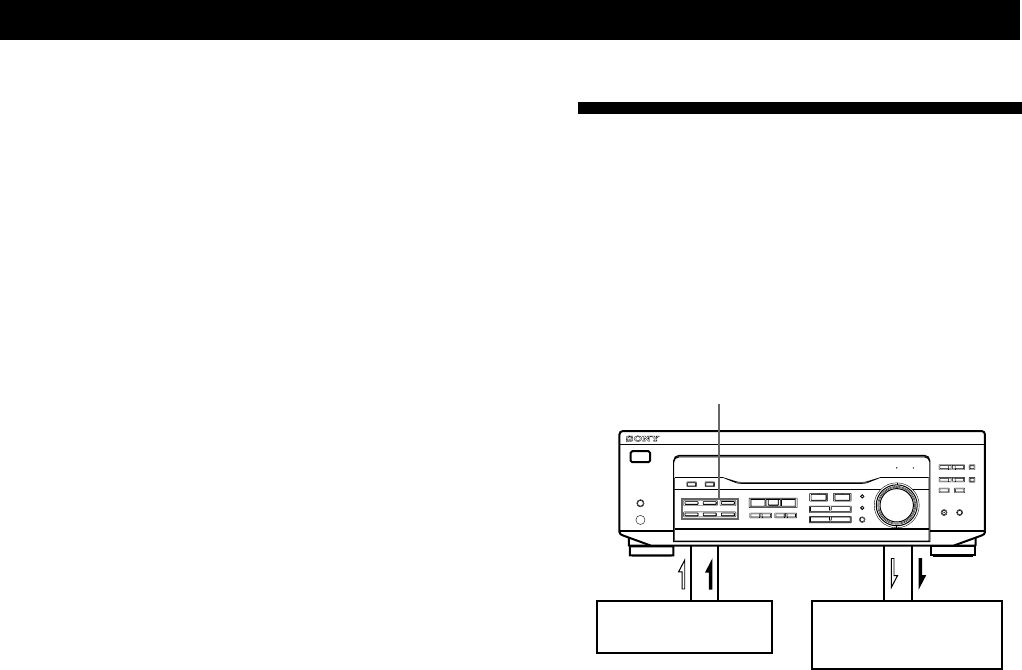
l: Audio signal flow
.: Video signal flow
Recording on a MiniDisc or audio tape
You can record on a MiniDisc or cassette tape using the
receiver. See the instruction manual of your MD
recorder or tape deck if you need help.
1 Press one of the function buttons to select the
program source.
2 Set the component to be ready for playing.
For example, insert a CD into the CD player.
3 Insert a blank disc or tape into the recording deck
and adjust the recording level, if necessary.
4 Start recording on the recording deck and then
start playing the component.
Playback component
(program source)
Function buttons
Recording component
(MD recorder,
Tape deck, VCR)
(continued)


