DCN Next Generation System Startup en | 15
Bosch Security Systems B.V. | 2005 January | 9922 141 70512
3 Using startup
3.1 Specifying global settings
3.1.1 The menu bar
All menu options referred to in this user manual are
contained within the menu bar, located underneath
the title bar at the top of the main window. Access to
drop-down menus is gained by clicking on the menu
title, displayed in the menu bar.
The full list of menu options is as follows:
File Global Settings System
C
onfig!
H
elp
Open Installation
file…
Op
en Names File…
C
lose
D
elete Installation
File…
De
lete Names File…
Ex
it
E
rror Messages…
A
uto Start Config…
M
aster Volume
Control
Mu
lti PC Setting…
Enter L
icense…
I
ndex…
K
eyboard
C
ommands
P
rocedures
G
lossary
U
sing Help
A
bout…
3.1.2 Master volume control
The ‘Master Volume Control’ window is displayed on
the Windows desktop regardless of which software
module you are running or intend to run. It is
situated in the left side of the screen alongside the
main Startup window. It appears as default when the
Startup module is loaded, but does not disappear
(unless intentionally removed) when you open
another module. You may remove this function so it
disappears from the screen and cannot therefore be
altered.
i Note
The ‘Master Volume Control’ window can be
moved around the desktop by clicking on the
window with the left mouse button and
dragging it to another position.
i Note
The ‘Master Volume Control’ is not always on
top of the other windows. When using
maximized windows, the control is not visible
anymore.
It can be always on top by adding the following
section to the DCNNG.INI file:
[Startup]
MasterVolOnTop=Yes.
Removing the master volume
To remove the master volume:
• Select the ‘Global Settings’ menu on the main
menu bar.
• Click ‘Master Volume Control’ to remove this
function.
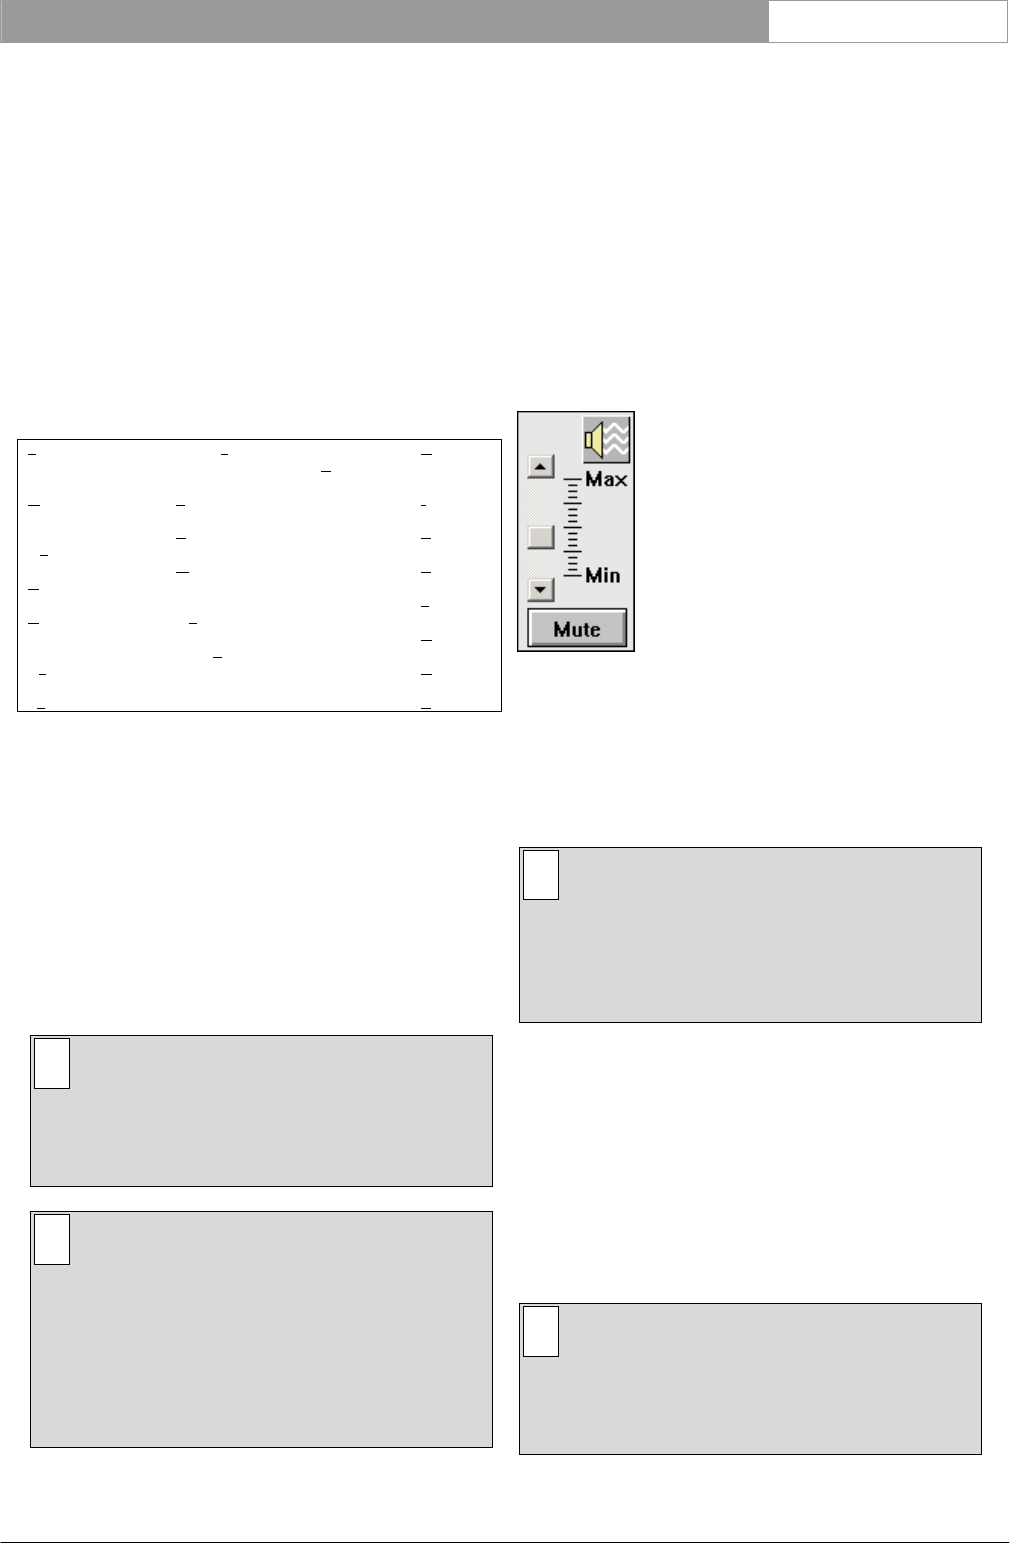
Altering the master volume control
This option allows you to adjust the volume of all
unit loudspeakers in the system.
Figure 6 The ‘Master Volume Control’ window
To alter the volume:
• Click on the up or down arrow, as required.
The slider box will move up or down corresponding
to the change in volume.
i Note
The volume can also be altered by dragging the
slider box up or down, as required. It is also
possible to click on the area above or below
the slider box. This causes the slider box to
move towards the pointer.
Muting
It is possible to cut off all delegate unit loudspeaker
output. To do so:
• Click on the ‘Mute’ push button situated
underneath the master control volume box at the
bottom left of the screen.
The button will turn red, indicating the ‘Mute’
function has been activated. The slider box will move
to its lowest possible position.
i Note
Muting the output signal only temporarily
reduces the output volume to zero. When the
muting is disabled, the output volume returns to
the level it had before being muted.


