4. To turn the lights on and off, press and
release the upper part of the LIGHT
(U/L) button or the lower part of the
LIGHT (D/L) button. The lights will turn
on at the light level previously set (see
Step 3).
Red light turns on when any button is
pressed. If the light does not come on,
replace your battery.
5. If airflow is desired in the opposite
direction, turn the fan off with the FAN
OFF button and wait for the blades to
stop turning. Then slide the reversing
switch, located on top of the fan motor
assembly, to the opposite position
(Figure 28) and turn the fan on again.
The blades will turn in the opposite
direction and reverse the airflow.
14
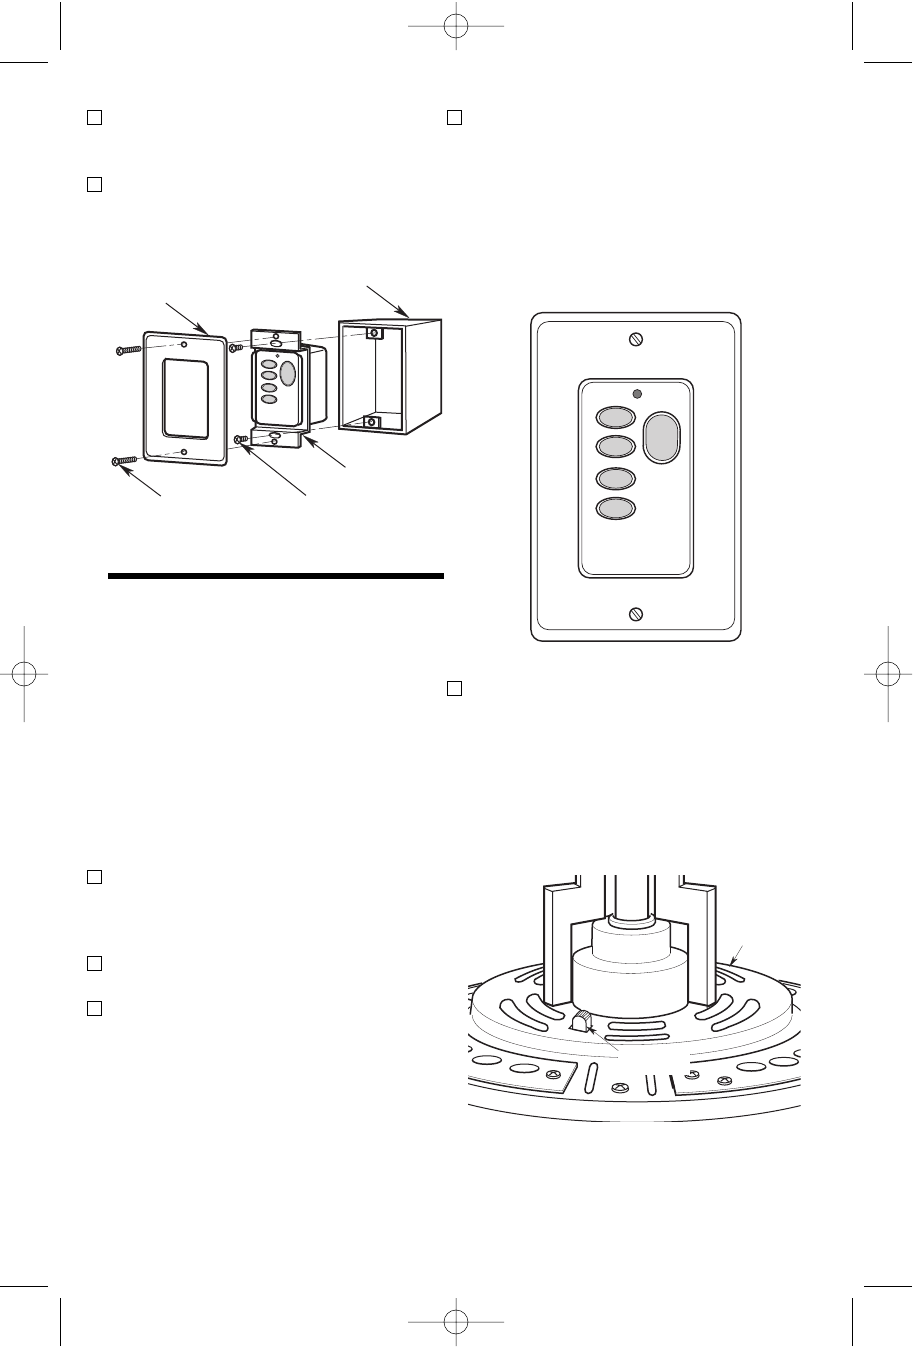
3. Install the wall control onto the outlet
box using the supplied screws (Figure
26).
4. Install decorator faceplate (included)
using the two screws provided. Leave
wall control in “OFF” mode until fan
installation is completed (Figure 26).
Figure 26
IMPORTANT
Fan installation must be completed,
including the installation of the fan
blades, before testing of the remote
control.
Your Fan/Light Wall Control (Figure 27)
has full control of your fan, lights, and
airflow direction.
1. To set the desired fan speed, push the
HI, MED, or LOW buttons to operate
your fan on high, medium or low speed
(See Figure 27).
2. To turn your fan off, press the FAN OFF
button.
3. To set the level of light brightness,
press and hold the upper part of the
LIGHT (U/L) button or the lower part of
the LIGHT (D/L) button. The light
brightness will continue to increase
then decrease while the button is held
down. When the light is at the desired
brightness, release the button.
Operating Your
Ceiling Fan