INSTEON SwitchLinc V2 Dimmer User’s Guide
Unlinking SwitchLinc Dimmer from an INSTEON Controller
If you are no longer going to control a SwitchLinc Dimmer with an INSTEON Controller, it is very
important that you unlink it, because otherwise the controller will retry any commands intended for the
unused SwitchLinc Dimmer, thus slowing down your system.
1. Select your INSTEON Controller from the list below and follow the method shown to put it into
Unlinking Mode.
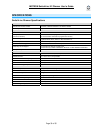
A. A Second SwitchLinc V2 Dimmer – Follow the instructions in the section
Unlinking a Controlled INSTEON Device from SwitchLinc Dimmer, above.
(Briefly, press and hold the Second SwitchLinc Dimmer’s Paddle Top for 10
seconds twice.)
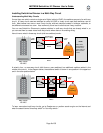
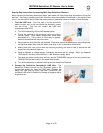
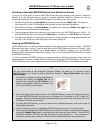
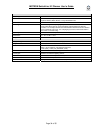
B. ControLinc™ V2 Tabletop Controller – Press and hold the OFF Button of
the ON/OFF Button Pair you used for controlling SwitchLinc Dimmer for 10
seconds. To confirm that it is in Unlinking Mode, ControLinc V2’s Status LED
will begin blinking.
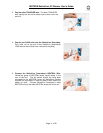
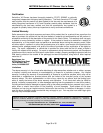
C. KeypadLinc™ V2 – Press and hold for 10 seconds the ON Button you used
for controlling SwitchLinc Dimmer, then press and hold the same ON Button
for 10 seconds again. To confirm that it is in Unlinking Mode, KeypadLinc V2
will flash the light that it is wired to once and begin blinking the ON Button that
you pushed.
D. Other INSTEON Controllers – See the INSTEON Controller’s User’s Guide.
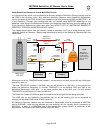
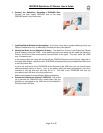
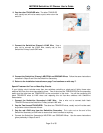
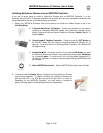
2. Press and hold the Paddle Top for 10 seconds on the SwitchLinc Dimmer
that is being controlled. To confirm unlinking, the SwitchLinc Dimmer will
blink the top LED in its LED Bar and also the light that it is wired to.
Depending on the INSTEON Controller, you have about 4 minutes to
perform this step before Unlinking Mode times out automatically.
Page 17 of 35