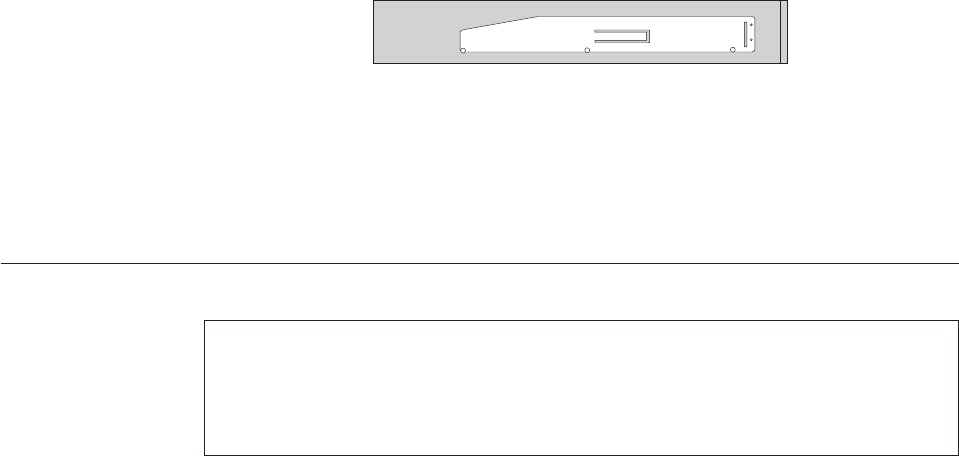
5. Remove the retainer bracket from the failing diskette drive and install it on the
new diskette drive.
6. Slide the new diskette drive into the drive bay until it snaps into position.
7. Connect the flat cable to the new diskette drive.
8. Replace the front bezel.
9. Go to “Completing the FRU replacement” on page 122.
Replacing the front fan assembly
Attention
Do not open your computer or attempt any repair before reading and understanding the
“Important safety information” in the ThinkCentre Safety and Warranty Guide that came with
your computer. To obtain a copy of the ThinkCentre Safety and Warranty Guide, go to:
http://www.lenovo.com/support
This section provides instructions on how to replace the front fan assembly.
To replace the front fan assembly:
1. Remove the computer cover. See “Removing the computer cover” on page 86.
2. Remove the front bezel. See “Removing and reinstalling the front bezel” on
page 90.
3. Disconnect the front fan assembly cable from the power fan connector on the
system board. See “Locating parts on the system board” on page 89.
Figure 28. Retainer bracket for diskette drive
Chapter 8. Replacing FRUs - Tower computers 115
