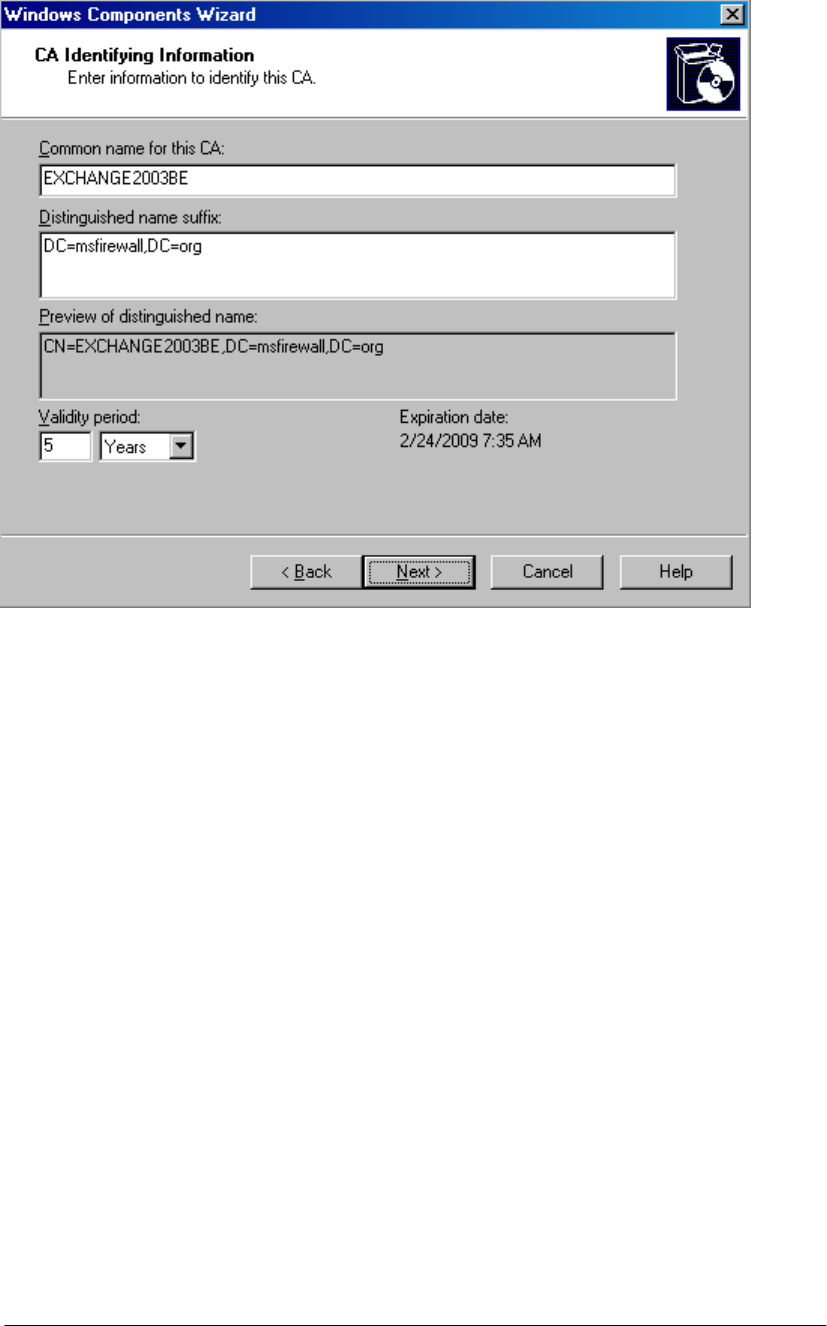
7. If the same machine had been configured as a CA in the past, you will be presented with
a dialog box asking if you wish to overwrite the existing key. If you have already deployed
certificates to hosts on your network, then do not overwrite the current key. If you have
not yet deployed certificates to hosts on your network, then choose to overwrite the
existing key. In this example, we have not previously installed a CA on this machine and
we do not see this dialog box.
8. In the Certificate Database Settings page, use the default locations for the Certificate
Database and Certificate database log text boxes. Click Next.
9. Click Yes in the Microsoft Certificate Services dialog box informing you that Internet
Information Services must be restarted. Click Yes to stop the service. The service will be
restarted for you automatically.
10. Click OK in the Insert Disk dialog box. In the Files Needed dialog box, enter the path to
the i386 folder in the Copy file from text box and click OK.
11. Click Finish on the Completing the Windows Components Wizard page.
12. Close the Add or Remove Programs window.
At this point, the Enterprise CA is able to issue certificates to machines via autoenrollment,
the Certificates mmc snap-in, or via the Web enrollment site. Later in this ISA Server 2004
Getting Start Guide series, we will issue a Web site certificate to the OWA Web site and also
issue machine certificates to the ISA Server 2004 firewall computer and to an external VPN
client and VPN gateway (VPN router) machine.
ISA Server 2004 Configuration Guide 20
