Connecting a Parallel Port Printer
61
Connecting a Parallel Port Printer
If your computer came with a docking station, you can connect a Windows®
operating system-compatible parallel port printer to the docking station.
However, if your computer did not come with a docking station, see “Connecting
a USB Printer” for information on connecting a printer to your computer.
To connect a parallel port printer
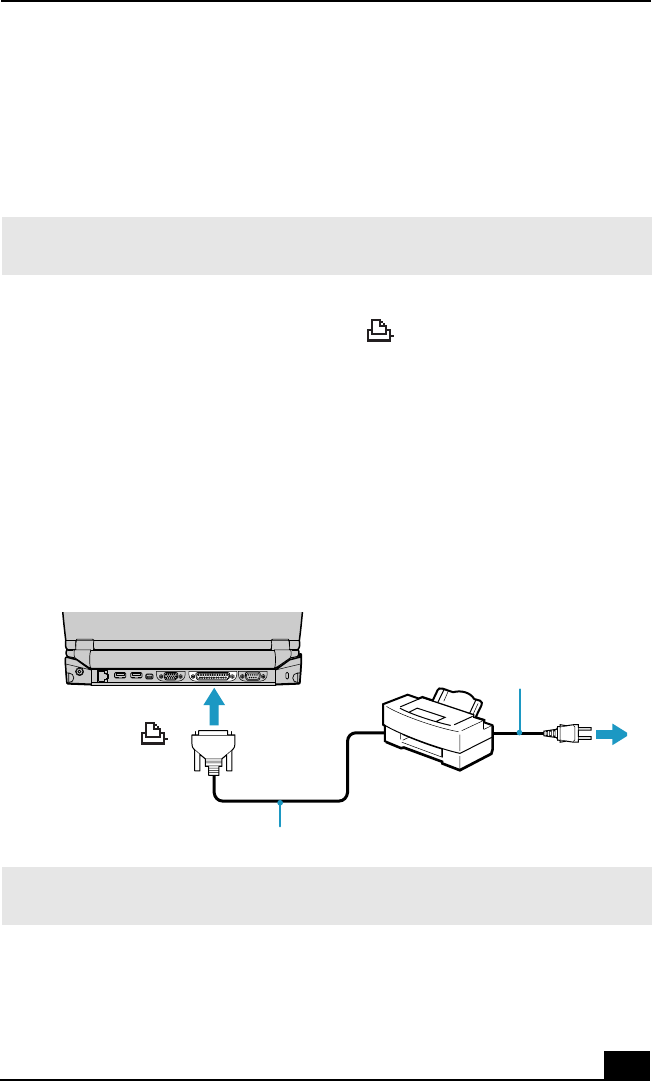
1 Locate the Printer port, identified by the symbol, on the docking station.
2 Plug the printer cable (not supplied) into the Printer port.
3 Make sure the Printer setting in the Sony Notebook Setup software is
properly set. See “Displaying the Sony Notebook Setup Screen” for more
information.
4 See the manual supplied with your printer for more information on its
installation and use
✍ Turn off the computer before connecting peripherals. In normal use, you should turn
on the peripherals before turning on your computer.
Connecting a Printer to the Docking Station
✍ If your printer stops functioning after resuming from a power saving mode, see
“Troubleshooting the Printer” for more information.
Power cord
Printer cable (not supplied)
To
Printer


