7
Installation
4. Press the MENU button to display the menu. (Operating Guide → Using
the menu function)
5. Use the ▲/▼/◄/► buttons to go into the following menu.
ADVANCED MENU > OPTION
> SERVICE > COMMUNICATION
> STACK
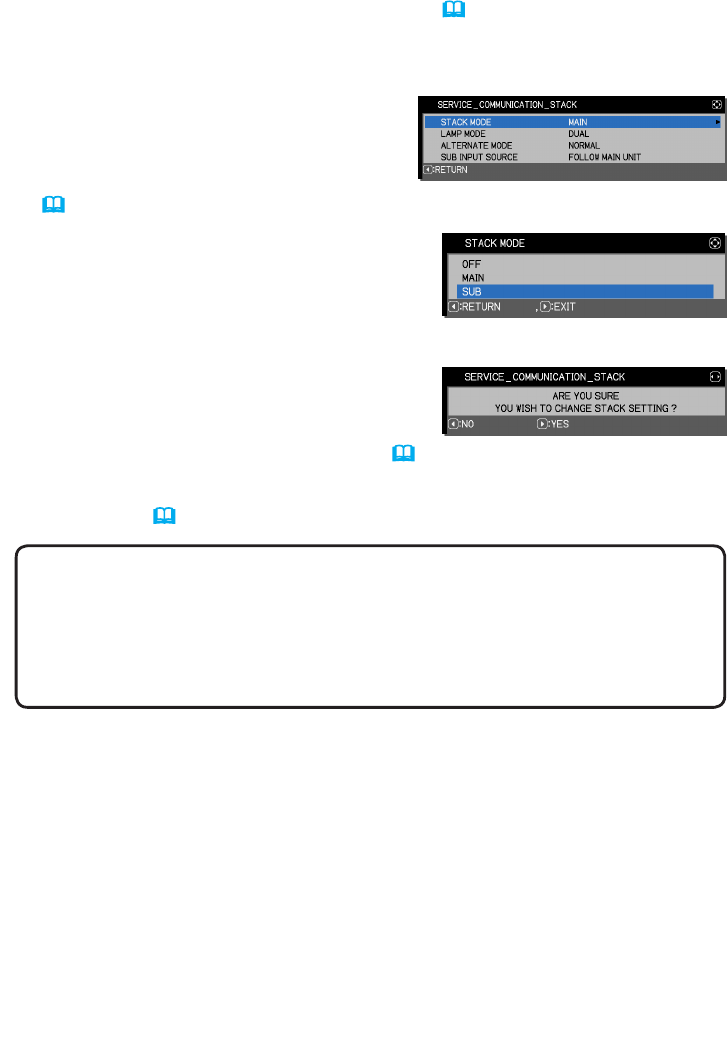
The STACK menu will appear on screen.
(Operating Guide → OPTION menu)
NOTE • Set A cannot be operated by the remote control after this change has
been made. To avoid crosstalk when operating with the remote control, we
recommend disabling the remote control receiver using KEY LOCK.
• After the STACK MODE setting is completed, Set
A
(Sub) will not be able to
receive remote control signals. When STACK MODE is set to OFF, enable the
remote control receiver using KEY LOCK if needed.
8. If you are using Intelligent Stack, disable the remote control receiver using
KEY LOCK. (Operating Guide → OPTION menu)
7. After pressing the ► button, a dialog to
conrm whether or not to save the setting is
displayed.
Press the ► button to save the setting. (
19
)
6. Use the ▲/▼ buttons to highlight STACK
MODE, and press the ► button to display
the STACK MODE dialog.
Highlight SUB pressing the ▲/▼ buttons,
and press the ► button.
2.2 Installing the rst projector (Set A) - Setting up Set A (continued)


