CHAPTER 5
126
Enhancing and Restoring Audio
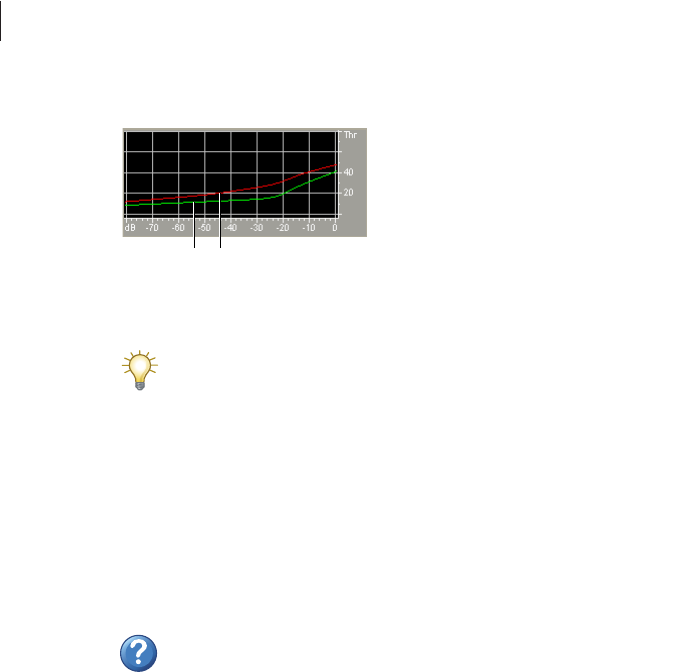
Click/Pop detection graph
A. Level of detected clicks and pops B. Level of rejected clicks and pops
To visually identify clicks, zoom in and use Spectral View with a resolution of 256 bands
and a window width of 40%. (You can access these settings in the Display tab of the
Settings dialog box.) Most clicks appear as bright vertical bars that extend from the top to the
bottom of the waveform display.
To use the Click/Pop Eliminator effect:
1 In Edit View, select an audio range.
2 In the Effects tab of the Organizer window, expand Noise Reduction, and double-click
Click/Pop Eliminator.
3 Set the desired options.
For more information, search for “Click/Pop Eliminator options” in Help.
Using the Clip Restoration effect (Edit View only)
The Clip Restoration effect repairs clipped waveforms by filling in clipped sections with
new audio data. Clipping occurs when the amplitude of a signal exceeds the maximum
level for the current bit resolution (for example, levels above 256 in 8-bit audio).
Commonly, clipping results from recording levels that are too high. You can monitor
clipping during recording or playback by watching the Level Meters; when clipping occurs,
the boxes on the far right of the meters turn red.
Visually, clipped audio appears as broad flat areas at the top of a waveform. Sonically,
clipped audio is a static-like distortion.
Note: If you need to adjust the DC offset of clipped audio, first use the Clip Restoration effect.
If you instead adjust DC offset first, the Clip Restoration effect won’t identify clipped areas that
fall below 0 dBFS.
AB
ug.book Page 126 Tuesday, March 16, 2004 1:29 PM


