Installing Or Replacing Parts And Accessories
Replacing The Floppy Disk Drive
Chapter 6
141
Replacing The Floppy Disk Drive
Removing The Floppy Disk Drive
1. Switch off the display and workstation. Disconnect all power cables and any LAN or
telecommunications cables.
2. Remove the workstation’s cover and front upper bezel (refer to page 119 for these
instructions).
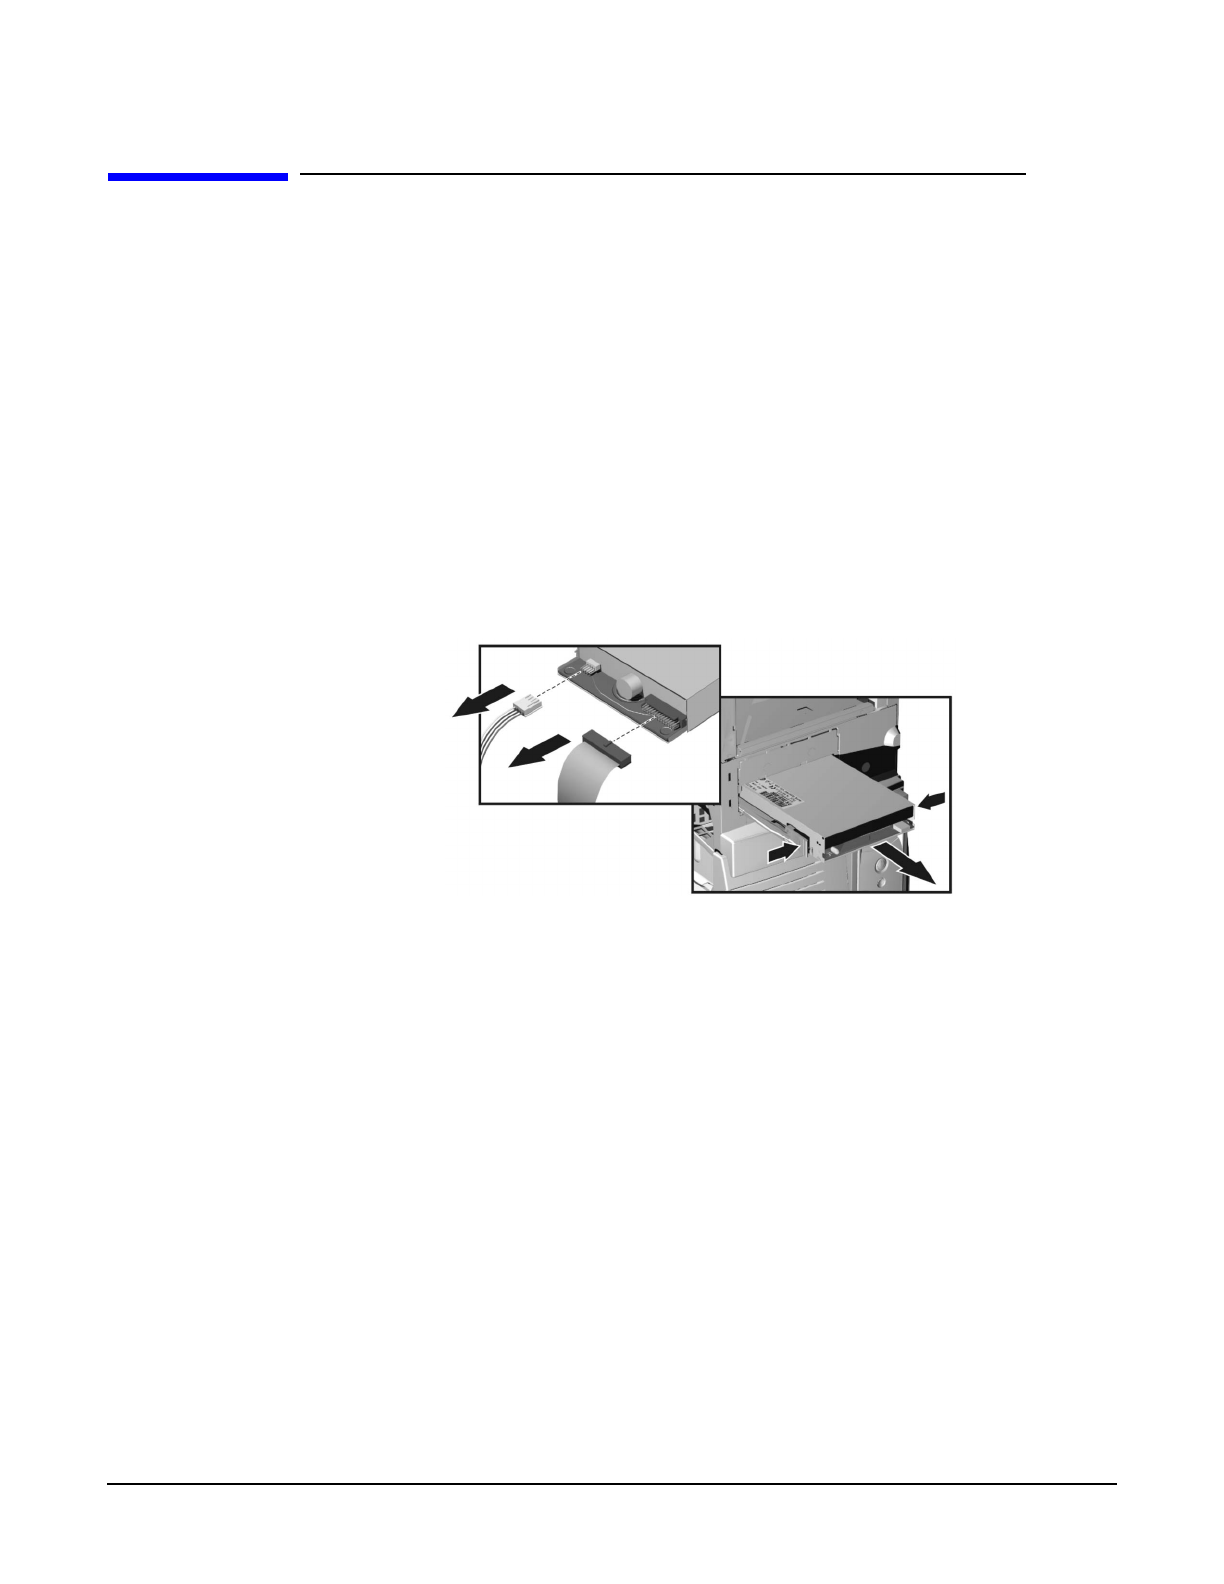
3. Disconnect the power and data cables from the old drive.
4. Remove the drive. To do this, press the two front clips inward and, pushing from the
rear, slide out the drive.
5. Remove the two green guide rails by gently prying them off the drive. These guide
rails will be required for the new drive.
Figure 6-17 Removing the Floppy Disk Drive
Installing The Floppy Disk Drive
1. Add the green guide rails to the new drive. Insert the guide rail labeled “L” on the
left-hand side (cable connectors facing towards you and positioned at the top), and
the guide rail “R” on the right-hand side of the hard disk drive.
2. Align the guide rails on both sides of the drive with the internal shelf guides, then
slide the drive in until it clicks into position.
3. Connect the power and data cables to the new drive and any installed drives. The
connectors are shaped to go in one way only.
4. Replace the front bezel and workstation’s cover (refer to page 119). Reconnect all the
power and telecommunications cables.
completing the installation
1. Switch on the computer and press F2 when the HP logo appears.
2. In the Setup program, select the Advanced menu, then the Floppy Disk Drives
submenu, and check that the drive has been detected.
3. Press F3 to save and exit the program.
4
3


