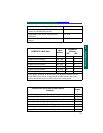
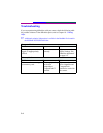
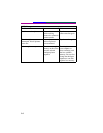
3-7
3
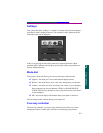
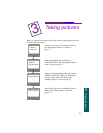
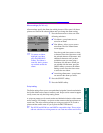
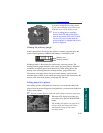
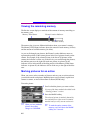
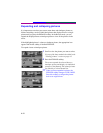
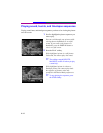
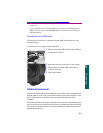
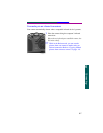
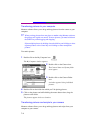
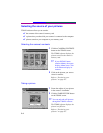
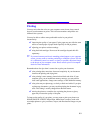
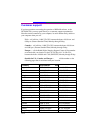
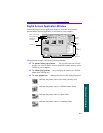
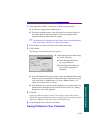
Taking pictures
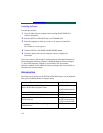
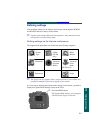
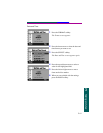
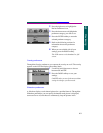
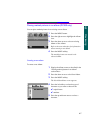
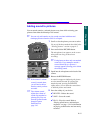
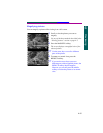
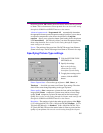
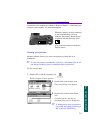
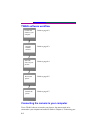
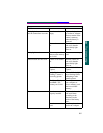
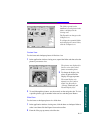
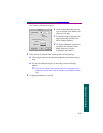
Watermark settings
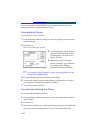
You can choose to place a date, time, text, or logo watermark on the pictures you
take. (Logo watermarks are available only on the DC260.)
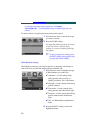
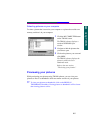
☞ If you do not want a
watermark, select None.
☞ If a logo watermark file
(.lgo) exceeds 512 Kb, it
will not appear as an
option on the Logo
Stamp screen.
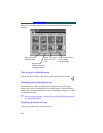
☞ Remember that
watermarks will only
appear on future pictures.
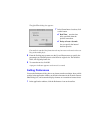
☞ You can see watermarks
on pictures in the Review
mode when the full
resolution picture
appears. You cannot see
watermarks on thumbnail
pictures.
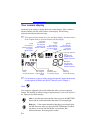
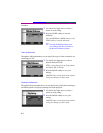
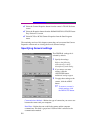
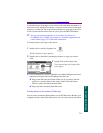
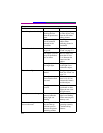
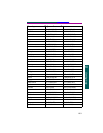
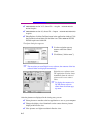
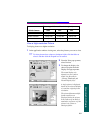
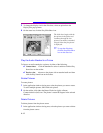
1 Press the down arrow to select the type of
watermark you want.
2 Press the SELECT softkey.
✔ None—No watermark appears.
✔ Date and Time—The Date & Time
Stamp screen appears. In the Date &
Time Stamp screen, you can specify to
use the date, the time, or both.
✔ Text—The Text Stamp screen appears.
When you select the text stamp, you
can select the EDIT softkey to change
the text.
✔ Logo—The Logo Stamp screen
appears. When you select the logo
stamp, you can select the EDIT softkey
to change the logo.
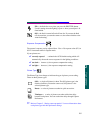
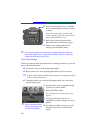
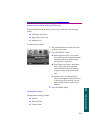
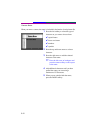
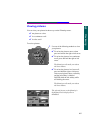
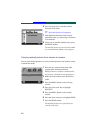
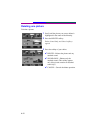
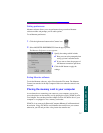
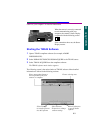
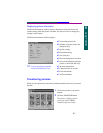
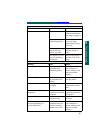
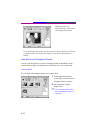
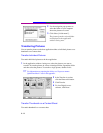
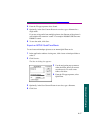
3 Press the left and right arrows to set each of
the following fields:
✔ Left offset—The distance in from the
left side of the LCD to place the
watermark.
✔ Top offset—The distance down from
the top of the LCD to place the
watermark.
✔ Transparency—The level of
transparency for the watermark.
✔ Text color—The color of the text in the
watermark.
✔ Background color—The color of the
watermark’s background.
4 When you are satisfied with the settings,
press the DONE softkey.