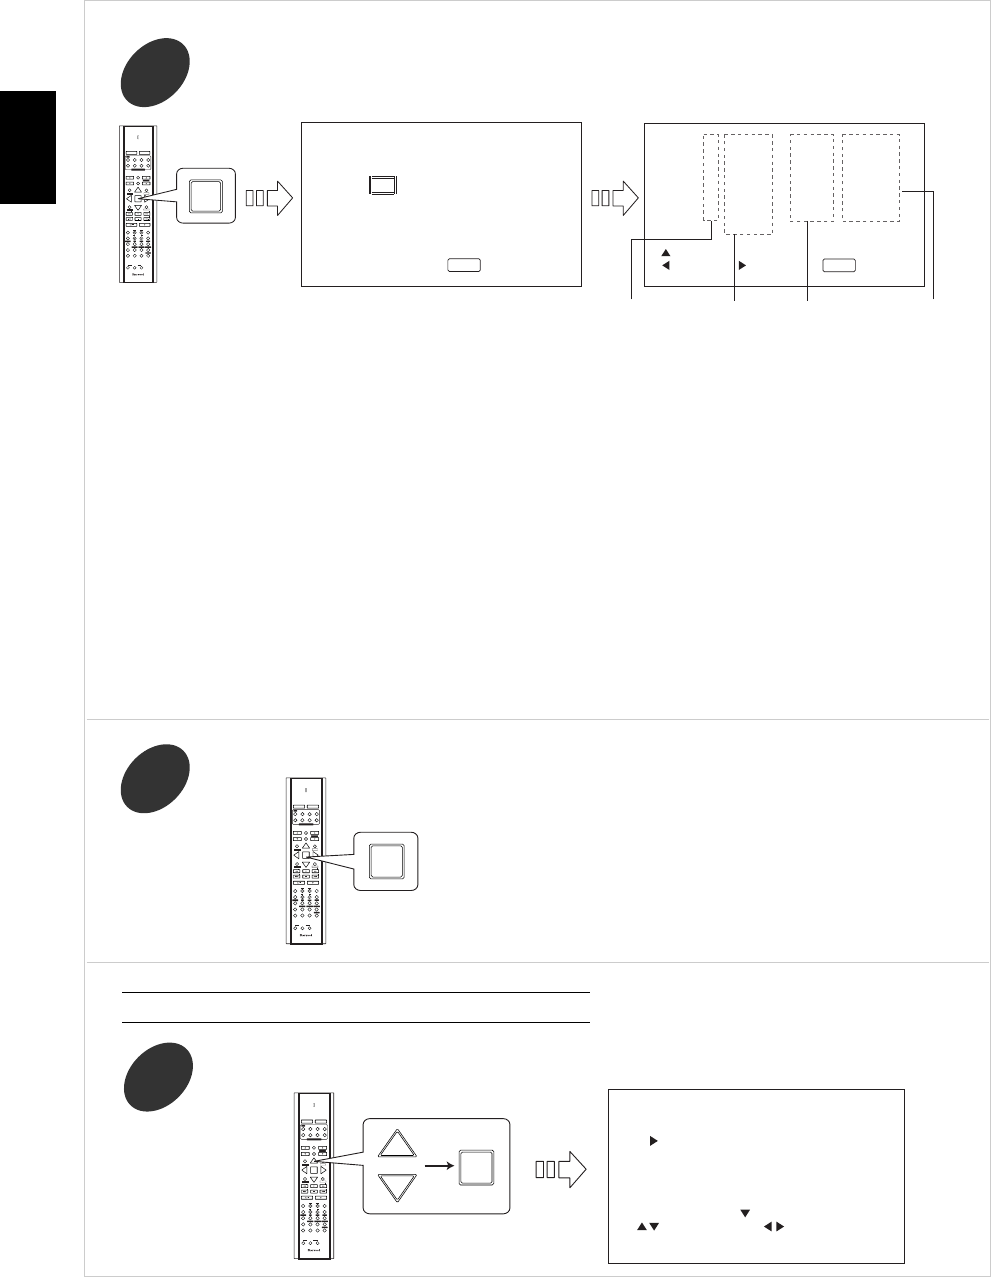
Press the ENTER button to start the auto speaker setup procedure.
3
Confirm the results.
4
43
ENGLISH
• Loud test tones are output from each speaker and then if the auto speaker setup procedure has been completed, the
results of each adjustment will be displayed.
• To stop the auto speaker setup procedure while outputting the test tones, press the ENTER button.
• If the polarity is incorrect, “-” will be displayed.
• If there may be a problem with the speaker or microphone connection, “ ERROR ” message will be displayed.
• When “ ERROR ” message is displayed, press the CURSOR RIGHT() button to retry the auto speaker setup
procedure.
• If retrying the procedure dose not fix the problem, turn off the power and check the speaker or microphone connections.
Notes :
• For details on speaker size, crossover frequency and speaker distance, refer to “About the speaker size” and “About
the speaker distance” on page 19.
• Because the test tones are very loud, ensure there no infants or small children in the room.
• It is possible to lower the volume of the test tomes, but this could result in incorrect speaker settings.
• For best results, ensure the room is as quiet as possible during the auto speaker setup procedure.
If there is too much ambient noise, the results may not be satisfactory.
• If the results are not satisfactory, set the speaker setup manually. (For details, refer to “When selecting the MANUAL
SPEAKER SETUP” on page 43)
• Then the results are memorized.
Press the CURSOR UP()/DOWN() buttons to select the MANUAL SPEAKER SETUP, then press
the ENTER button.
1
When selecting the MANUAL SPEAKER SETUP