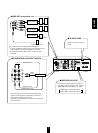
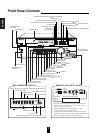
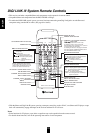
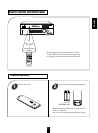
13
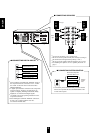
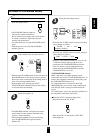
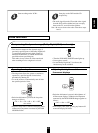
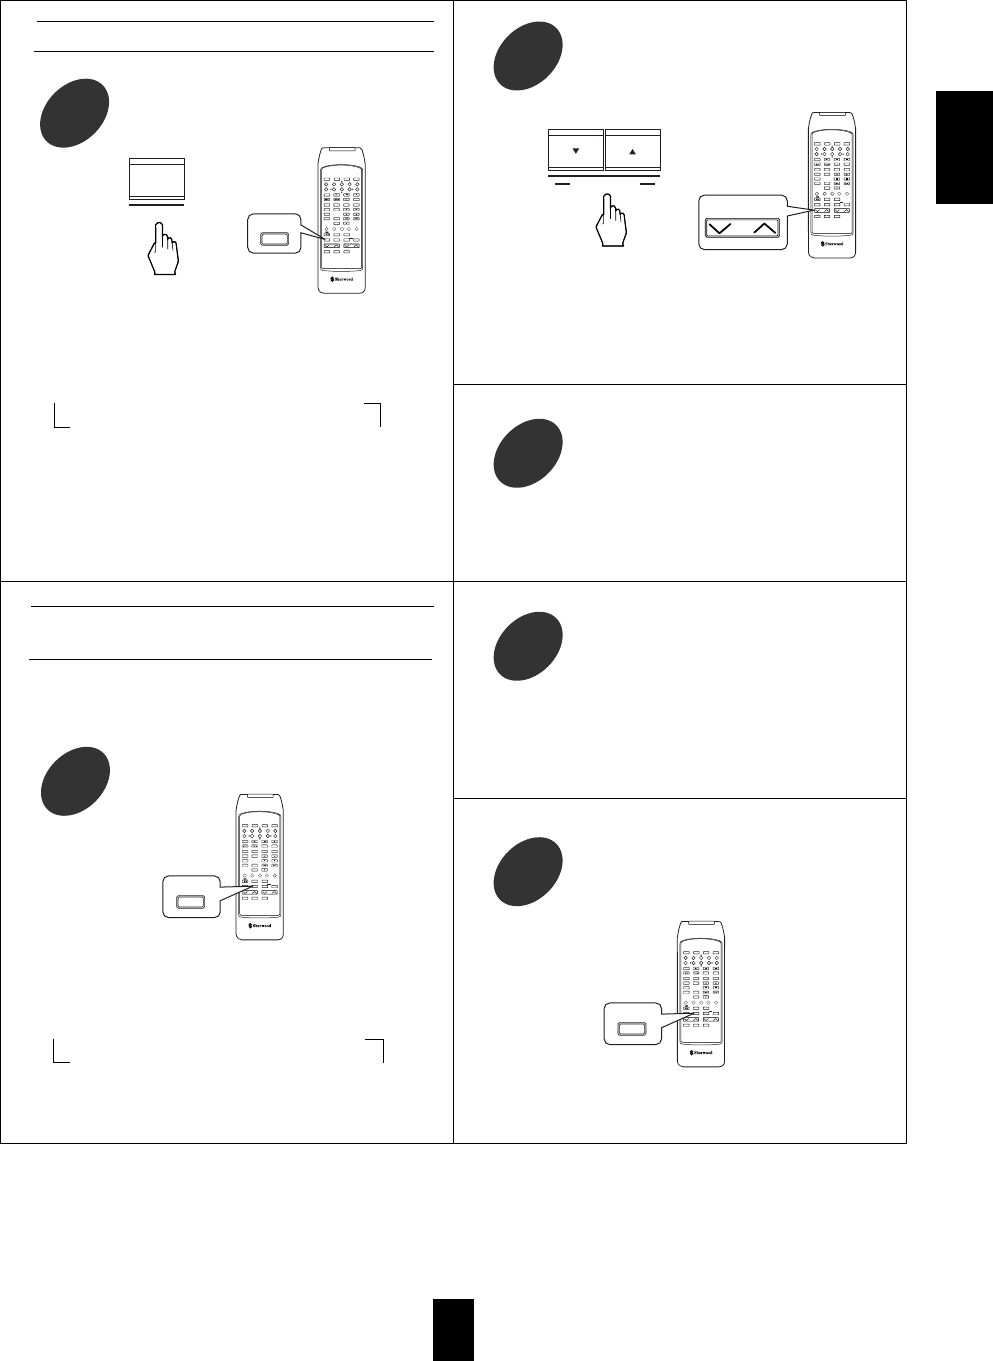
Engage the Test Tone mode by pressing
the Test Tone button on the remote
control.
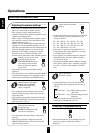
9
In these modes, the volume level of each channel
can be adjusted using the test tone function.
Perform the adjustments in steps 6 to 8 in
“Adjusting each channel level” until the
sound from each speaker is perceived to be
equally loud.
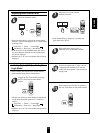
10
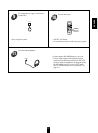
Cancel the test tone function by pressing
the Test Tone button on the remote control.
11
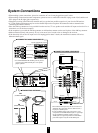
Adjusting each channel level
In Dolby Digital (AC-3) or Dolby Pro
Logic Mode
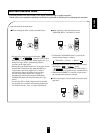
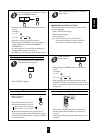
Select the channel to adjust.
6
Adjust the level of the selected
channel as desired.
7
Repeat the above steps 6 and 7 to
adjust the levels of the other channels.
8
If the channel display disappears, you must start
again from step 6, above.
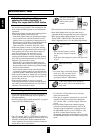
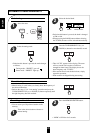
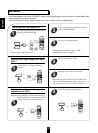
Each time this button is pressed, the corresponding
channel is selected and displayed for 3 seconds in the
following order;
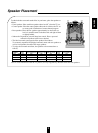
Front Left Center Front Right
SubWoofer Rear Left Rear Right
If the receiver is in the STEREO mode, the center,
rear and subwoofer channels are not available and
will not be displayed.
Speakers set to “N” are not available and will not be
displayed.
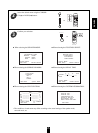
The test tone will cycle from channel to channel and
will be heard from each speaker for 2 seconds as
follows;
Front Left Center Front Right
SUBwoofer Rear Left Rear Right
Speakers set to “N” are not available and will not be
displayed.