15
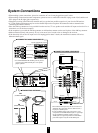
LISTENING TO A PROGRAM SOURCE
Before operation
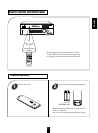
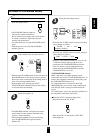
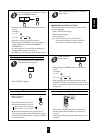
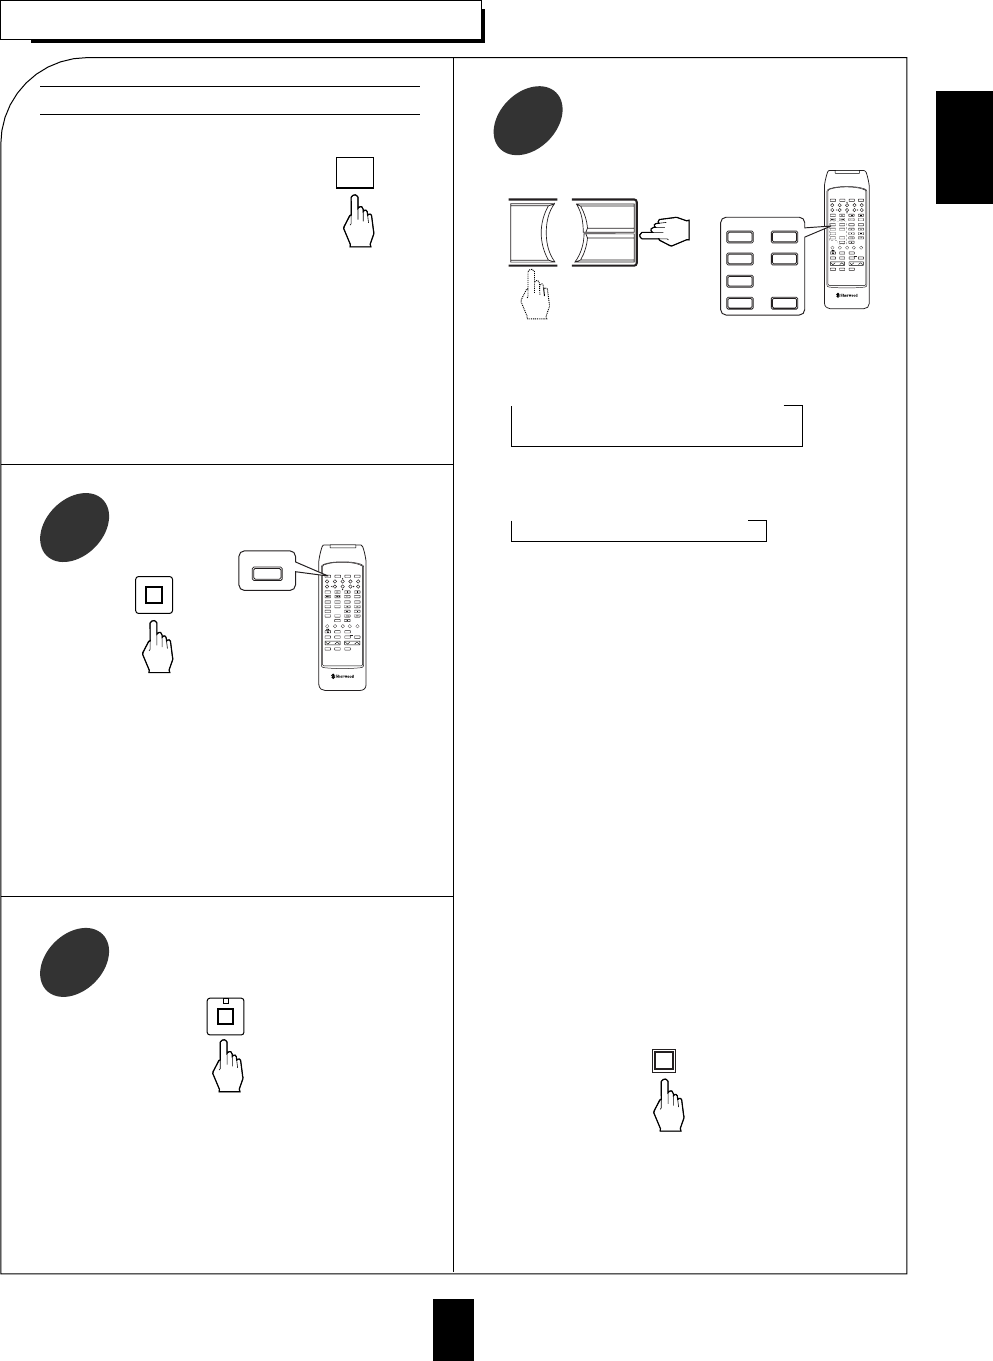
Select the desired input source.
3
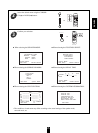
Enter the standby mode.
The STANDBY indicator lights up.
The receiver remains connected to
the AC main electrical supply and a small amount
of current is retained to support the on-board
memory and rapid turn-on.
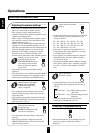
To switch the power off, push the POWER switch
again.
Then the power is cut off and the STANDBY
indicator goes off.
Each time the STANDBY button on the front panel or
the POWER button on the remote control is pressed,
the receiver turns on and enters the operating mode or
turns off to enter the standby mode.
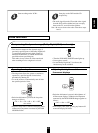
In the standby mode, pressing any INPUT
SELECTOR button automatically turns the receiver
on and selects the desired input.
The SPEAKER indicator will light up and sound
can be heard from the speakers connected to the
receiver’s speaker terminals.
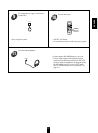
When using the headphone for private listening,
press the SPEAKER button again to turn the
speakers off.
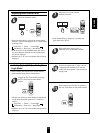
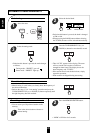
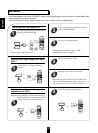
Each time the “AUDIO” button is pressed, the input
source changes as follows;
TUNER CD AUX
(frequency display)
Each time the “VIDEO” button is pressed, the input
source changes as follows;
VCR1 VCR2 DVD
When the TAPE MONITOR button is set to on, the
“TAPE M” indicator lights up and the source
connected to the TAPE MONITOR input can be
heard. To listen to a source other than the one
connected to the TAPE MONITOR, be sure the
TAPE MONITOR is set to off.
TAPE MONITOR function
Either a tape deck or a graphic equalizer can be
connected to the receiver’s TAPE MONITOR jacks. To
listen to the component connected to these jacks, press
the TAPE MONITOR button to on.
If a 3-Head tape deck is connected to the TAPE
MONITOR jacks, you can listen to the sound directly
from the tape while it is being recorded and not the
source.
For further details, refer to the operating instructions of
the component connected to these jacks.
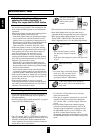
In the standby mode, turn the power on.
1
Switch the speakers on.
2
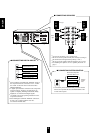
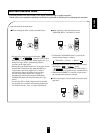
When the VCR 2 is selected as input source.
Select the front or the rear VCR 2.
If the front VCR 2 is selected, the “VCR 2 SEL”
button lights up.