22
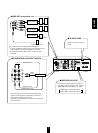
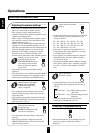
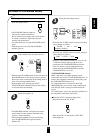
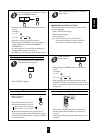
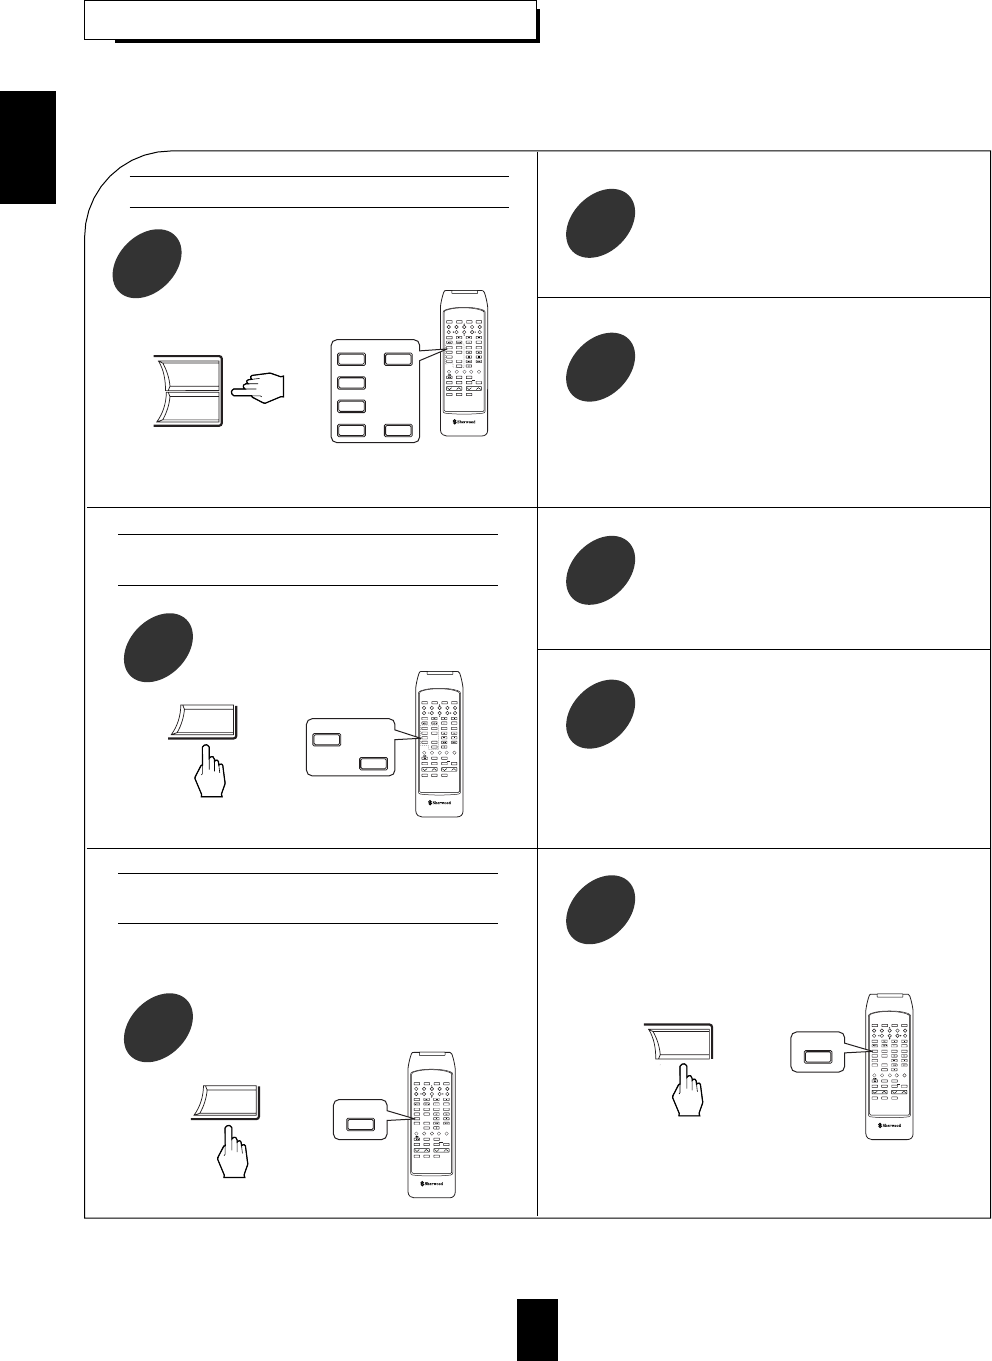
RECORDING
Start recording on the component connected
to the TAPE MONITOR.
2
Select the desired input as recording source
except for TAPE MONITOR.
1
Recording with TAPE MONITOR
Select VCR 2 or DVD as recording
source.
1
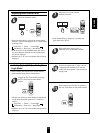
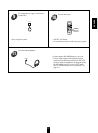
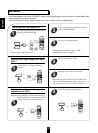
Dubbing from video components onto
VCR 1
Select DVD as video recording source.
1
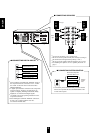
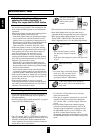
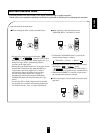
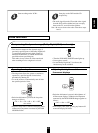
Dubbing the audio and video signals
separately onto VCR 1
Start play on the desired input.
3
Select CD as audio recording source.
2
Be sure that “TAPE M” goes off.
For tape monitor function, refer to “TAPE
MONITOR function” on page 15.
Start recording on the VCR 1.
2
Start play on the VCR 2 or the DVD.
3
The audio and video signals from the VCR 2 or the
DVD will be dubbed onto the VCR 1 and you can
enjoy them on the TV set and from the speakers.
Example) When dubbing the DVD video signal and
the CD audio signal separately onto VCR 1.
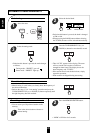
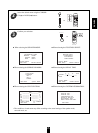
The analog signals from the 6 CH DIRECT inputs and the digital signals from the coaxial or optical digital input
can be heard but cannot be recorded.
The volume and tone (bass, treble) settings, etc. have no effect on the recording signals.