USE AND FUNCTIONING
3
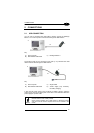
Firmware Update Procedure
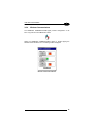
1. Download the update from the web site (see previous par.). It is a zip file
containing the files:
• DLUpdater.exe – that starts the update;
• DLUpdate.bin – binary file containing the updated firmware;
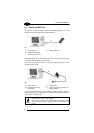
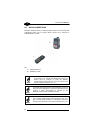
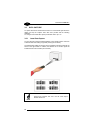
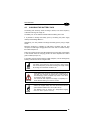
2. Copy the files DLUpdater.exe (optional) and DLUpdate.bin on a Mini SD
card.
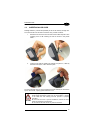
3. Insert the Mini SD card in the terminal slot (see par. 1.4).
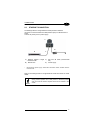
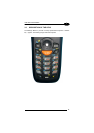
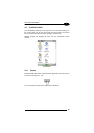
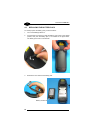
4. Open the folder “\Storage Card” on the terminal and run DLUpdater.exe
(double tap the icon). As an alternative, you can also perform a reboot of
the terminal (warm or cold).
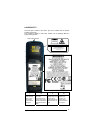
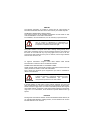
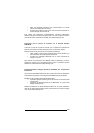
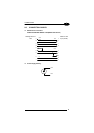
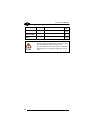
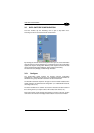
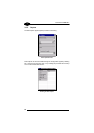
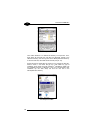
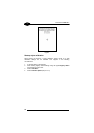
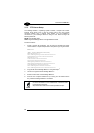
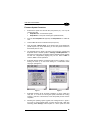
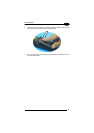
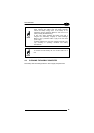
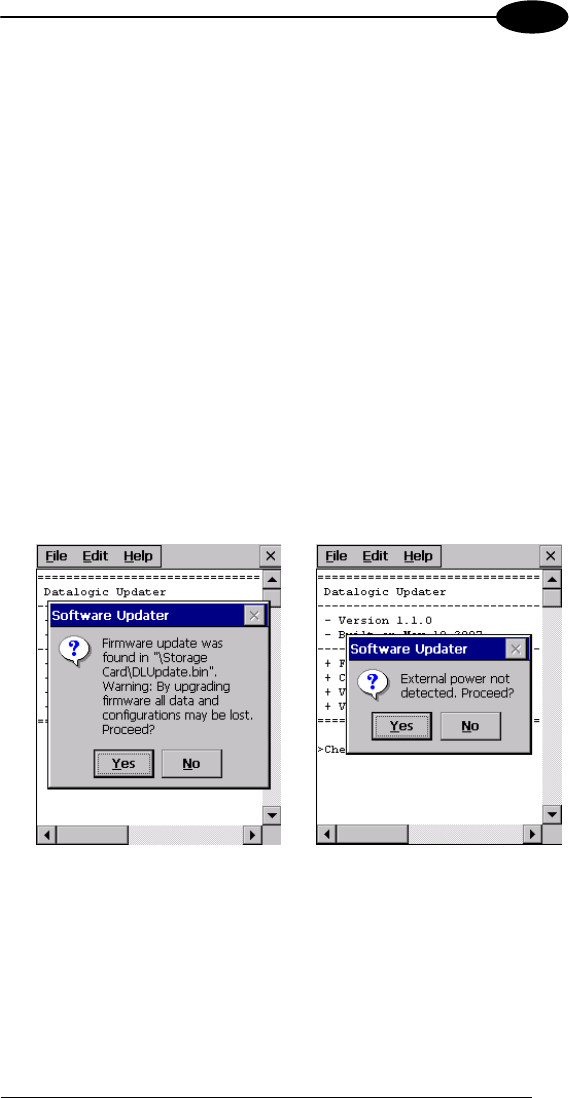
5. The message shown in figure 1 will come up on the screen. It informs that
DLUpdater found a firmware update in “\Storage Card\DLUpdate.bin”. It
also warns the user that by proceeding with the terminal firmware upgrade
all data and configurations (registry) may be lost. Select <YES> to
continue, <NO> to cancel operations.
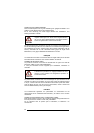
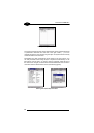
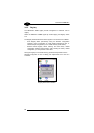
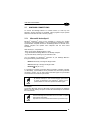
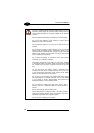
6. DLUpdater detects whether an external power source is present. If not, a
warning will come up on the screen asking for a confirmation before
carrying on (see figure 2).
Figure 1 Figure 2
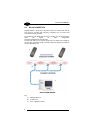
7. DLUpdater performs all the necessary operations of check, update and
verify and, if no errors occur during the update, terminates the running
invoking a cold boot of the terminal, so that the update process could be
completed.
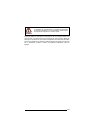
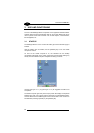
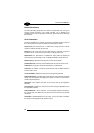
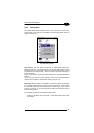
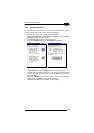
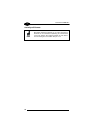
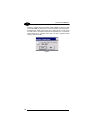
8. Following the operating system upgrade, the message shown in figure 3
may come up at the terminal startup. It informs the user that a flash disk
formatting (folder \backup) would required for a clean update and asks
45