Chapter 19 Policy Rule
GS-3012/GS-3012F User’s Guide
142
19.3 Viewing and Editing Policy Configuration
To view a summary of the classifier configuration, scroll down to the summary table at the
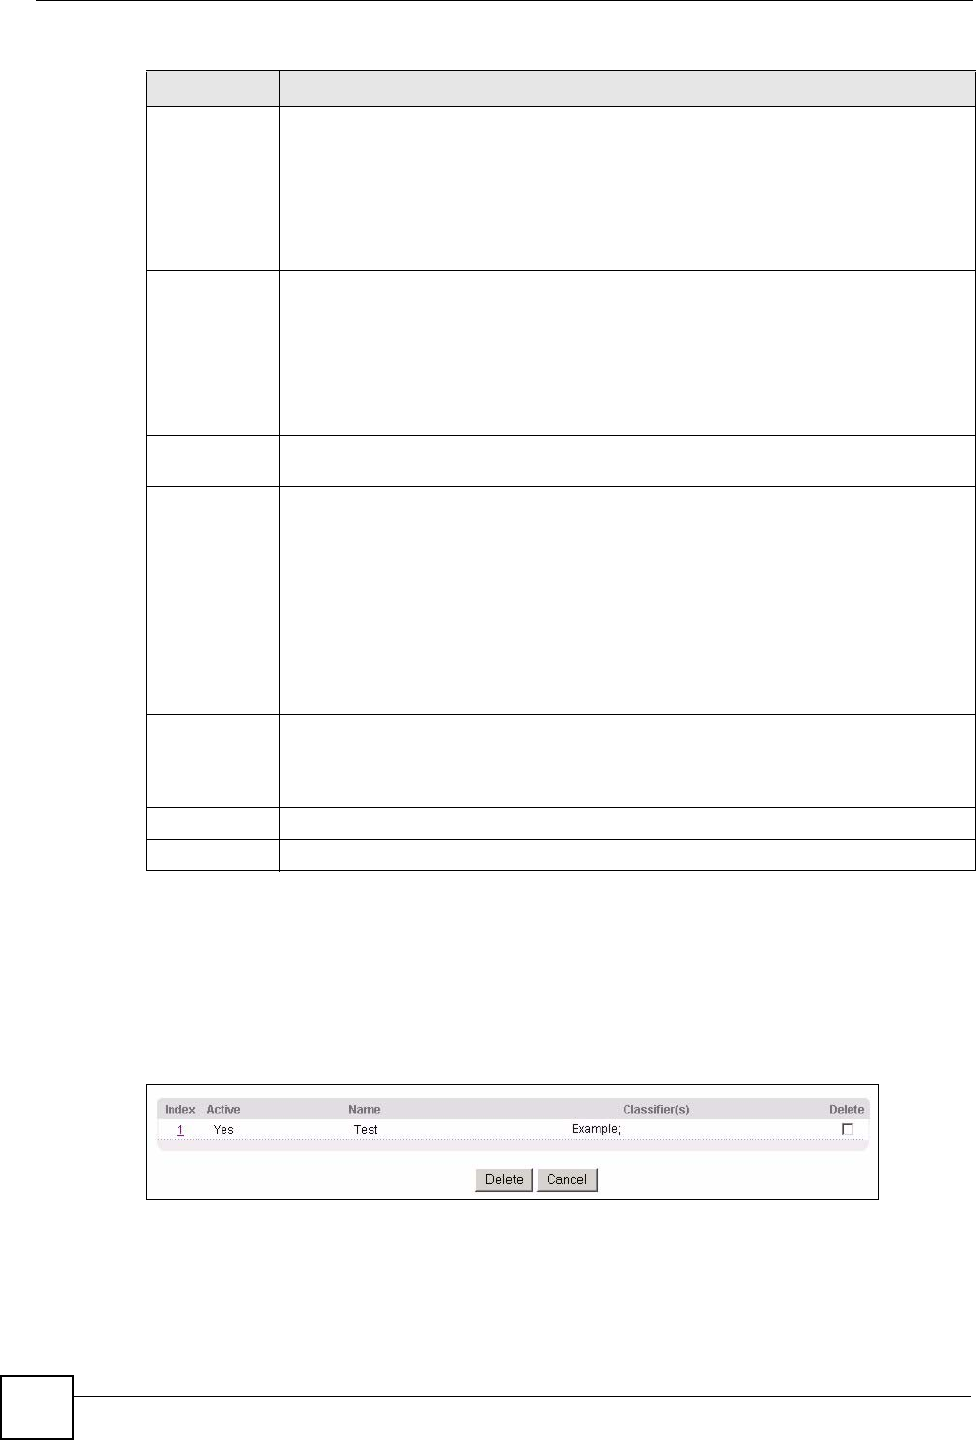
bottom of the Policy screen. To change the settings of a rule, click a number in the Index field.
Figure 69 Policy: Summary Table
DiffServ Select No change to keep the TOS and/or DSCP fields in the packets.
Select Set the packet’s TOS field to set the TOS field with the value you configure in
the TOS field.
Select Replace the IP TOS with the 802.1 priority value to replace the TOS field
with the value you configure in the Priority field.
Select Set the Diffserv Codepoint field in the frame to set the DSCP field with the
value you configure in the DSCP field.
Outgoing Select Send the packet to the mirror port to send the packet to the mirror port.
Select Send the packet to the egress port to send the packet to the egress port.
Select Send the matching frames (broadcast or DLF, multicast, marked for
dropping or to be sent to the CPU) to the egress port to send the broadcast,
multicast, DLF, marked-to-drop or CPU frames to the egress port.
Select Set the packet’s VLANID to set the VLAN ID of the packet with the value you
configure in the VLANID field.
Metering Select Enable to activate bandwidth limitation on the traffic flow(s) then set the actions
to be taken on out-of-profile packets.
Out-of-profile
action
Select the action(s) to be performed for out-of-profile traffic.
Select Drop the packet to discard the out-of-profile traffic.
Select Change the DSCP Value to replace the DSCP field with the value specified in
the Out of profile DSCP field.
Set Out-Drop Precedence is related to the metering bandwidth setting. The switch
marks traffic that is higher than the metering bandwidth setting as drop precedence.
Select Set Out-Drop Precedence to drop packets that are marked drop-precedence
first when there is traffic congestion.
Select Do not drop the matching frame previously marked for dropping to queue
the frames that are marked to be dropped.
Add Click Add to insert the entry to the summary table below and save your changes to
the switch’s run-time memory. The switch loses these changes if it is turned off or
loses power, so use the Save link on the top navigation panel to save your changes to
the non-volatile memory when you are done configuring.
Cancel Click Cancel to reset the fields back to your previous configuration.
Clear Click Clear to set the above fields back to the factory defaults.
Table 47 Policy (continued)
LABEL DESCRIPTION


