KeypadLinc Schedule Timer Owner’s Manual
Page 12 of 26
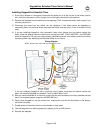
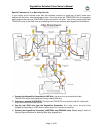
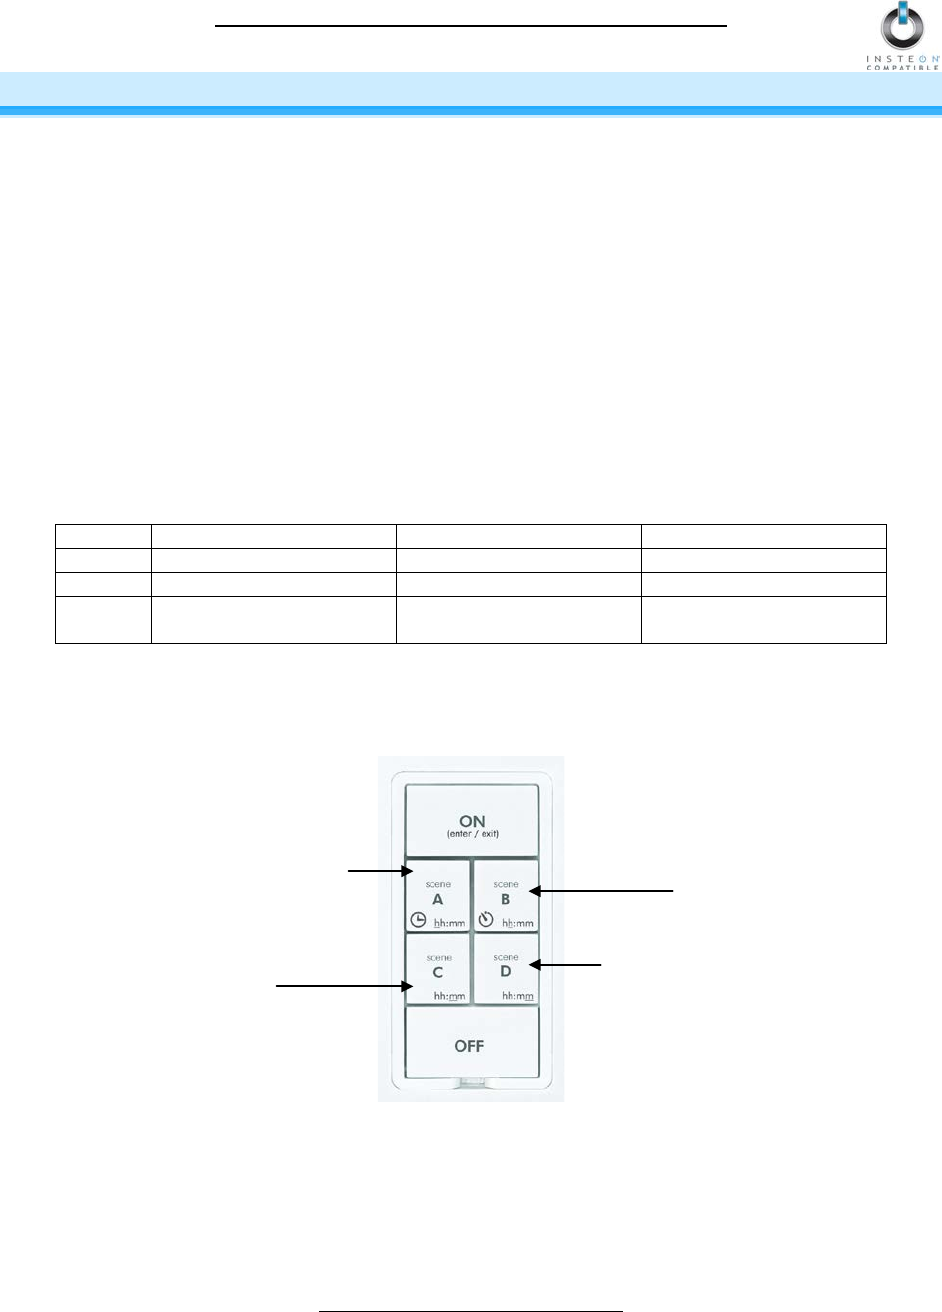
USING KEYPADLINC SCHEDULE TIMER
Using the Buttons to Control Scenes
On/Off Buttons
The load (device wired-in to KeypadLinc) can be controlled by using the dedicated On/Off buttons. If you
wish to include the load in a scene, you must use the dedicated On/Off buttons.
Scene Buttons
The A, B, C, and D buttons are considered “Scene buttons”, meaning you can use any of the buttons on
KeypadLinc to create INSTEON scenes. Each button will control its own scene, only sending commands
to devices Linked specifically to that button. When the LED of a button is on, the scene has been
activated, or turned on. When the scene has been deactivated, the LED will turn off.
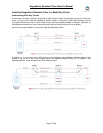
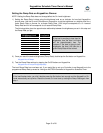
For KeypadLinc with Dimmer only:
The load and dimmable Responders will behave differently depending on how you activate the
buttons, depending on whether you tap, double-tap, or press & hold a button to activate/deactivate a
scene. Non-dimming Responders will only turn full-on or full-off, no matter what method you use.
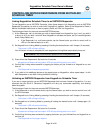
Full-bright instantly/Full-
off instantly
Brighten/Dim until
released
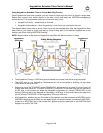
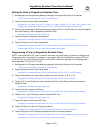
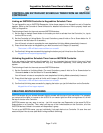
Entering Time in KeypadLinc Schedule Timer
KeypadLinc Schedule Timer uses military time (24 hour, e.g., 3:24 = 15:24) to control its scenes. When
entering Programming Mode for initial setup, the time defaults to 0:00. Tapping the A, B, C, and D buttons
will increase the time by the following increments:
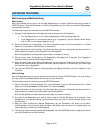
For example, if you are entering a time of 13:22, you would tap the A button once, B button three times, C
button twice, and D button twice.