Chapter 3
Kodak ESP 9 Printer User Guide 29
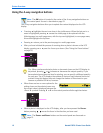
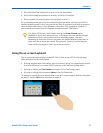
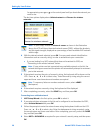
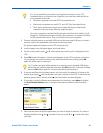
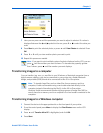
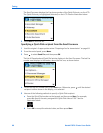
5 Enter the security information required using the LCD display keyboard.
• Press , , orto select a key. Select <BKSP to erase any incorrect
characters. Then select
DONE and press OK.
6 After the confirmation message appears on the LCD, press
OK to display the Network
Settings menu.
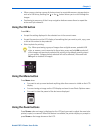
Setting up an IP address
1 From the Network Settings menu, select Manual IP Address and press OK.
2 Select one of the options displayed:
• Dynamic (DHCP)
• Automatic (Private)
• Manual (Static)
Then press
OK to continue.
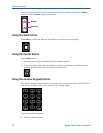
3 Depending on the IP address type specified, you may be prompted to enter an IP
address, a Subnet Mask, a Gateway Address; and a DNS Server address. Press
OK after
making each entry. See your network provider for more information.
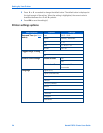
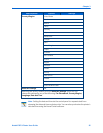
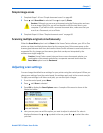
Viewing Network Configuration
When you select this option, the printer displays the configuration settings for both
Ethernet and WiFi networks on the LCD.
Printing Network Configuration
When you select this option, the printer prints current network configuration settings.
Settings with no values will be displayed as zeros.
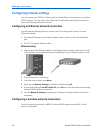
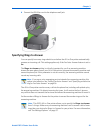
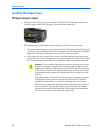
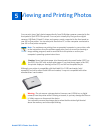
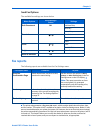
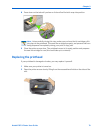
Setting up the fax
Your Kodak ESP 9 All-in-One printer allows you to send and receive faxes, set up quick
dials, and other fax options from the control panel.
For more information about sending and receiving faxes using this All-in-One printer, see
Chapter 8, “Faxing” on page 63.
.
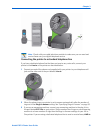
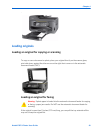
Note: If your home or office setup is not described in this section, set up the
All-in-One printer fax connection as you would a regular phone. See “Connecting
the printer to a standard telephone line” on page 33.
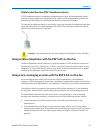
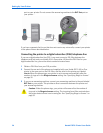
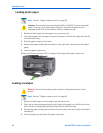
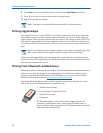
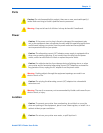
Warning: Use only the phone cord supplied in the All-in-One printer box to
connect your telephone wall jack and the port labeled
Line-In on the back of the
printer. Using any other phone cord may prevent you from sending and receiving
faxes.