Faxing
64 Kodak ESP 9 Printer User Guide
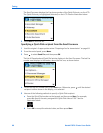
Dialing a fax number on the control panel
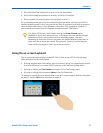
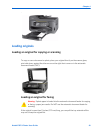
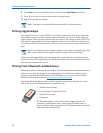
1 Load the original (plain paper only) in the automatic document feeder (ADF) or the
scanner glass. See “Loading an original for faxing” on page 43.
2 From the control panel, press
Menu.
3 Press
to select Send Fax.
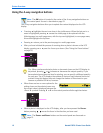
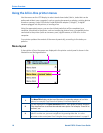
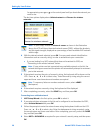
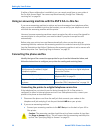
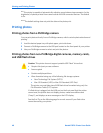
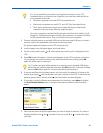
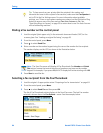
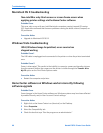
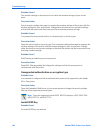
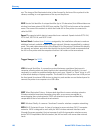
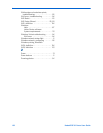
4 Enter a number on the number keypad using the correct fax number for the recipient.
The number displays on the LCD, as shown in the illustration below.
5 Press Start to send the fax.
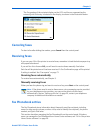
Selecting a fax recipient from the Fax Phonebook
1 Load the original. As appropriate review “Preparing a fax for transmission” on page 69.
2 From the control panel, press
Menu.
3 Press
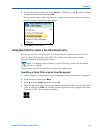
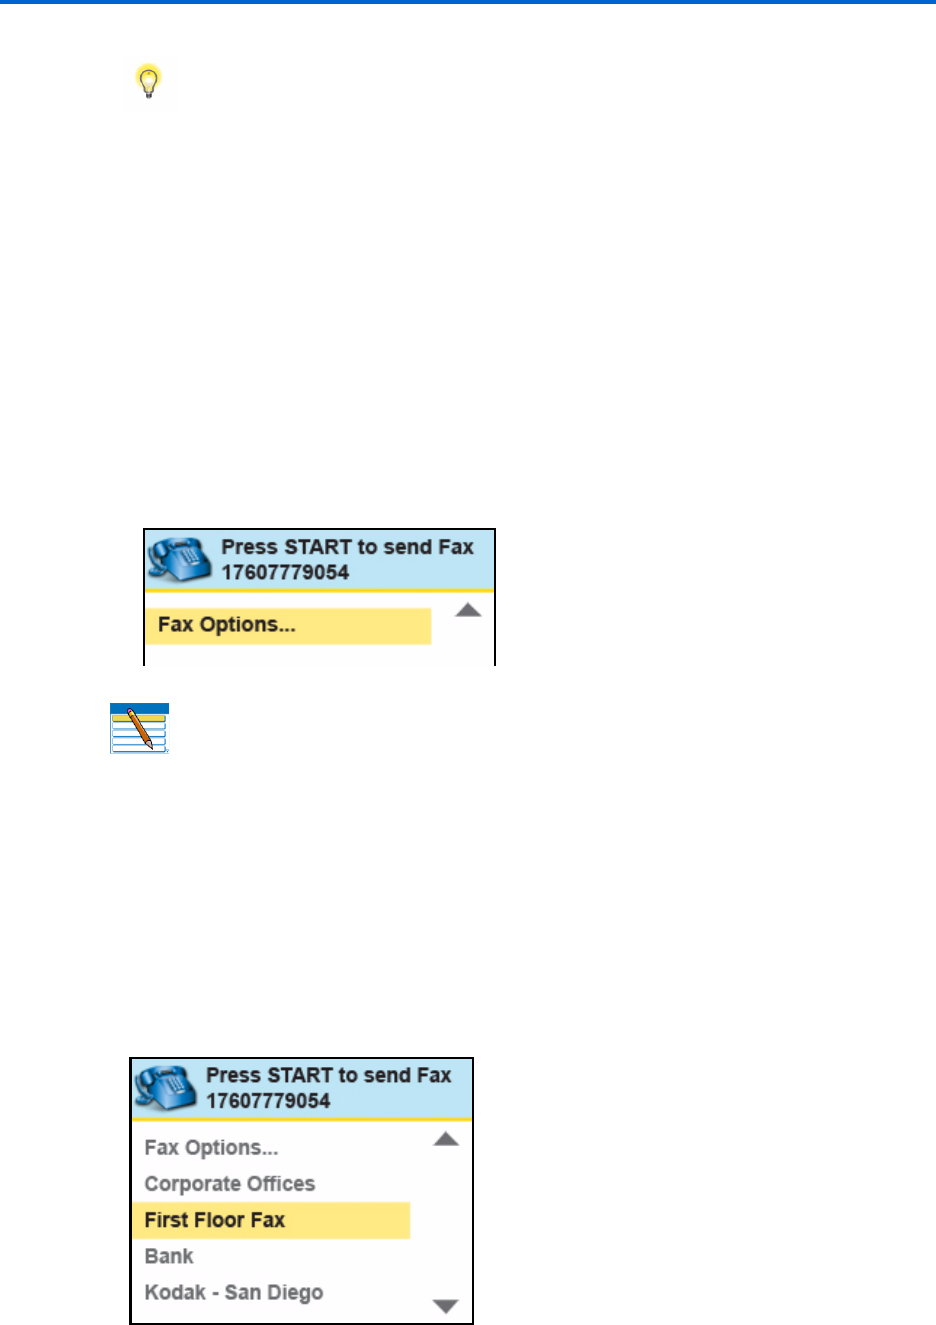
to select Send Fax and then press OK.
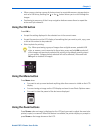
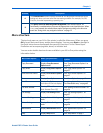
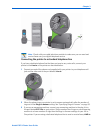
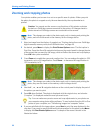
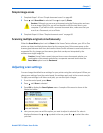
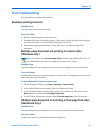
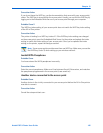
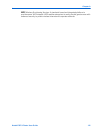
The list of Fax Phonebook entries displays in the Send Fax menu. The last Fax number
selected is shown above the
Fax Options... menu. See the example, below.
Tip: To hear sounds as your printer dials the recipient’s fax number and
transmits fax tones to the recipient’s fax machine, make sure that
Fax Speaker is
set to ON in the Fax Settings menu. For more information about available
settings, see “If two or more phone numbers are shared, set the Distinctive Ring
feature to answer one of the lines and set Fax Auto–Answer to On. See
“Specifying Rings to Answer” on page 35 to review how to use Fax Auto–Answer
with an answering machine.” .
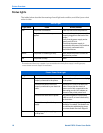
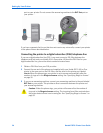
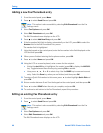
Note: The Send Fax menu will display all Fax Phonebook (fax Number and Quick
Dial
entries) names that match the string of numbers you press on the number
keypad. For example, if you press
123, the LCD displays all entries starting with 123.