92 Adjusting the Camera
2 Adjust the camera angle and zoom.
Use the V, v, B or b button to adjust the camera angle, and ZOOM button to
adjust the zoom.
3 Keep one of the number buttons 1–6 pressed.
The angle and zoom setting is stored in the selected number button, and the
message “Registered to Preset number 1 (–6).” appears.
To preset the setting in the launcher menu while not in communication
1 Adjust the camera angle and zoom in the launcher menu.
Use the V, v, B or b button to select the screen and press the PUSH ENTER
button, then press the V, v, B or b button to adjust the angle and the ZOOM
buttons to adjust the zoom.
2 Keep one of the number buttons 1–6 pressed.
The angle and zoom setting is stored in the selected number button, and the
message “Registered to Preset number 1 (–6).” appears.
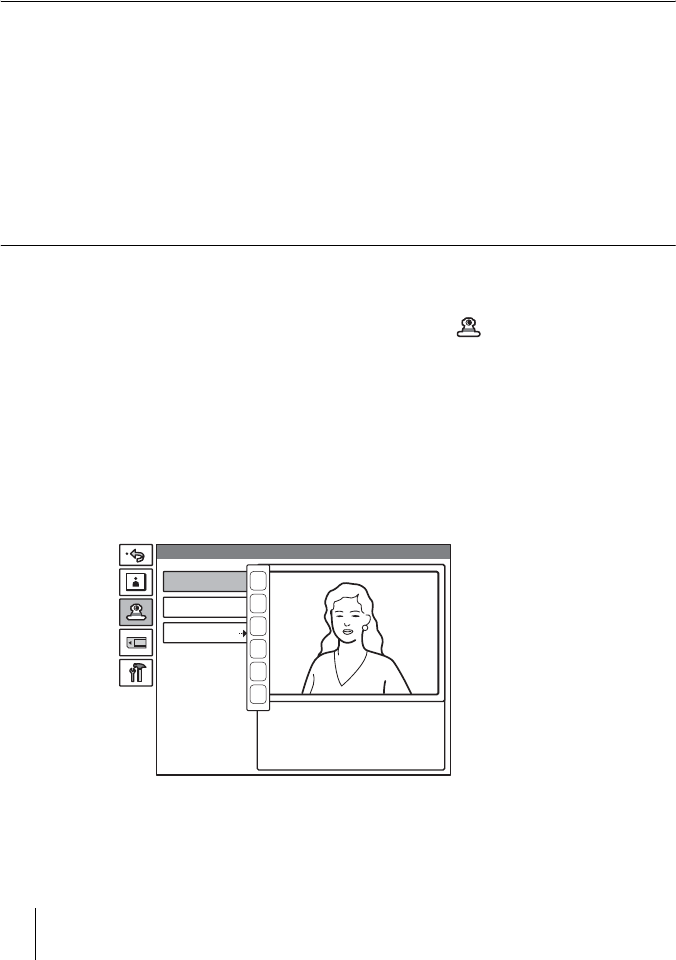
To preset the setting using the Camera menu
1 Press the MENU button on the Remote Commander to display the Setup
menu, then press the V or v button to select (camera) icon.
The Camera menu appears.
2 Use the V, v, B or b button on the Remote Commander to select “Preset
Save”, then press the PUSH ENTER button.
3 Select the preset number (1–6) with the V or v button, then press the PUSH
ENTER button.
The color of the screen frame changes, then you can adjust the camera angle
and zoom.
4 While in communication, select the camera to be adjusted with the FAR/
NEAR button on the Remote Commander.
Preset Save
Preset Load
Adjustments
Camera
1
2
3
4
5
6


