Chapter 20 Certificates
VSG1435-B101 Series User’s Guide
245
20.4 The Trusted CA Screen
Click Security Settings > Certificates > Trusted CA to open the following
screen. This screen displays a summary list of certificates of the certification
authorities that you have set the ZyXEL Device to accept as trusted. The ZyXEL
Device accepts any valid certificate signed by a certification authority on this list
as being trustworthy; thus you do not need to import any certificate that is signed
by one of these certification authorities.
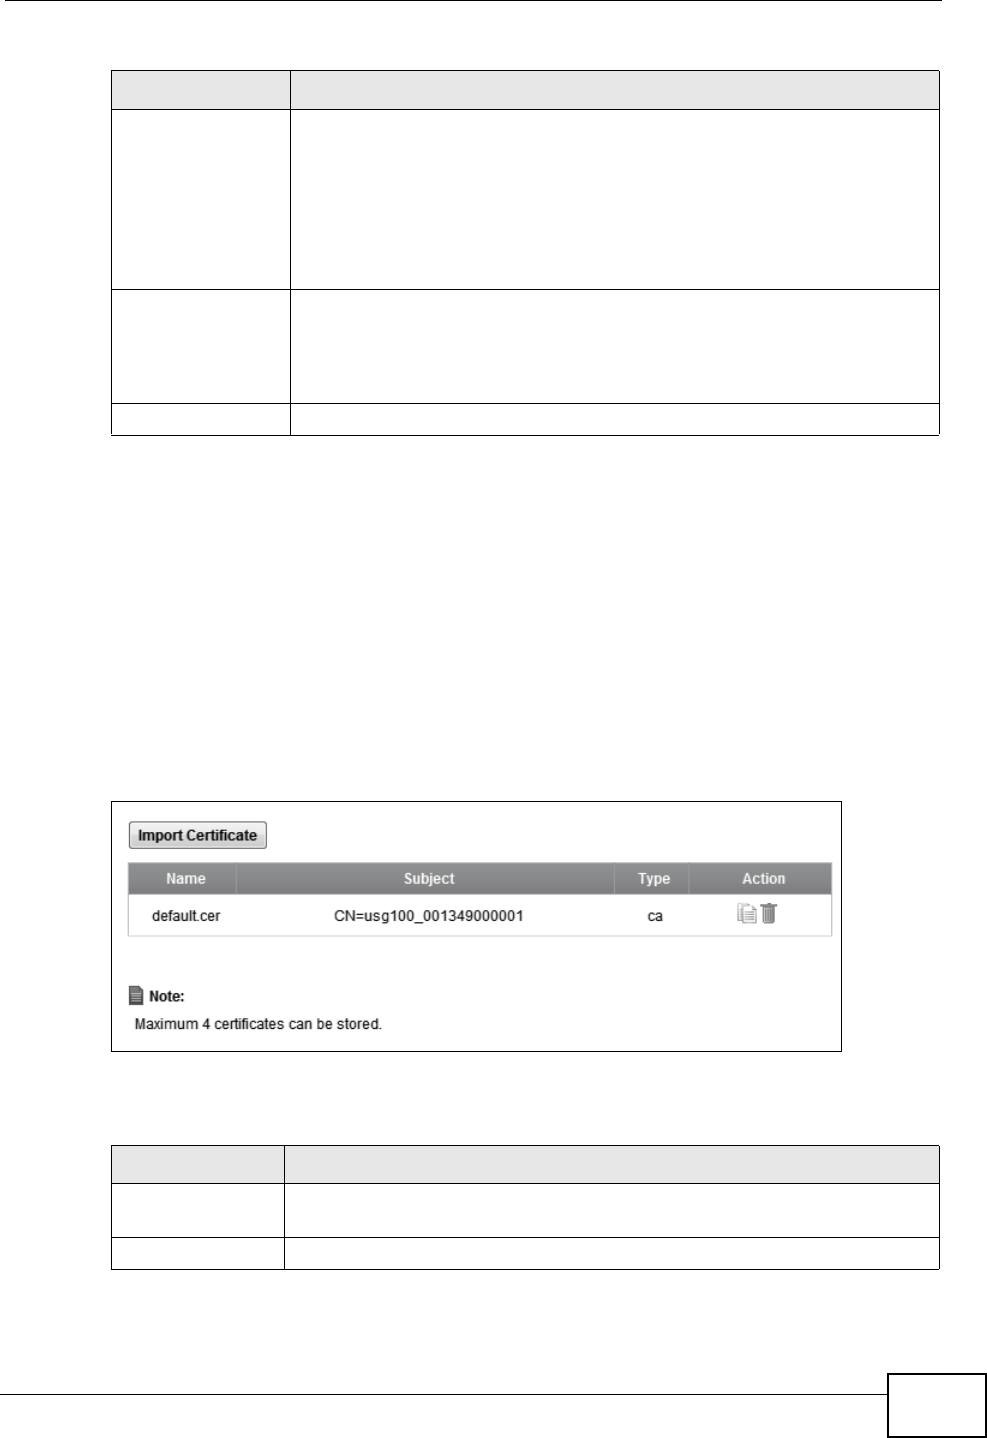
Figure 110 Security Settings > Certificates > Trusted CA
The following table describes the fields in this screen.
Private Key This read-only text box displays the private key in Privacy Enhanced
Mail (PEM) format. PEM uses base 64 to convert the binary certificate
into a printable form.
You can copy and paste the private key into an e-mail to send to
friends or colleagues or you can copy and paste the certificate into a
text editor and save the file on a management computer for later
distribution (via floppy disk for example).
Signing Request This read-only text box displays the request information in Privacy
Enhanced Mail (PEM) format. PEM uses base 64 to convert the binary
certificate into a printable form.
This displays null in a signed certificate.
Back Click Back to return to the previous screen.
Table 80 Certificate Details (continued)
LABEL DESCRIPTION
Table 81 Security Settings > Certificates > Trusted CA
LABEL DESCRIPTION
Import
Certificate
Click this button to open a screen where you can save the certificate of
a certification authority that you trust to the ZyXEL Device.
Name This field displays the name used to identify this certificate.


