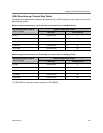
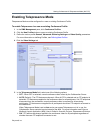
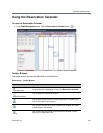
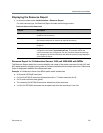
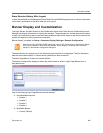
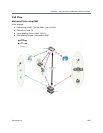
Appendix J - Restore Defaults
Polycom®, Inc. 1064
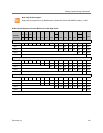
4 Following the system restart, follow the instructions in the RealPresence Collaboration Server
(RMX) 1500/1800/2000/4000 Getting Started Guide:
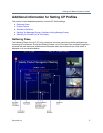
Modify Network Settings in USB Key
First Time Power Up
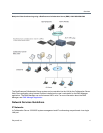
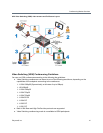
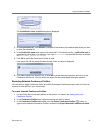
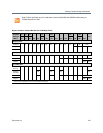
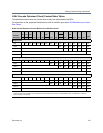
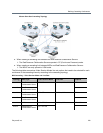
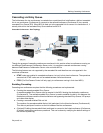
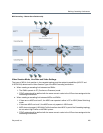
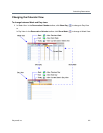
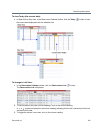
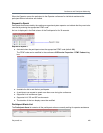
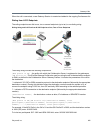
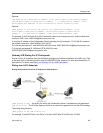
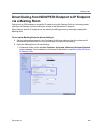
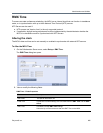
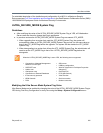
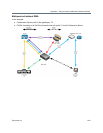
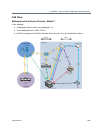
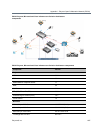
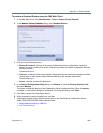
To perform a comprehensive restore using the USB key (1800):
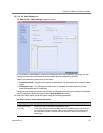
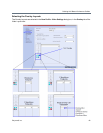
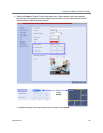
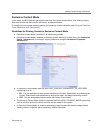
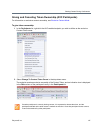
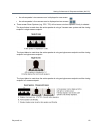
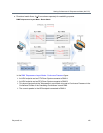
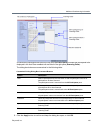
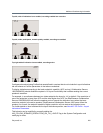
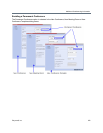
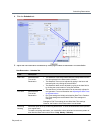
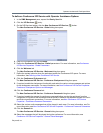
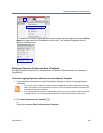
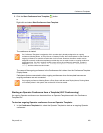
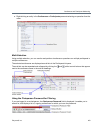
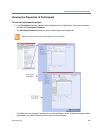
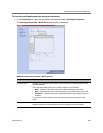
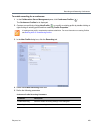
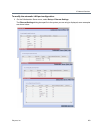
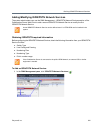
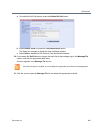
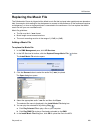
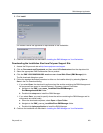
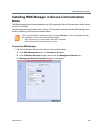
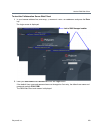
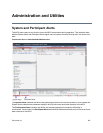
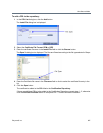
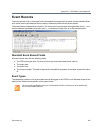
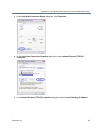
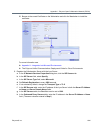
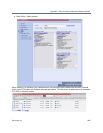
1 Insert the USB key that is included with the system into your workstation:
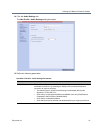
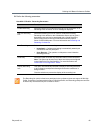
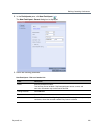
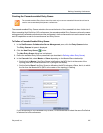
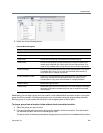
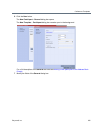
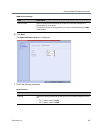
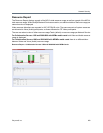
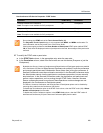
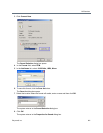
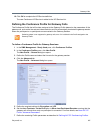
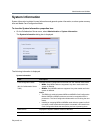
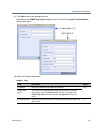
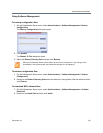
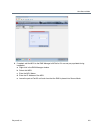
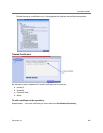
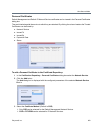
In Windows XP:
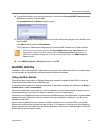
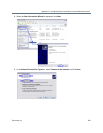
The Polycom Documentation option is automatically selected. Click OK.
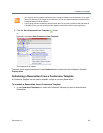
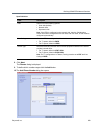
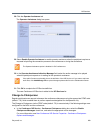
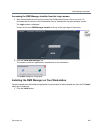
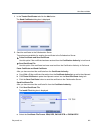
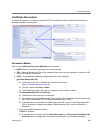
In Windows 7:
Select Open Folder to view files using Windows Explorer.
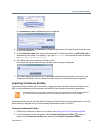
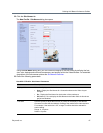
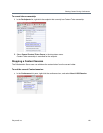
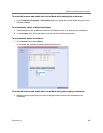
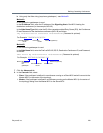
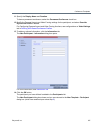
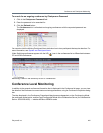
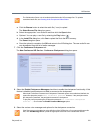
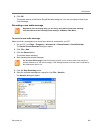
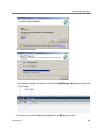
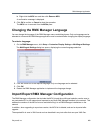
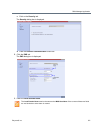
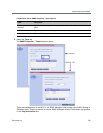
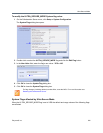
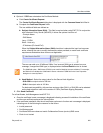
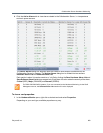
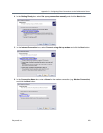
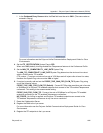
2 Double-click the index.hta file.
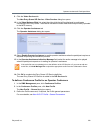
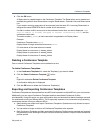
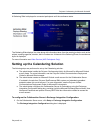
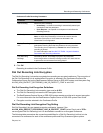
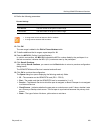
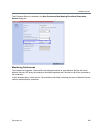
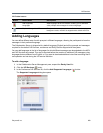
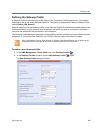
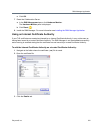
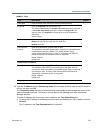
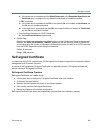
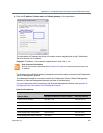
3 In the Language Menu window, click the hyperlink for the required documentation language.
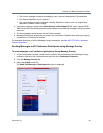
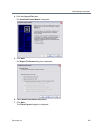
4 In the Polycom End User Licenses Agreement window, read the agreement and click the Accept
Agreement button.
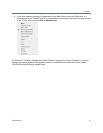
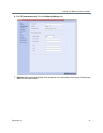
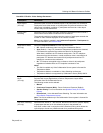
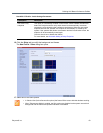
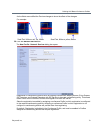
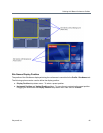
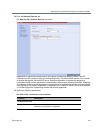
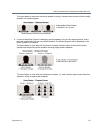
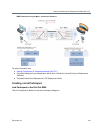
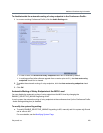
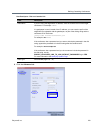
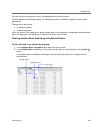
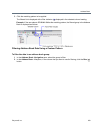
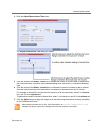
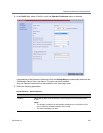
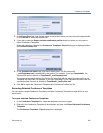
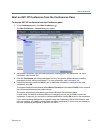
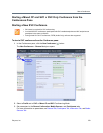
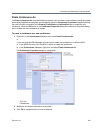
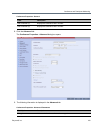
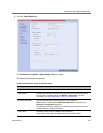
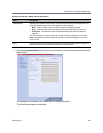
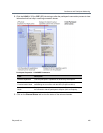
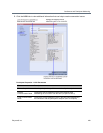
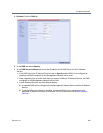
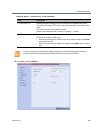
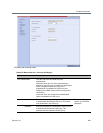
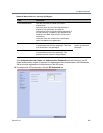
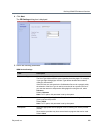
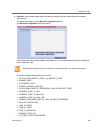
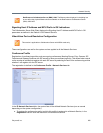
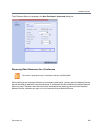
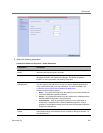
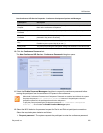
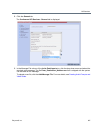
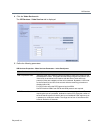
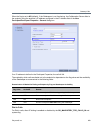
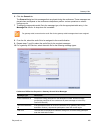
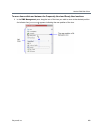
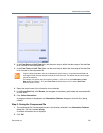
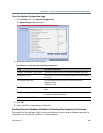
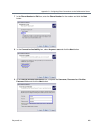
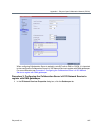
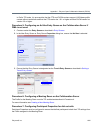
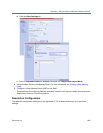
In the Product Type Selection window, click RealPresence Collaboration Server 1800.
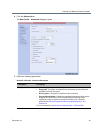
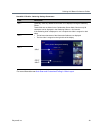
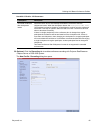
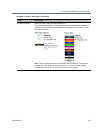
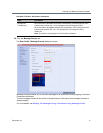
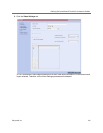
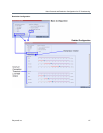
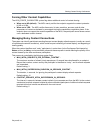
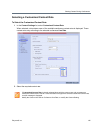
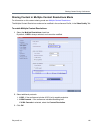
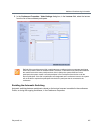
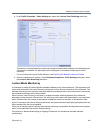
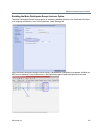
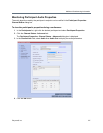
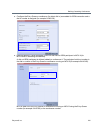
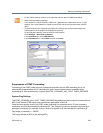
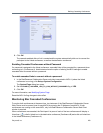
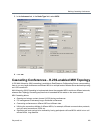
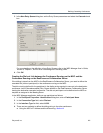
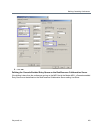
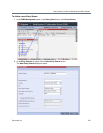
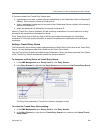
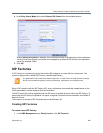
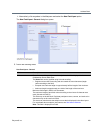
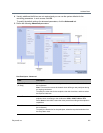
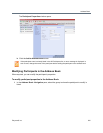
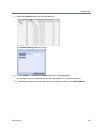
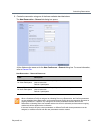
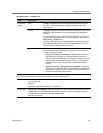
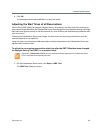
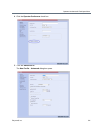
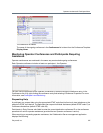
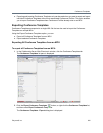
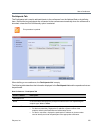
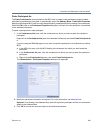
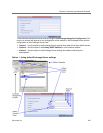
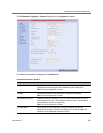
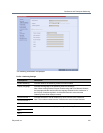
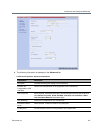
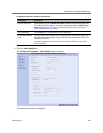
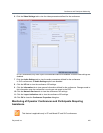
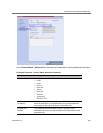
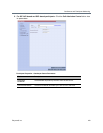
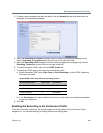
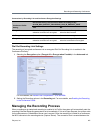
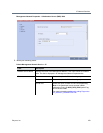
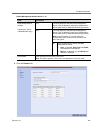
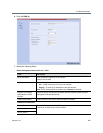
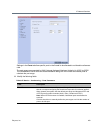
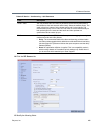
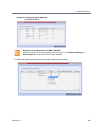
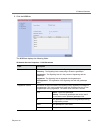
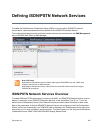
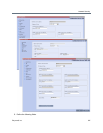
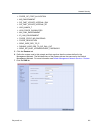
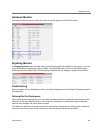
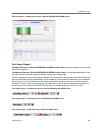
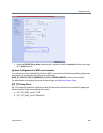
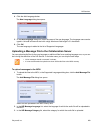
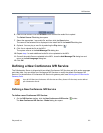
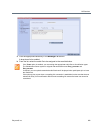
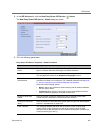
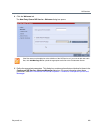
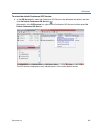
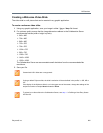
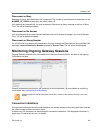
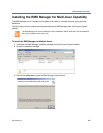
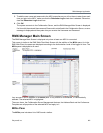
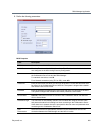
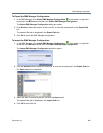
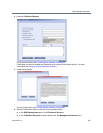
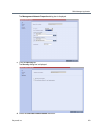
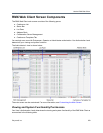
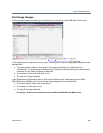
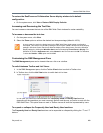
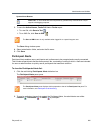
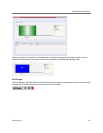
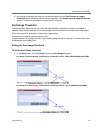
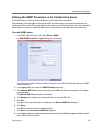
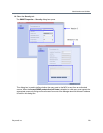
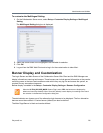
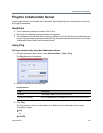
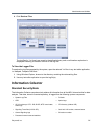
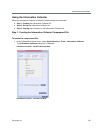
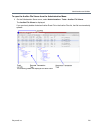
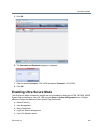
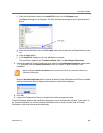
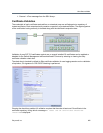
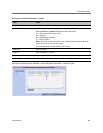
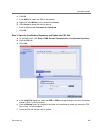
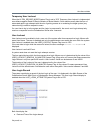
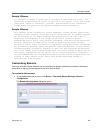
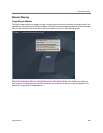
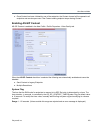
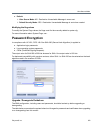
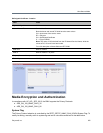
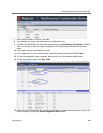
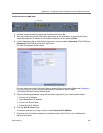
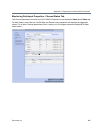
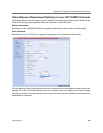
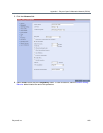
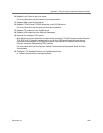
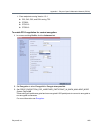
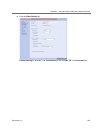
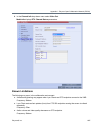
5 Under the Support Utilities, select Restore to Factory Defaults.
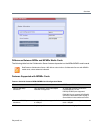
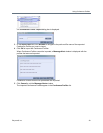
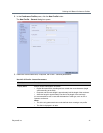
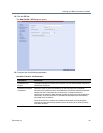
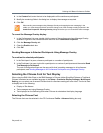
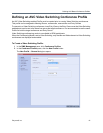
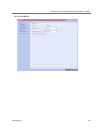
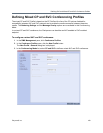
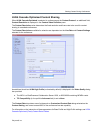
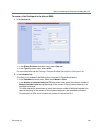
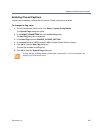
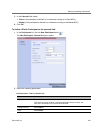
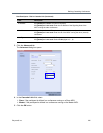
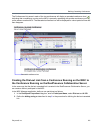
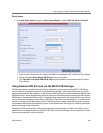
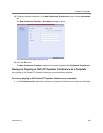
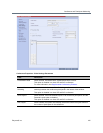
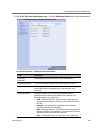
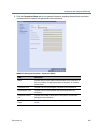
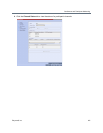
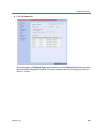
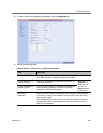
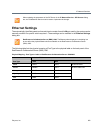
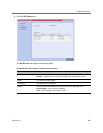
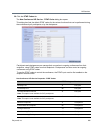
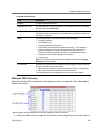
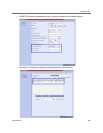
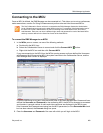
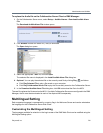
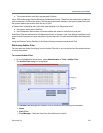
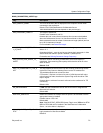
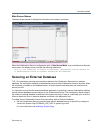
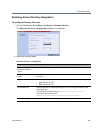
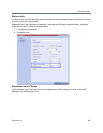
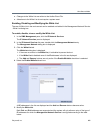
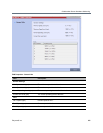
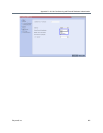
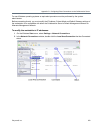
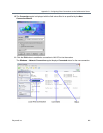
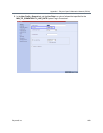
6 Optional. In Restore to Factory Defaults window, select LAN Configuration and configure the
following:
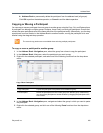
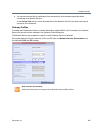
Control Unit IP Address
Subnet Mask:
Default Router IP Address
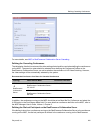
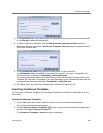
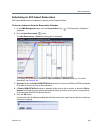
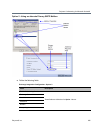
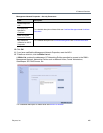
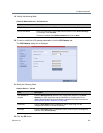
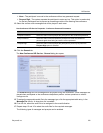
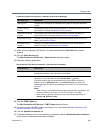
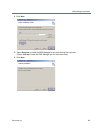
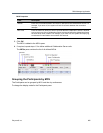
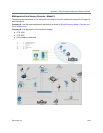
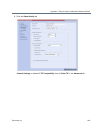
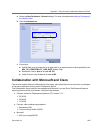
This will configure the system to the local network so the administrator can access the RMX Web
Client from the local workstation when the system restarts.
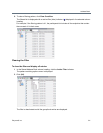
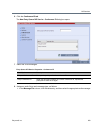
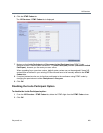
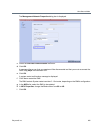
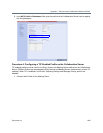
If you skip this step, you can configure these settings later using the LAN Configuration Utility
included on the USB key.
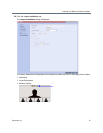
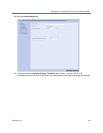
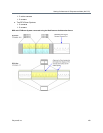
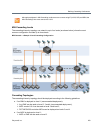
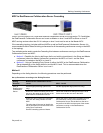
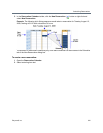
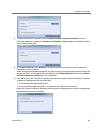
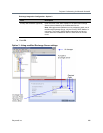
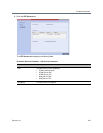
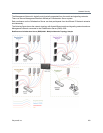
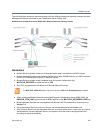
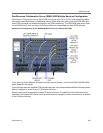
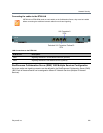
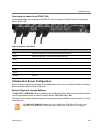
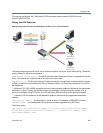
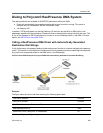
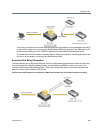
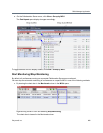
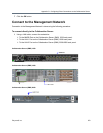
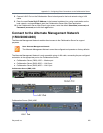
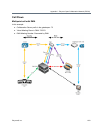
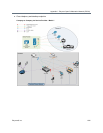
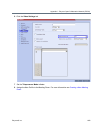
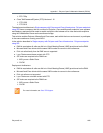
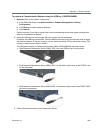
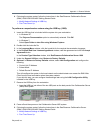
7 Remove the USB key from the workstation.
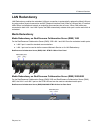
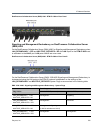
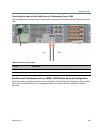
Insert the USB key into either of the two USB ports on the back panel of the Collaboration Server
(RMX)1800 system.
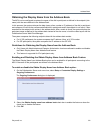
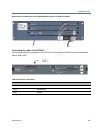
8 Power off and then power on the Collaboration Server1800 system.
9 Following the system restart, follow the instructions in the RealPresence Collaboration Server
(RMX) 1500/1800/2000/4000 Getting Started Guide:
Modify Network Settings in USB Key
First Time Power Up