IES-1000 User’s Guide
Maintenance 18-3
Table 18-2 Secured Client Setup
LABEL DESCRIPTION
Secured
Enable
Select this check box to allow these secured clients to manage the IES-1000. Do not select
this check box unless the IP address that you are using to manage the IES-1000 is already
configured as one of the client addresses below. The IES-1000 blocks your access if you
apply this page with this check box selected and your IP address is not one of the configured
client addresses.
Apply Click Apply to save your changes back to the IES-1000 's volatile memory. The IES-1000
loses these changes if it is turned off or loses power, so use the Config Save link in the
navigation panel on the left to save your changes to the non-volatile memory when you are
done configuring.
Address The address of a client that is permitted to use a service (Telnet, FTP, Web) to manage the
IES-1000. For example, 192.168.1.100.
Add Click this button to configure a new secured client entry.
Delete Select a secured client entry(s)’s Delete check box and click the Delete button to remove the
entry.
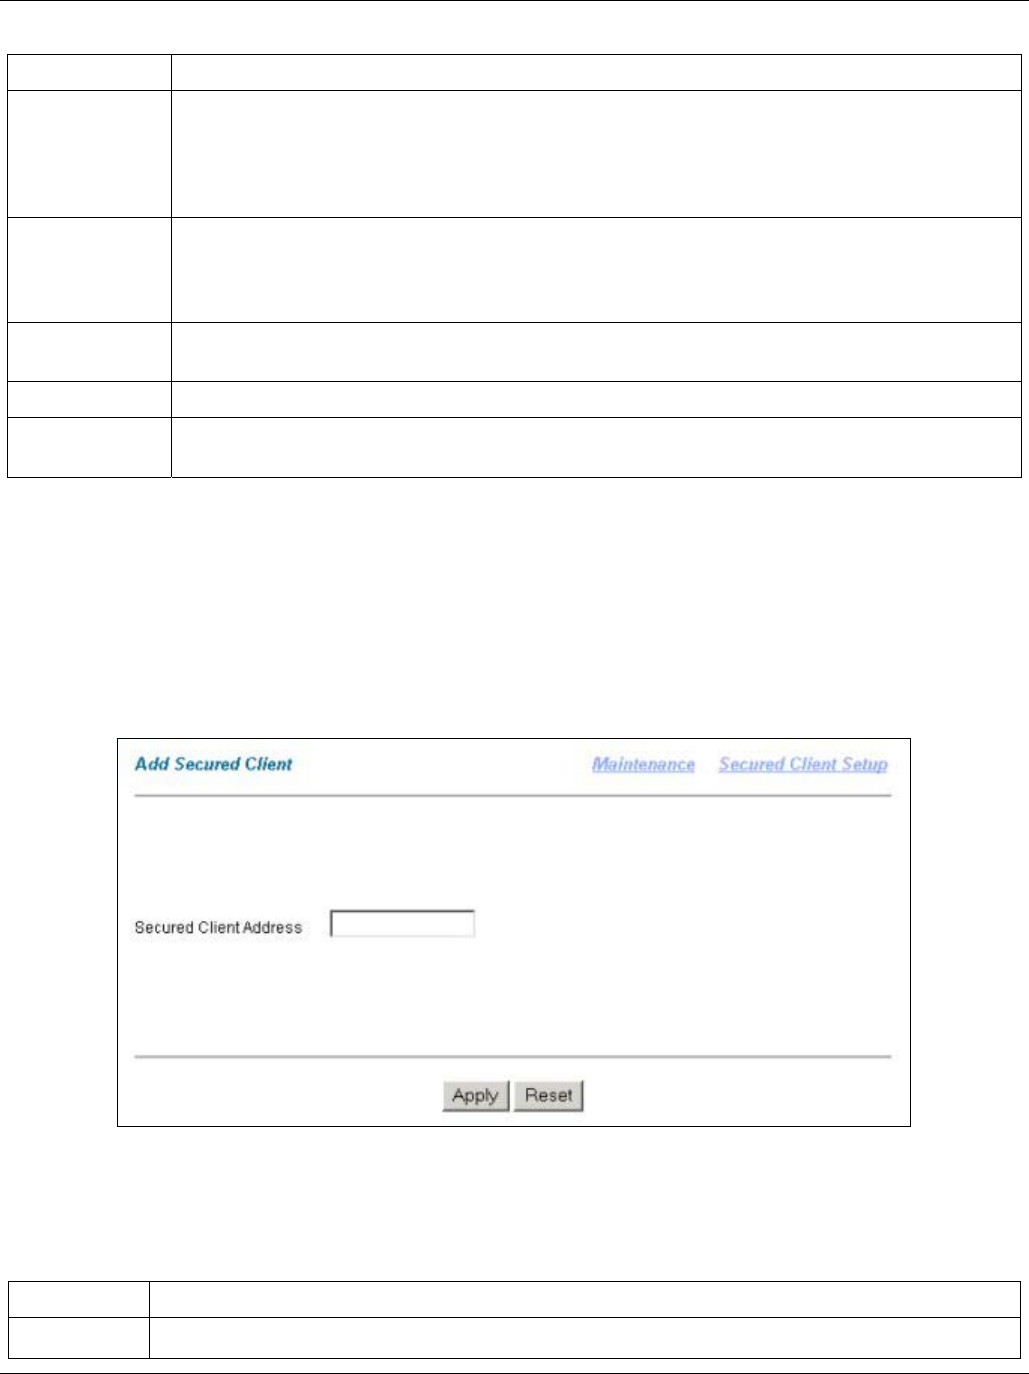
Add Secured Client Screen
Click Maintenance in the navigation panel and then Secured Client in the Maintenance screen.
Click Add in the Secured Client Setup screen to open the Add Secured Client screen.
Use the Add Secured Client screen to configure the IP addresses that an administrator can use to manage the IES-
1000.
Figure 18-3 Add Secured Client
The following table describes this screen.
Table 18-3 Add Secured Client
LABEL DESCRIPTION
Maintenance Click this link to go to the Maintenance screen.


