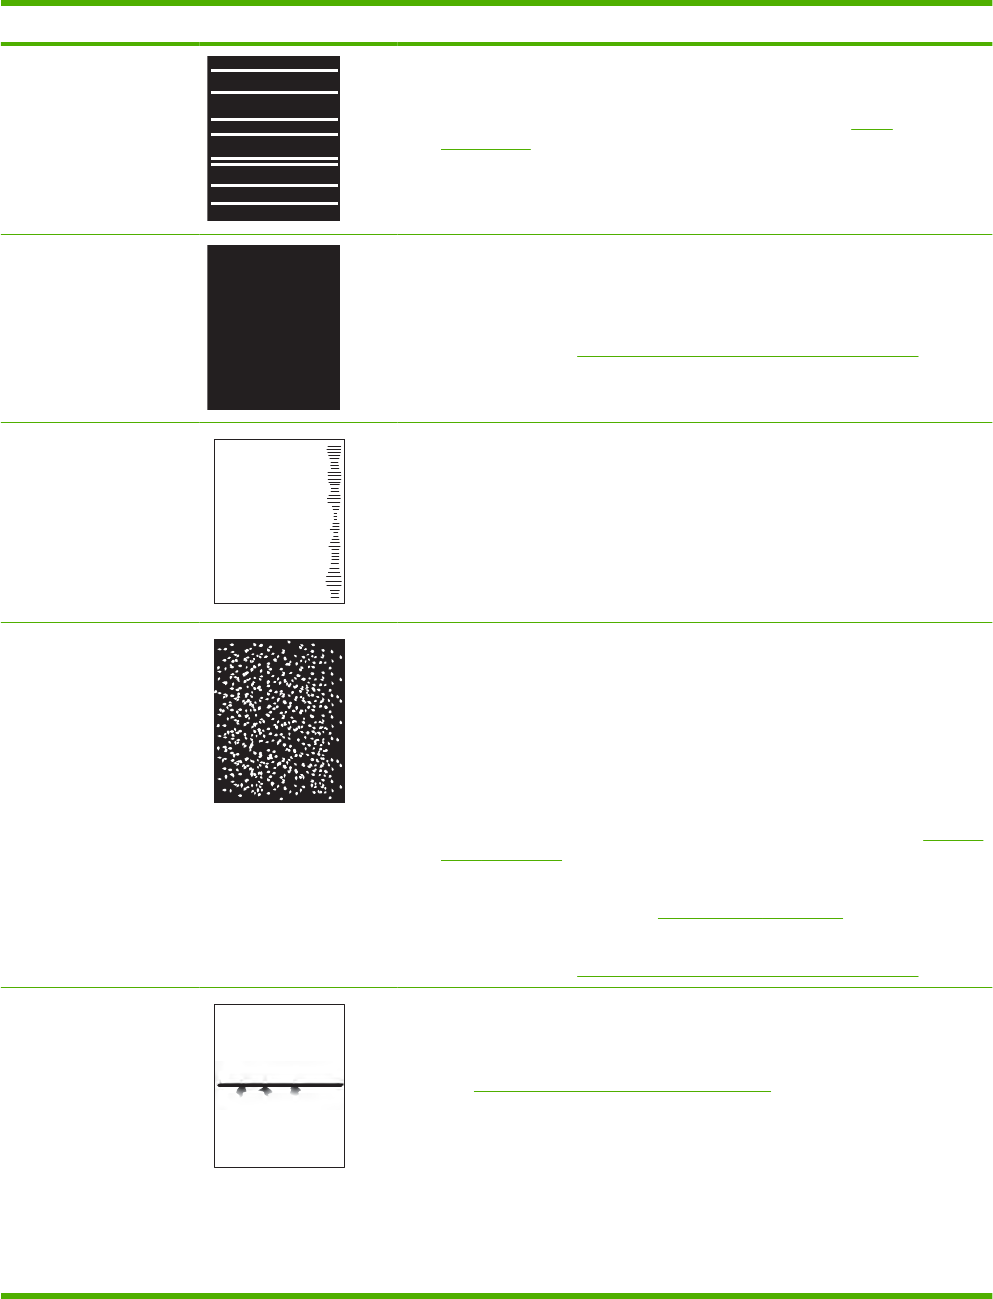
Problem Image example Solution
Horizontal white lines 1. The photosensitive drum might be scratched, or the developing roller might be
damaged. Replace the print cartridge.
2. The fuser film might be damaged. Replace the fuser. See
Fuser
on page 100.
Black page 1. The print-cartridge ground or bias contacts might be dirty. Clean the contacts.
2. The primary charging roller might be defective. Replace the print cartridge.
3. The high-voltage power supply might be damaged. Replace the high-voltage
power supply. See
High-voltage power supply (HVPS) on page 121.
Tire tracks
A
A
A
A
A
B
B
B
B
B
C
C
C
C
C
a
a
a
a
a
c
c
c
c
c
b
b
b
b
b
This defect typically occurs when the print cartridge has far exceeded its estimated
life. For example, if you are printing a very large quantity of pages with very little
toner coverage.
1. The print cartridge might need to be replaced.
2. Reduce the number of pages that you print with very low toner coverage.
White spots on black or in
the image
1. Print a few more pages to see if the problem corrects itself.
2. Make sure that the type and quality of the paper you are using meet
HP specifications. For more information, see the product user guide.
3. Make sure that the environmental specifications for the product are being met.
See the product user guide.
4. The print cartridge might need to be replaced.
5. If the transfer roller is deformed or damaged, replace the roller. See
Transfer
roller on page 92.
6. The transfer roller shaft might be dirty (poor contact). Remove the transfer
roller and clean the shaft. See
Transfer roller on page 92.
7. The high-voltage power supply might be damaged. Replace the high-voltage
power supply. See
High-voltage power supply (HVPS) on page 121.
Scattered lines 1. Make sure that the type and quality of the paper you are using meet
HP specifications. For more information, see the product user guide.
2. Make sure that the environmental specifications for the product are being met.
See
Environmental specifications on page 309.
3. Turn over the paper in the tray. Also, try rotating the paper 180°.
4. Open the CONFIGURE DEVICE menu at the product control panel. Open the
PRINT QUALITY submenu and change the TONER DENSITY setting. For
more information, see the product user guide.
5. Open the CONFIGURE DEVICE menu at the product control panel. On the
PRINT QUALITY submenu, open OPTIMIZE and set LINE DETAIL=ON. For
more information, see the product user guide.
Table 3-9 Image defect examples (continued)
ENWW Solve image-quality problems 253


